Mastering Handmade Product Collections: The Golden Rules for Turning One-Time Buyers into Repeat Fans
yassy
Crafters!

Hello, everyone! I'm Yassy from Crafters! (・∀・)
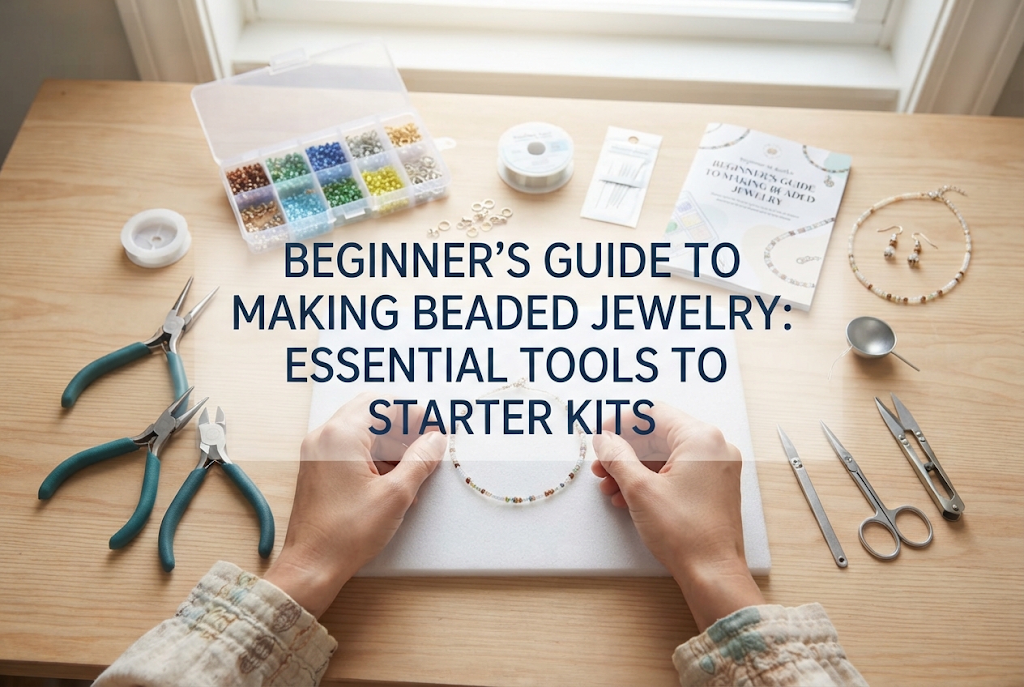
As someone who loves crafting, admiring stylish handmade pieces, and shopping for gorgeous supplies, the topic I want to share with you today is a timeless classic in the handmade world: beaded jewelry!
Just looking at sparkling beads brings a sense of excitement. It feels wonderful to imagine making your own cute earrings or necklaces. Still, many people find themselves hesitating, wondering, "Can I really make that myself?" or "What tools do I even need to get started?"
Here is my honest conclusion: beaded jewelry is the least frustrating craft for beginners and the absolute best genre to enjoy from day one! If you are wondering where to begin, here is a clear and thorough guide on how to get started without making mistakes.
From resin art to embroidery and polymer clay, there are countless crafts out there. Among them, beaded jewelry is my top recommendation for beginners. There are three clear reasons for this:
1. Setup and clean-up are remarkably simple.Unlike UV resin, you don't need to worry about room ventilation. Unlike painting, you don't need to fetch water or brushes. All you need is a small craft mat spread across your desk, and you're ready to start anytime.
2. Immediate results you can wear right away.There is zero waiting time for glue to dry or resin to cure. The second you connect the final component, your finished piece is ready to wear out the door. That immediate sense of accomplishment is directly tied to keeping your motivation high.
3. You can craft high-end jewelry on a minimal starting budget.Items that easily cost tens of dollars in retail boutiques can be made at home for just a fraction of that in materials. It is truly the ultimate hobby: you get the joy of making things while elevating your personal style wisely.
While we casually say "beaded jewelry," the crafting methods generally fall into three distinct styles. If you start buying components without understanding these, you are bound to run into trouble. Let's take a look at the characteristics of each.
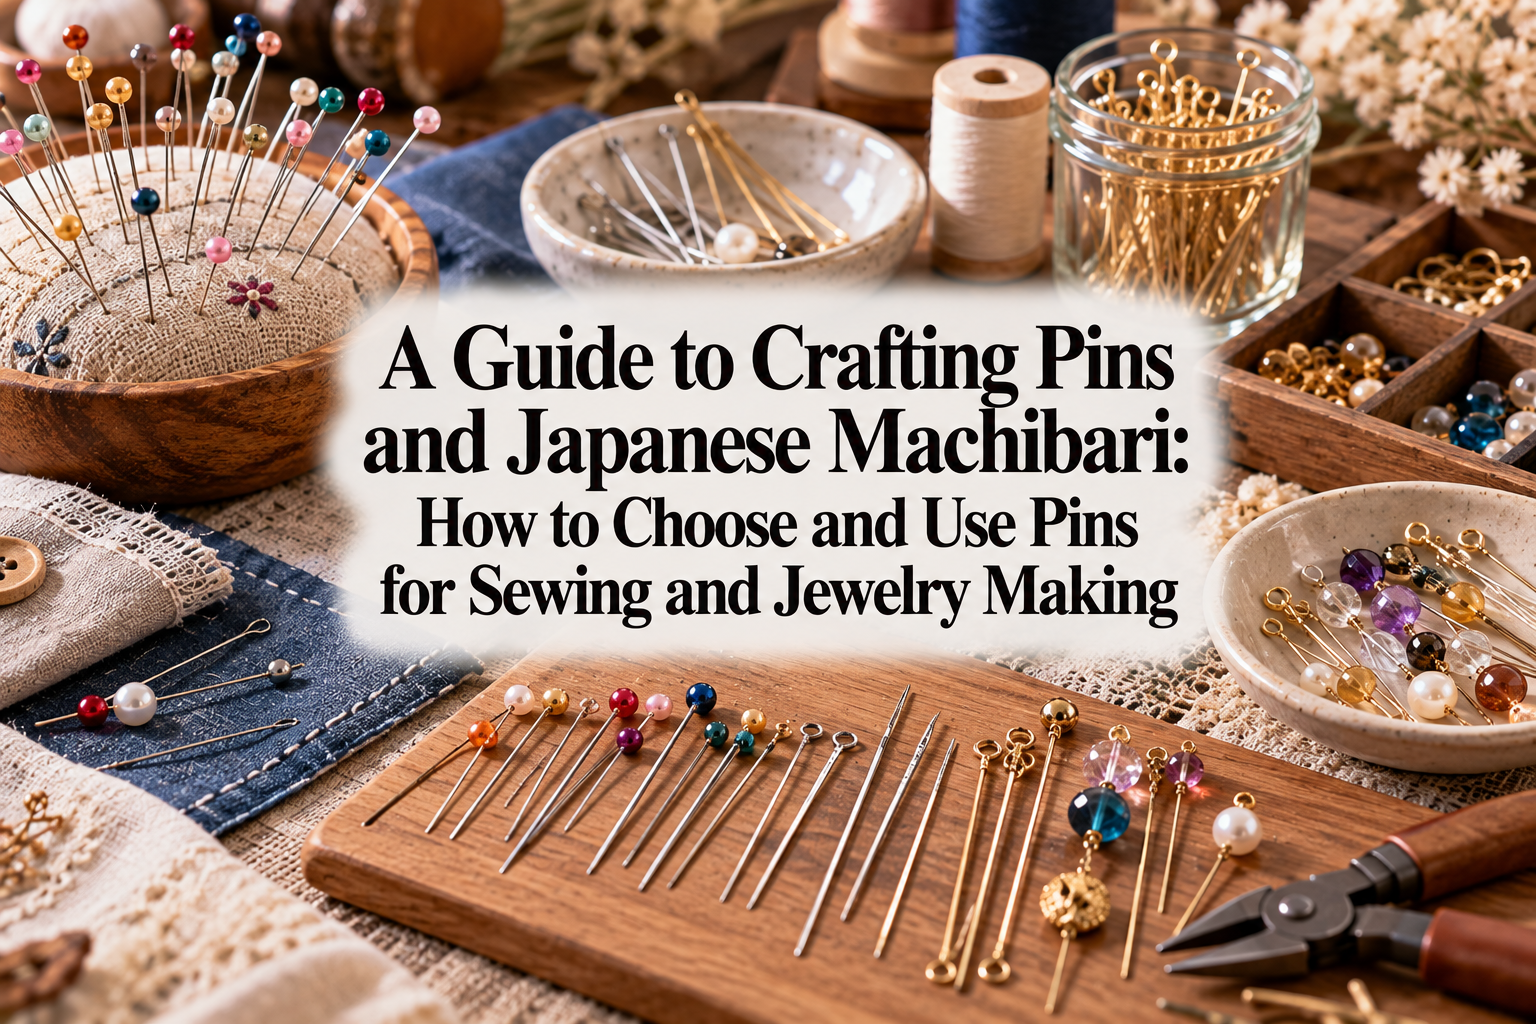
Most dangle earrings and pendant necklaces are made using this technique. You slide beads onto metal pins called "headpins" (T-pins) or "eyepins" (9-pins), curl the ends into loops using pliers, and link the components together.
This style yields the most professional, store-bought look. Forming loops with pliers takes a little practice, but once you master the basic knack, you can create virtually any piece you envision.
In this technique, you weave beads by passing clear nylon monofilament (beading thread or fishing line) through beads back and forth to create rings, beaded spheres, or floral motifs. Beaded rings popularized in Korean fashion trends fall into this category.
The appeal is that you do not need specialty metal tools—just monofilament, beads, and a pair of scissors. However, it requires reading bead-weaving patterns, so it suits those who enjoy focused, meticulous work.
This style involves stringing beads or natural gemstones onto stretchy elastic cord (such as operon elastic) and tying a secure knot, or threading beads along jewelry wire. Technically speaking, this is the easiest method; anyone can complete a lovely piece within minutes.
Tools are virtually unnecessary, leaving almost zero room for failure. If you lack confidence in your crafting ability, starting here is your safest bet.
Now that you know the three styles, the first two projects a beginner should tackle are an elastic stretch bracelet and a pair of single-bead dangle earrings.
Start with the elastic stretch bracelet to experience the pure joy of color coordination and bead arrangement. By simply lining up your favorite beads, stringing them on, and tying the knot, your one-of-a-kind accessory is instantly finished.
Next, try making a pair of single-bead earrings using headpins. Through this project, you will learn how to hold jewelry tools and the fundamental technique of turning a wire loop. Mastering these two projects builds a solid foundation for all your future beadwork.
When starting out, what overwhelms beginners most is the sheer variety of findings and tools. Walking into a craft store or browsing online reveals walls covered in tiny parts, making it hard to know what to choose. Let's break down exactly what you need.
Dedicated jewelry pliers are essential for beaded jewelry. Unlike standard utility pliers found in a toolbox, jewelry pliers have smooth inner jaws without serrated teeth, ensuring they won't scratch delicate metal parts.
While there are dozens of finding types, you only need these four to get started:
Almost every beginner runs into the same hurdles when starting out. By understanding the causes and solutions ahead of time, you can improve quickly without frustration.
The most common complaint is struggling with forming wire loops. When bending the pin with round-nose pliers, it ends up angular and crooked rather than forming a smooth circle.
The cause is skipping the initial bend. After sliding your bead onto the pin, grip the pin right at the base of the bead and bend it sharply at a 90-degree angle. Next, use your cutters to trim the excess pin, leaving roughly 7 to 8 millimeters (about 5/16 inch).
Grip the very tip of the trimmed wire firmly with the ends of your round-nose pliers, and roll your wrist smoothly inward to curl the wire into a loop. Simply incorporating that initial 90-degree bend will give you clean, professional loops.
Another frequent mishap is wearing your freshly made earrings only to have a component slip off and hit the floor. This happens when jump rings are opened incorrectly.
Never pull the two sides of a jump ring apart horizontally to open it. Pulling them sideways distorts the circle, making it nearly impossible to restore its original shape.
The correct method is to hold each side of the jump ring slit with pliers and twist them forward and backward (laterally). When closing, twist them back into alignment, pushing gently inward until the cut ends click together with no visible gap. This prevents charms from ever slipping out.
This happens when the head of a headpin is too small for the bead's drill hole, causing it to slip through, or when the cord is too thick to pass through the bead at all.
Every bead has a specific hole diameter. Natural gemstones and glass beads often have smaller drill holes. For pins, choosing a standard diameter of 0.6 mm to 0.7 mm (around 21–22 gauge) is a dependable start.
If a bead hole is too large and the headpin slips through, slide a small decorative bead cap or a tiny seed bead onto the pin first to act as a stopper. It holds the bead securely while adding an attractive decorative touch.
Discount and dollar stores carry a surprising variety of beads and craft supplies. You might wonder if you should simply buy everything there, but I don't recommend relying solely on discount shops.
The reason lies in the precision of the tools and the durability of the metal findings. Inexpensive pliers often suffer from misaligned tips, which can mar your findings or require excessive hand pressure when bending pins.
Furthermore, budget findings like headpins and jump rings can be either overly brittle or too soft, causing them to deform easily. Plating on cheaper findings also tends to tarnish or peel more rapidly.
Here is my balanced approach: pick up basic scissors, bead trays, storage organizers, and practice acrylic beads from discount stores. However, invest in quality tools (pliers and cutters) and essential metal findings from reputable craft manufacturers or specialty shops.
Quality tools drastically reduce strain on your hands and elevate the clean finish of your work to a whole new level.
We've reviewed all the essential tools and findings, but you might still feel that picking each item out separately is daunting. If you want to avoid analysis paralysis, here is my clear recommendation: order a comprehensive starter kit online that bundles tools and supplies together!
When picking up a new hobby, the biggest waste of momentum is spending weeks agonizing over what to buy and never actually making anything. A starter kit delivers everything you need in one go.
When searching for a jewelry-making starter kit online, look for these three key elements:
Beware of kits that only provide one pair of pliers or omit round-nose pliers entirely. Make sure to choose a complete set containing all three tools.
Once you use the kit to create a few pieces, you will naturally discover your preferences—whether you want to focus on wire-wrapped designs or delve into bead weaving. That is the ideal stage to begin purchasing specialized gemstones and specialty findings individually.
Once you finish reading this article, take these actionable steps to turn your curiosity into creation:
That is all it takes! The thrill and satisfaction of holding your very first completed piece of jewelry is an unmatched experience.
Beaded jewelry does not demand innate artistic talent or complicated skills. With the right tools and a few simple techniques, anyone can craft stunning, wearable accessories.
If you aren't sure where to start, don't worry about handpicking individual beads right away. Pick up a solid starter kit and enjoy the anticipation of opening your box of creative possibilities.
Stepping outside wearing jewelry you made with your own hands makes everyday life feel just a little more vibrant. Here's wishing you the very best as you take your first steps into the world of handmade crafting!
If you found this guide helpful, please share it with your fellow craft enthusiasts! See you in the next article—Yassy from Crafters signing off!

For example, if you are looking for articles about mizuhiki, try searching for "mizuhiki"; if you are interested in tools, try keywords like "nippers" or "pliers."
