Beginner’s Guide to Japanese Herbarium Crafting: Zero-Fail Tips & Starter Kit Essentials
yassy
Crafters!

Hello, craft lovers! It's Yassy from Crafters! (・∀・)
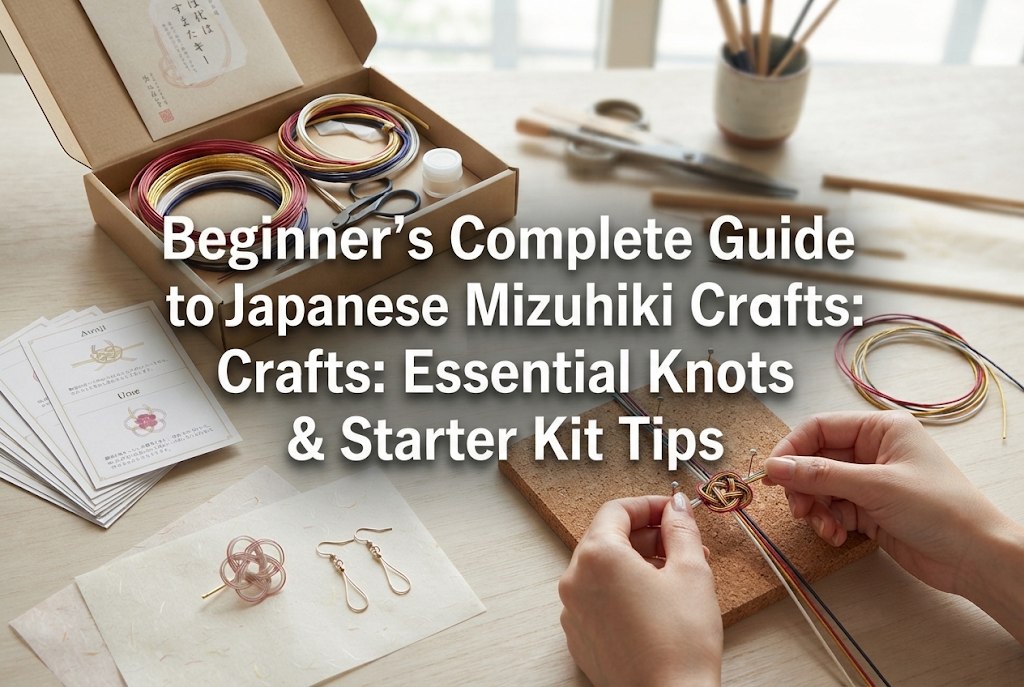
Welcome to the captivating world of Japanese Mizuhiki crafts, where traditional elegance meets modern design! I personally love making, admiring, and buying handmade items from wonderful creators, and I can say with confidence that Mizuhiki holds a truly special charm among all paper and fiber arts.
When people hear about Mizuhiki, many assume: "It seems intimidating," "The knots look too complicated for a beginner," or "I probably need expensive, specialized tools." But let me assure you, that is a big misconception! Mizuhiki crafting requires very few tools, takes up minimal space, and once you master the basic knots, anyone can create stunning, high-quality pieces.
In this guide for aspiring craft lovers, I will share my knowledge and experience to cover everything you need to start making Mizuhiki goods: essential tools, foolproof basic techniques, foundational knots, and how to choose materials to get started right away. No vague advice—just clear steps and reliable tips. Read through to the end and take your first steps as a Mizuhiki crafter today!
While handmade fields like resin, embroidery, knitting, and clay are all wonderful, Mizuhiki craft possesses unique strengths you won't find anywhere else. Here are four clear reasons why beginners should jump into Mizuhiki crafting today:
You don't need to overthink tool selection when starting Mizuhiki. The required tools are minimal and easy to find. Here is the list of basic items I strongly recommend gathering:
The star of your project! Mizuhiki is made by splitting fine Japanese Washi paper into strands, twisting them, stiffening them with rice starch glue, and wrapping them with thread or decorative foil. They are typically sold in lengths of about 90 cm (approx. 35 inches). Beginners should start with Kinumaki (silk-wrapped) Mizuhiki. It features artificial silk thread wrapped around the paper core, making it soft, supple, and easier to tie.
Used to cut Mizuhiki cords. Because the inner paper core is firm, dull scissors will crush the cord and fray the outer thread. Invest in a sharp pair of craft scissors with fine, precise tips. Using specialized craft/needlework scissors rather than general household stationeries is an absolute necessity.
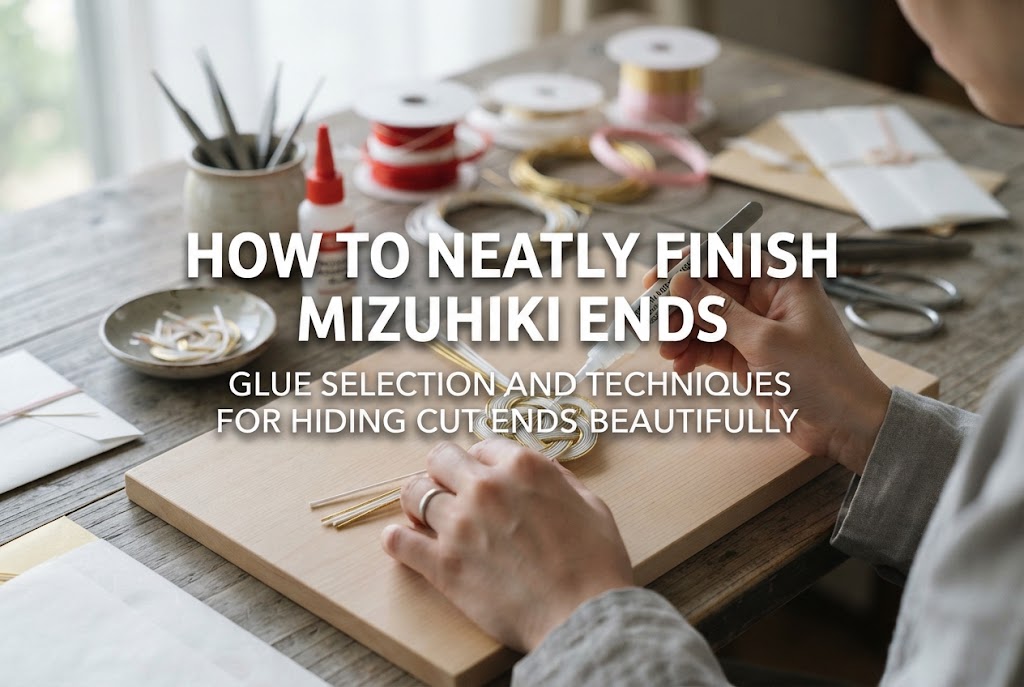
Used to secure the ends of the knots and fix cut edges. Since Mizuhiki consists of paper and thread, standard PVA wood glue works wonderfully. Always choose a glue that dries completely clear. You will apply tiny dabs using the tip of a toothpick, so prioritize quick drying time and transparent finish over nozzle design.
Essential for attaching jewelry findings and gripping stiff cords. Make sure to use pliers with smooth inner jaws that do not have serrated teeth (grooves), so you don't scratch metal components or damage the paper cords.
Used to adjust knots, pull strands tight, and equalize loop sizes. Inserting a fine awl into tight spaces where fingers can't reach allows you to smooth and shape the strands effortlessly. This single tool dramatically raises the professional finish of your work.
Handy for holding cords in place when you need to let go mid-knot or while waiting for glue to dry. Having small clips nearby dramatically improves your work efficiency.
Don't just open a package of Mizuhiki and start tying right away! Mizuhiki cords have unique shapes and habits. If you skip these three golden rules, your work will not turn out neatly. Keep them in mind before you start!
New Mizuhiki strands are straight and stiff. If you try to knot them as-is, they will bend sharply, ruin smooth curves, or break the outer silk threads. The essential step to prevent this is called shigoki.
Gently clamp the cord between the pad of your thumb and your index finger (or the back of a scissor blade), and slide it gently from base to tip while applying light pressure. This softens the inner paper core, allowing it to form beautiful, sweeping curves. Be gentle—doing this two or three times gently is the secret to creating natural curves without crushing the cord.
The beauty of Mizuhiki art lies in multiple strands lying perfectly parallel alongside each other. When working with 2 or 3 cords simultaneously, they often twist or swap places—a flaw known as crossed lines.
While knotting, constantly monitor which strand is on top and which is underneath with your fingertips. If a twist occurs, stop immediately and use your fingers to straighten the cords before moving forward. Maintaining parallel lines leads directly to a professional finish.
When securing knot ends or finishing edges, never apply large blobs of glue. Because Mizuhiki is made of paper, excess moisture causes it to swell or warp, leaving unsightly shiny glue spots once dry.
Take a tiny amount of glue on the tip of a toothpick and apply it only to the exact point you wish to fix. Secure it with a clip and leave it untouched until completely dry. Rushing and touching wet glue will shift the cords and ruin the alignment.
Though countless Mizuhiki knots exist, beginners only need to learn two fundamental knots first: the Awaji Knot (Awaji-musubi) and the Ume (Plum Blossom) Knot (Ume-musubi). Mastering these two allows you to create nearly 80% of popular Mizuhiki items!
The Awaji knot forms the root of almost all decorative Mizuhiki knotting. Because pulling both ends tight actually binds the knot firmer, it traditionally symbolizes long-lasting bonds and auspicious celebrations.
It features a central decorative loop flanked by interlocking side loops. Here is the key sequence to make it:
The secret to a stunning Awaji knot lies in uniform loop proportions. Never yank the ends at once; adjust each strand individually in small increments.
Once you master the Awaji knot, step right up to the Ume knot. Resembling a cute plum blossom, this vibrant knot is an absolute staple for earrings, hair accessories, and envelope embellishments.
The Ume knot is actually created by modifying a loose Awaji knot!
If even one petal size is uneven, the Ume knot loses its refined appeal. Focus your attention on using your awl to match the petal dimensions millimeter by millimeter!
Here are four frequent mistakes beginners encounter, along with professional tips to fix them smoothly without frustration:
Cause: Bending cords sharply, pressing with fingernails, or skipping the shigoki step.Solution: Always perform shigoki to soften the cord before tying. Curve cords smoothly using finger pads rather than folding sharp angles. If thread frays significantly, trim off the damaged section and start fresh.
Cause: Yanking both ends abruptly when shrinking the knot.Solution: Pulling abruptly causes friction that shortens only one strand, ruining the symmetry. Pull strands one by one, shifting just a few millimeters at a time, moving sequentially from outer cords to inner cords.
Cause: Losing track of cord order with your non-dominant hand while weaving.Solution: Keep track of the leftmost (or topmost) cord color. Pinch the strands flat between your thumb and index finger as you work. If a twist happens, pause, use an awl to gently untwist the cords back into parallel order, then resume.
Cause: Using dull scissors or cutting cords before securing with glue.Solution: Apply glue slightly inside the intended cut line and allow it to dry completely *before* cutting. Then snip through the glued section with sharp craft scissors for a clean, permanent finish.
When starting out, searching for individual bundles of cord, scissors, pliers, glues, and findings can be time-consuming and overwhelming. My top recommendation for beginners is to start with a complete Mizuhiki Starter Kit available on online marketplaces like Amazon.
Practicing with a starter kit first, then buying individual cord bundles in your favorite custom colors, is the most practical and economic route!
Once you get the hang of basic knots, transform them into functional goods! Here are four delightful project ideas that give instant satisfaction:
Simply attach a jump ring to the back of an Ume knot or Awaji knot, then connect it to earring hooks. Mizuhiki is incredibly lightweight, so even bold, dangling statement designs feel weightless to wear. They complement everyday casual wear as well as traditional kimono or yukata attire.
Glue a small Ume knot onto plain craft paper envelopes or mini gift sleeves. Adding just one handmade knot converts ordinary stationary into a heartfelt, elegant presentation perfect for gift cards or small thank-you notes.
Tie a robust Awaji knot using 5 to 7 cords, apply glue generously on the underside, and dry thoroughly. Spraying a light coat of waterproof sealant over the finished piece helps repel water droplets, making them great handmade items for festive table settings.
Affix a larger Ume knot or a row of connected Awaji knots onto hair tie components or alligator clips using strong craft adhesive. Using modern muted tones like dusty pink, cream, or beige creates chic, modern Japanese-style hair accessories for all ages.
Mizuhiki is a wonderful craft filled with Japanese history and culture, perfectly suited for adding handcrafted warmth to modern daily life. Don't worry about whether it looks difficult—all you need is the curiosity to give it a try!
The fastest way to improve is simply to feel the cords in your hands and start knotting. Pick up a well-reviewed Mizuhiki starter kit online, open the box, and dive into your new craft journey. Even if your strands twist or loop sizes vary on your first attempt, you will be making gorgeous Ume knots by your third try. Enjoy the magical feeling of shaping beautiful paper cords with your own hands!
If you enjoyed this guide, please share it with your craft-loving friends on social media. See you in the next article! Happy crafting from Yassy!



For example, if you are looking for articles about mizuhiki, try searching for "mizuhiki"; if you are interested in tools, try keywords like "nippers" or "pliers."
