The Ultimate Guide to Clean Paper Cutting: Essential Tools and Pro Techniques to Eliminate Fraying and Distortion
yassy
Crafters!

Hello, everyone! This is Yassy from Crafters! (・∀・)
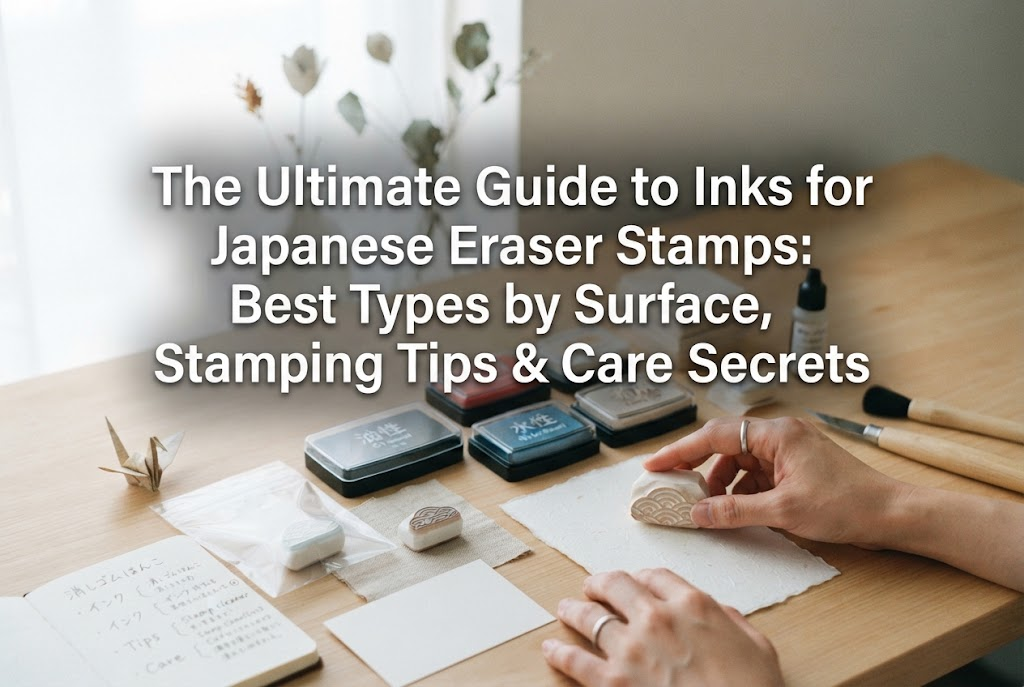
I personally love mindfully carving eraser stamps on my own, but I also adore collecting beautiful eraser stamps made by talented artists at handmade craft fairs and online shops, as well as admiring their wonderful creations! Eraser stamps are charming because of their fine carved lines and warmth, but did you know that the choice of ink dramatically changes the expression and final finish of your work?
Have you ever spent hours carefully carving an eraser stamp, only to have the lines bleed into a blob on paper, or end up with a faint, patchy impression? Or perhaps you stamped a cute eraser stamp bought from a favorite artist onto fabric, only for it to disappear completely in the wash?
The cause isn't your lack of stamping skill. It is 100% a mistake in ink selection!
Eraser stamps differ completely in softness and delicate detail from commercial rubber stamps used in offices. If you don't choose the ideal ink for soft eraser materials and apply it correctly, it is impossible to bring out the natural beauty of your stamp.
In this guide, I'm pouring in all my knowledge and practical experience to thoroughly explain everything—from selection criteria for eraser stamp inks and the best options for paper, fabric, and glossy surfaces, to using ink for checking carving progress and proper care methods that won't damage your stamps. Read this, and you will never get lost choosing ink again!
Many handmade craft beginners naively think, "Aren't all stamp inks basically the same?" They try to stamp their eraser creations using standard office ink pads or vermilion ink pads (shunikku), but this is a big mistake.
There are three clear reasons why ink selection accounts for 90% of the final result in eraser stamping. Without understanding these points, you won't get a clean, beautiful impression no matter how much you refine your carving skills.
Commercial rubber stamps are made from hard rubber, whereas eraser stamps are made from soft material easily cut with blades. If you apply ink that has low viscosity (too runny) or contains too much water, droplets will slide across the surface and pool into the carved grooves.
When ink gets into the grooves, carved lines merge together when pressed onto paper, resulting in a solid, muddy imprint. Eraser stamps absolutely require ink with moderate viscosity and firmness that stays on the raised surface without running into the carved channels.
Standard office stamp pads are built on the assumption that a hard, large rubber stamp will be pressed down firmly into them, so their sponges are very soft and deep. If you press an eraser stamp into this type of pad, the stamp sinks deep into the sponge, depositing a large amount of ink onto the unwanted negative space (recessed areas).
Inks suitable for eraser stamps feature a firmer pad surface. A firm pad allows you to apply ink pinpoint-style only onto the raised portions (convex areas) of the stamp, ensuring crisp transfers down to the finest lines without dirtying the blank background.
Depending on the ingredients inside the ink, there is a risk of melting or degrading the vinyl chloride material of the eraser. If you carelessly use solvent-based permanent inks with harsh chemicals, your eraser stamp can dissolve into a gooey mess and lose its shape after just one use.
To enjoy your eraser stamps for a long time over hundreds or thousands of clean impressions, you must select inks formulated with safe ingredients that won't harm the eraser material.
When you visit a stationery shop or craft supply store, you'll see countless stamp pads lined up. Choosing one based solely on cute packaging will surely lead to mistakes. Here are the three absolute criteria to identify the inks you should actually buy:
For eraser stamps, instead of buying large rectangular ink pads, choose small cube or teardrop-sized ink pads where the pad surface is slightly raised above the surrounding plastic case.
This is because when applying ink to an eraser stamp, you do not press the stamp into the ink pad; instead, you hold the ink pad in your hand and gently tap it onto the stamp. With a mini-sized ink pad that has an exposed, raised pad surface, you can lightly dab ink targeted at specific areas. This is the ultimate secret to vibrant colors on delicate details.
Inks are broadly divided into two categories: dye inks and pigment inks. For eraser stamps, water-based pigment ink yields the most beautiful results without a doubt.
Dye inks soak into the paper to develop color, which easily causes bleeding along paper fibers and ghosting (ink showing through the back of the page). On the other hand, pigment ink uses micro-fine color particles that rest on the paper surface, capturing the sharp edges of your carved eraser lines precisely. Their vivid color development, water resistance, and lightfastness are major advantages.
The ink category you need is completely determined by what material you want to stamp on. Whether it's paper, fabric, wood, plastic, metal, or leather, using an unsuitable ink will cause it to bead up, fail to dry, smudge on hands, or wash away in the laundry.
Using specialized ink tailored to your intended material is the single rule to ensure zero failures.
Here are the ideal combinations based on my practical data to show you exactly which ink to choose for each material. Gathering these will cover all your handmade crafting needs.
When stamping on paper goods like message cards, journals, paper items, and wrapping paper, water-based pigment inks specifically developed for eraser stamps are the absolute best choice.
These inks feature firm pads that keep extra ink out of tiny carved grooves. They provide crisp, bright colors and become highly water-resistant once dry. Color selections range widely from traditional Japanese shades to muted pastel tones. If you want to make paper crafts, starting with a few small water-based pigment ink pads in key colors is the right move.
If you want to stamp original pouches, tote bags, cloth masks, or children's school goods, always use water-based pigment fabric inks designed for heat-setting.
After stamping with fabric ink, applying a dry iron for at least 15 seconds melts the resin components, binding them strongly to the fabric fibers. With proper heat setting, the vibrant design stays intact through repeated washings without fading. They work wonderfully with cotton, linen, polyester, and blend fabrics.
Note: If you skip ironing, the ink will wash away completely in the laundry. Make it a strict habit to iron your project after stamping on fabric.
For smooth surfaces like plastic containers, metal tins, glass jars, clear file folders, washi tape, or vinyl bags, quick-drying multi-surface solvent ink is your only option.
Where water-based inks would bead up into droplets, solvent multi-surface inks adhere firmly and dry almost instantly. Stamping black or vibrant colors onto clear materials yields a crisp, professional finish that looks printed.
However, because this ink dries so quickly, leaving it on the stamp will cause it to harden on the eraser surface. It is crucial to clean the stamp with a specialized stamp cleaner immediately after use.
While carving an eraser stamp, you will test-stamp multiple times to check carving depth and line consistency. Never use permanent pigment or solvent inks for these in-progress checks.
For mid-carving checks, use light-colored water-based dye inks or specialized washable inks that offer gentle color and wash off easily with water. Test-stamping with bright colors like light blue or pink makes shallow cuts or uncarved background patches instantly visible. After checking, you can restore the surface using a kneaded eraser, as described below.
Even with the right ink, incorrect application and pressing techniques will ruin the impression. Here are the golden steps used by professional artists to produce flawless impressions.
The single biggest mistake beginners make is pressing the eraser stamp down hard into an ink pad resting on the table. Doing this forces ink deep into the carved channels due to the softness of the eraser material.
The correct method is the exact opposite:
By fixing the stamp in place and tapping the ink onto it, you create a thin, uniform layer of ink solely on the raised surfaces of the eraser.
For fine details or tiny text, tapping with the flat face of the pad might still push ink into narrow grooves. In these cases, use the edge or corner of your mini ink pad.
Dab the corner of the pad precisely along thin lines. Mastering this corner coating technique—made easy with mini-sized ink pads—allows you to stamp delicate lines under 1 millimeter wide without smudging.
Once ink is applied, don't stamp onto paper immediately. Lift the stamp up and inspect the surface at an angle under a light source.
Areas with sufficient ink will reflect light with a moist, glossy sheen. Areas lacking ink will look matte and dry. By checking light reflections and adding ink only to dry patches, you can completely eliminate unevenness and fading.
Once you place the eraser stamp on paper, never shift it sideways. Use the palm of your hand or the flat cushion of your thumb to apply even downward pressure from the center outward.
For larger stamps whose edges tend to lift, gently press down around the four corners and the center in sequence using your thumb cushion. When finished, lift the stamp straight up vertically so it doesn't slide. This alone dramatically improves the clarity of your print!
Do you leave ink sitting on your eraser stamps after crafting? Leaving ink on the stamp can harden the surface, cause permanent discoloration, or react with other tools to melt the eraser. Follow these proper cleaning steps to keep your stamps usable for a lifetime.
When done crafting, repeatedly stamp your tool onto scrap paper until no more ink transfers. This simple step removes over 70% of the remaining surface ink.
After transferring surface ink onto paper, use a kneaded eraser (neri-keshi) available at art supply stores. Tear off a piece, knead it soft, and gently press it onto the face of your eraser stamp.
The sticky texture of the kneaded eraser lifts out ink residue and tiny dust particles trapped deep inside the carved grooves. A kneaded eraser is the best tool in the world for cleaning eraser stamps without damaging them. Never scrub with tissues or wet wipes, as fibers can catch in the grooves and destroy thin carved lines!
When using multi-surface solvent inks or stubborn pigments, a kneaded eraser alone won't remove the color. In this case, use a dedicated stamp oil cleaner or solvent pad cleaner.
Instead of pouring cleaner directly onto the stamp, apply a small amount to a cotton pad or tightly wrung damp cloth, then lightly dab the surface to lift the ink. Afterward, wipe away all cleaner residue with a damp cloth or alcohol-free wet wipe and let it dry.
When storing freshly cleaned eraser stamps, never leave them touching plastic trays or cases directly. The plasticizers in the eraser can react with the plastic container, melting both surfaces together permanently.
When storing, always use paper boxes, or line plastic cases with paper, wax paper, or thin wood veneer sheets (kifune) before laying down your stamps. This simple step keeps your precious handmade stamps in perfect condition for years.
If you're overwhelmed by choices and don't know what to buy first, here is my recommended starter trio. If I lost all my supplies today and had to rebuild from scratch, these are the exact three inks I would buy first:
With these three, you can cover almost any everyday handmade crafting scenario!
Pick up a mini water-based pigment ink pad in an espresso-like dark brown or deep navy. These colors feel warmer than stark black and look stylish on any paper shade.
It provides incredible versatility for paper goods like message cards, planner pages, shop cards, and gift bags. Choosing a mini size with a firm pad guarantees an easy, beautiful stamping experience.
Fabric ink is wonderful for accenting drawstring pouches, simulating embroidery motifs, or making custom clothing tags. Having a lively red or rich chocolate brown expands your fabric crafting possibilities immensely.
Since it can also be used on paper, it serves as a great dual-purpose all-rounder.
Keep one light blue or soft pink water-based ink pad on hand for testing work in progress.
If you test-stamp with black or dark inks, the pigment stains the eraser, hiding your pencil outline lines when you try to make fine carving adjustments afterward. Light colors let you check carving quality accurately while preserving visibility for further refinement.
We’ve covered everything about eraser stamp inks—from basic science and material matching to professional application tricks and post-craft care.
An eraser stamp isn't truly finished when you stop carving with your blade. It breathes life as a unique piece of art the moment you apply a well-chosen ink and stamp it with care onto paper or fabric.
Here is a quick recap of our golden ink rules:
Understanding tool characteristics and selecting the right ink lets your carved eraser stamps achieve 100% of their potential, revealing crisp, detailed, and charming impressions every time!
Grab a few of your favorite color pads and jump into the colorful, warm world of Japanese eraser stamping!
If you enjoyed this guide, sharing it with your crafting friends on social media would mean the world to me! Until next time, happy crafting from Yassy!






For example, if you are looking for articles about mizuhiki, try searching for "mizuhiki"; if you are interested in tools, try keywords like "nippers" or "pliers."
