How Long Does Epoxy Resin Take to Cure? A Complete Guide to Curing Times, Thickness, UV Lights, and Avoiding Mistakes
yassy
Crafters!
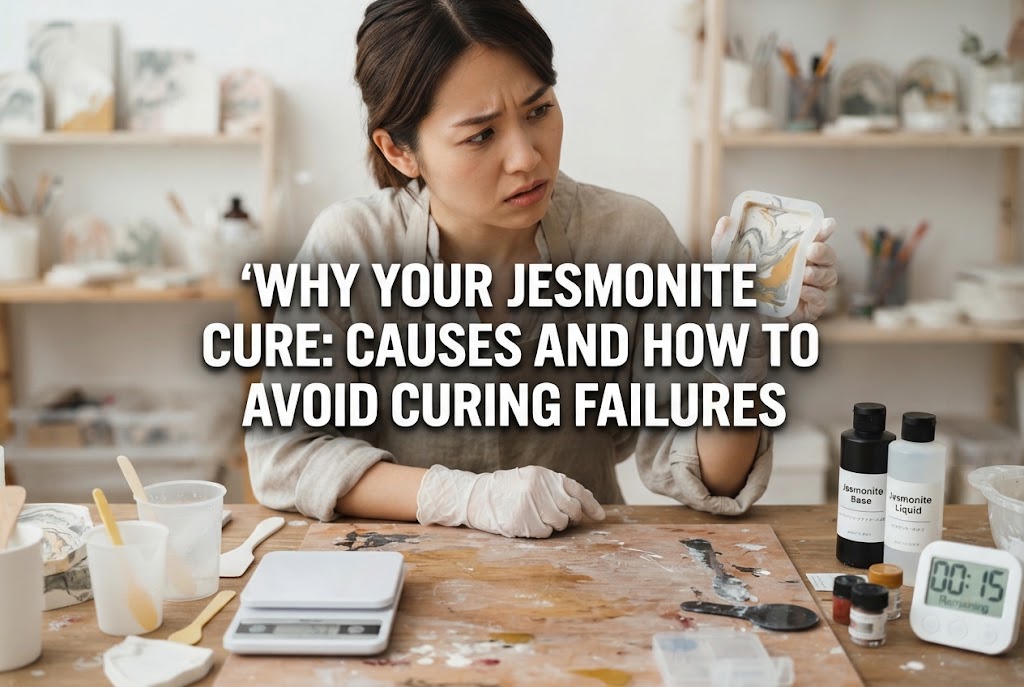

Hi everyone, it's Yassy from Crafters! (・∀・)
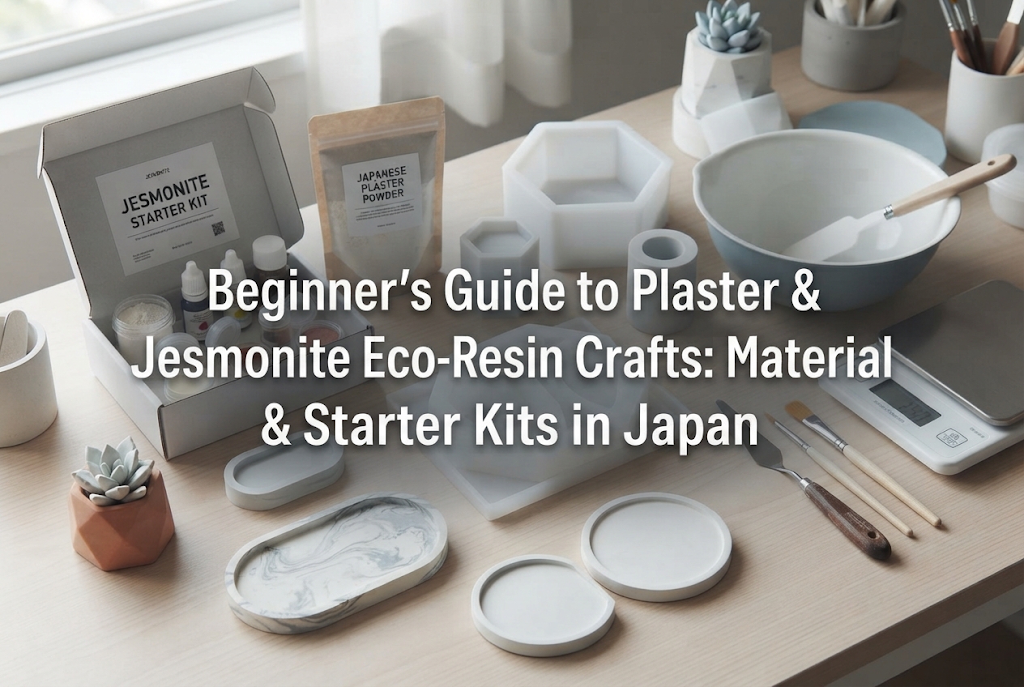
Jesmonite has taken the handmade craft world by storm. From chic interior trays and coasters to elegant jewelry stands, it allows us to create pieces with a smooth, premium, stone-like finish. I personally love making, admiring, and buying Jesmonite creations, and I interact with them every single day.
However, beginner crafters working with Jesmonite often hit a frustrating wall: "Why isn't it setting?" "Why is the surface still sticky?" "Why did my piece crumble and break when I demolded it?"
Jesmonite is gaining huge attention as an eco-friendly, solvent-free water-based resin. But unlike conventional materials—such as two-part epoxy resin, UV resin, or traditional plaster—it hardens through a unique chemical process. Because of this, improper techniques or imprecise measurements will almost certainly lead to curing failure.
In this guide, I will break down the exact reasons why Jesmonite fails to cure and share the essential rules to ensure your pieces set rock-hard and turn out beautifully every time!
Before diagnosing why Jesmonite won't cure, it's crucial to understand how it hardens in the first place. Without grasping this mechanism, you might repeat the same mistakes over and over again, regardless of how many times you try.
Jesmonite hardens through a reaction between two components: a liquid (acrylic resin emulsion) and a powder base (mineral powder). When combined, the water and acrylic components in the liquid react with the base, triggering a hydration reaction that crystallizes the mixture into a solid resin structure.
This is neither a chemical cross-linking reaction like epoxy resin, nor a simple drying process where water merely evaporates like clay. It undergoes a specialized process: crystallizing internally while retaining moisture.
If this reaction is interrupted or if the ratio of ingredients is off, your piece will not cure properly. First, check your piece to see if it exhibits any of the following symptoms of curing failure:
There is always a clear cause behind these issues. Relying on guesswork or intuition won't prevent curing failures in Jesmonite. Let’s review the primary causes one by one to see if any apply to your process.
The single most common cause of Jesmonite failing to set is inaccurate measurement. This is the biggest misconception beginners fall into.
To put it bluntly: Jesmonite must ALWAYS be measured by weight (grams), never by volume (milliliters). If you use a measuring cup to measure "10 ml of liquid to 25 ml of base," it will fail 100% of the time.
Standard Jesmonite mix ratios vary depending on the type (such as J1000), but they are defined by weight on a digital scale—typically 1 part liquid to 2.5 parts base, or 1 part liquid to 3 parts base. For instance, if you use 10g of liquid, you must weigh out exactly 25g of base.
Because the base is a fine powder, its volume changes dramatically depending on how tightly packed or aerated it is. Measuring it with scoops or cups creates massive discrepancies in actual weight. Too much powder results in an unmixed, crumbly mess; too much liquid leaves excess unreacted liquid, preventing the mixture from ever turning rock-hard.
Furthermore, the precision of your digital scale matters tremendously. Standard kitchen scales that only measure in 1-gram increments introduce significant errors when making small items like earrings, rings, or small trinkets, where a variance of even a fraction of a gram changes the overall ratio drastically.
When working with Jesmonite, always use a digital scale that measures in 0.1-gram increments. A difference of 0.1g can directly determine whether your piece cures or fails.
Also, don't forget to hit the tare (zero) button! Forgetting to deduct the weight of the mixing container before pouring in ingredients ruins the ratio completely. Get into the habit of placing the container on the scale, verifying a zero display, and carefully pouring each component by weight.
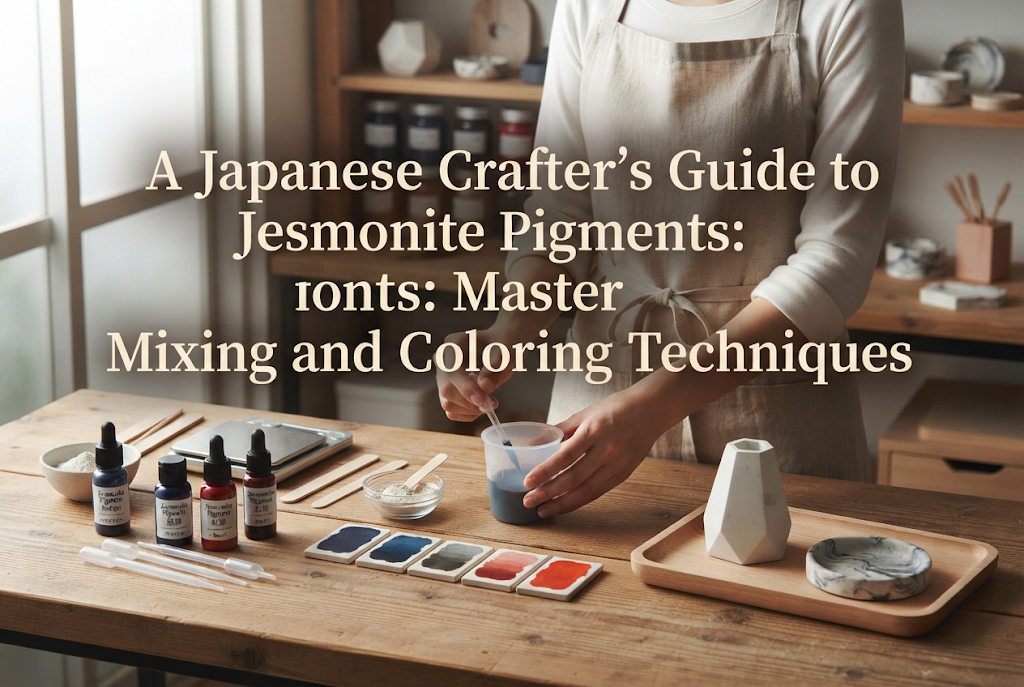
One of the best features of Jesmonite is the ability to color it to create marble effects or terrazzo patterns. However, color additives are another frequent trap for curing issues.
The golden rule for adding color to Jesmonite is: Pigment should never exceed a maximum of 2% of the total mix weight. No matter how rich or dark you want the color to be, never cross this 2% limit by even a single drop.
Official Jesmonite pigments are specially formulated not to interfere with the curing reaction. However, even with official pigments, adding more than the recommended limit disrupts the molecular bonding between the liquid and the base, halting the hydration process. As a result, your piece will remain soft and muddy no matter how long you wait.
Even more dangerous is using non-recommended colorants. A frequent mistake made by beginners is mixing in oil-based paints, resin dyes, or alcohol-based permanent inks found around the house.
Jesmonite is a water-based system. Introducing oil-based colorants causes phase separation—like oil and water repelling each other inside the mixture—stopping the curing reaction entirely. Even if it looks blended initially, the reaction fails internally, leaving oily, un-cured liquid oozing out once removed from the mold.
Always use official Jesmonite pigments. If you must use an alternative, use only a tiny amount of water-based acrylic paint. Even with water-based acrylics, because they alter the moisture balance, you must strictly keep the addition under the 2% limit.
If you want a dark black or vivid primary color, do not pour in excessive pigment. Instead, maximize the coloring efficiency within the 2% limit while taking the natural off-white color of the base powder into account.
If your measurements are exact and your pigment amounts are within limits, but the piece still won't harden, the next culprit is improper mixing.
Jesmonite requires the liquid and base to come into contact at a molecular level for the curing reaction to spread evenly throughout the mixture. Stirring casually a few times with a spatula is simply not enough.
A classic sign of undermixing is partial curing failure—where parts of the piece are hard while other spots remain slushy or sticky due to unreacted liquid rising to the surface.
To mix properly, you must master both technique and timing. You need to blend briskly and thoroughly until all lumps disappear.
Crucially, you must perform side scraping. As you stir the mixture in a cup, unmixed liquid or dry powder base inevitably clings to the inner walls and bottom corners of the container.
If you pour the mixture into a mold without scraping these areas, the unmixed material at the bottom of the cup drops into the mold last, landing on the surface or base of your project. This leaves localized sticky patches that never dry.
Always follow these steps when mixing:
Aim for a smooth, batter-like or soup-like consistency with zero lumps. Do not be overly afraid of introducing air bubbles by stirring thoroughly; it is far better to mix thoroughly and tap out air bubbles afterward than to suffer from curing failure due to gentle, incomplete stirring.
Although Jesmonite is a water-based material, it is NOT a material to which you should freely add extra water. This is a very common misconception among beginners.
Have you ever added a few drops of tap water because the mixture felt too thick to pour easily? This is a critical mistake that causes curing failure.
The water content within the Jesmonite liquid is precisely calculated to react with the base powder to form a complete crystal lattice. Adding external water dilutes the resin concentration, preventing proper crystallization.
Jesmonite diluted with water will feel spongy upon demolding and remain structurally weak once dry, crumbling like dry sand at the press of a finger. If you need to adjust viscosity or working time, never add water—use official Jesmonite additives like Retarders or Thickeners in their correct ratios.
Be equally careful with hidden moisture on your tools and molds. Using freshly washed cups that aren't fully dry, molds wiped with wet towels, or damp mixing sticks will introduce water drops into your batch.
When working with small quantities of Jesmonite, even a single drop of water represents a significant percentage of the total mix, directly causing soft spots or curing failure. Ensure all tools, cups, and silicone molds are 100% dry before starting. If there is any doubt, use a hairdryer to completely evaporate any residual moisture.
If your ratios, mixing, and tools are perfect, but the piece is curing abnormally slowly or remaining tacky on the surface, look at your workspace's room temperature and humidity.
Because Jesmonite hardens through a chemical hydration process, it relies heavily on ambient temperature. The recommended optimal working temperature specified by manufacturers is generally between 18°C and 25°C (64°F–77°F).
Pay extra attention during cold winter weather. If you work in a cold room where temperatures drop below 15°C (59°F) or 10°C (50°F), the chemical reaction slows down dramatically. A piece that normally cures rock-hard in 20 to 30 minutes may remain soft for hours.
If a piece fails to harden in a cold room, it might not be a permanent failure—it may simply be a delayed reaction. However, leaving it in cold conditions risks stopping the reaction prematurely, leaving the piece without its full intended strength and durability.
In winter, use heating to keep your workspace around 20°C (68°F). Also, if your liquid or base materials have been stored in a cold spot, bring them to room temperature before mixing.
Conversely, in hot summer environments above 30°C (86°F), the curing reaction accelerates rapidly. The mixture may begin setting inside the mixing cup, becoming thick and unusable before you can pour it into the mold. In high temperatures, cool the room with air conditioning or use a dedicated Jesmonite Retarder to extend working time.
High humidity also impacts your results. Demolding during extremely humid periods, such as rainy seasons, can cause the surface to absorb ambient moisture, leading to tackiness or a cloudy appearance. Working and drying your pieces in a well-ventilated space with controlled humidity is essential for flawless results.
What if, despite your best efforts, a batch fails to cure and remains sticky or muddy? Can it be saved?
To be direct: There is no way to revive or fix Jesmonite once it suffers a curing failure.
Applying heat with a hairdryer or exposing it to sunlight will not restart the internal hydration reaction once the chemical balance is lost. Even if the surface appears to dry out, the core will remain mushy and structurally unsound. The only proper solution for a failed batch is to discard it and start fresh with new materials.
The real priority when a failure happens is cleaning your silicone molds. Tacky, un-cured Jesmonite stuck inside a mold will ruin future casts if not thoroughly cleaned out.
Here is how to properly clean un-cured Jesmonite from your molds:
Here is my personal step-by-step checklist that I follow whenever making Jesmonite pieces. Run through these steps in your head before starting your next project:
Step 1: Check Environment & PreparationEnsure workspace temperature is between 20°C–25°C (68°F–77°F). Confirm that molds, mixing cups, and stirrers are completely dry and free of water or dust.Step 2: Precise 0.1g MeasurementPlace a digital scale (0.1g precision) on a flat surface. Set your cup, press "Tare/Zero," and weigh the exact required amount of liquid. Press "Tare/Zero" again and add the calculated weight of base powder. Eliminate guesswork entirely.Step 3: Pigment Control (Max 2%)Add official Jesmonite pigment in tiny amounts, ensuring total pigment weight remains under 2% of the overall mix weight. Never use oil-based dyes or resin pigments.Step 4: Thorough Mixing & Side ScrapingMix briskly and vigorously. Be sure to scrape the inner sides and bottom corners of the cup with your stick to incorporate unmixed powder or liquid. Continue stirring until the mixture is smooth and lump-free.Step 5: Pouring & Dewatering Air BubblesPour the mixture in a thin stream into the lowest point of the mold. Tap the sides of the mold gently to force trapped air bubbles to the surface.Step 6: Curing undisturbedLeave the mold undisturbed in a well-ventilated room at around 20°C for at least 40 to 60 minutes out of direct sunlight. Resist the urge to touch or press the piece until it is fully set hard.
If you clear every item on this checklist, curing failures are physically impossible. In handmade crafting, 90% of success comes down to accurate preparation!
Curing failures in Jesmonite are never a matter of bad luck—they always have a clear, scientific cause. Measurement errors, excessive pigment, water contamination, insufficient mixing, or temperature issues will interrupt the hydration process.
The flip side, however, is wonderful: as long as you follow the correct rules and precise numbers, even complete beginners can achieve 100% rock-hard, flawless results every single time!
That smooth stone finish, sleek tactile feel, and solid weight—there is nothing quite like the feeling when a perfectly cured Jesmonite piece pops effortlessly out of its silicone mold!
Don't be afraid of mistakes. Keep these rules in mind, and enjoy creating your own custom home decor, coasters, and accessories!
If you found this guide helpful, please share it with your craft friends or on social media—it means the world to me! Until next time, happy crafting! This was Yassy from Crafters!



For example, if you are looking for articles about mizuhiki, try searching for "mizuhiki"; if you are interested in tools, try keywords like "nippers" or "pliers."
