What Are Czech Glass Beads? Types, Features & Uses: A Japanese Crafter’s Complete Guide
yassy
Crafters!

Hello everyone, it’s Yassy from Crafters! (・∀・)
I absolutely love making various handmade crafts, but I also enjoy admiring the wonderful creations of other artisans and buying pieces that I love to wear. Accessories made with beads and natural gemstones are extremely popular among beginners because you can create something beautiful just by gathering materials and stringing them together.
However, have you ever created a piece and found yourself thinking, "For some reason, it doesn't look as refined as store-bought jewelry," or "It has an amateurish look that makes it feel cheap"? Even when the design is cute and the components are gorgeous, the reason for being dissatisfied with the final result usually isn't a lack of overall skill, but rather how the fine details and finish are handled.
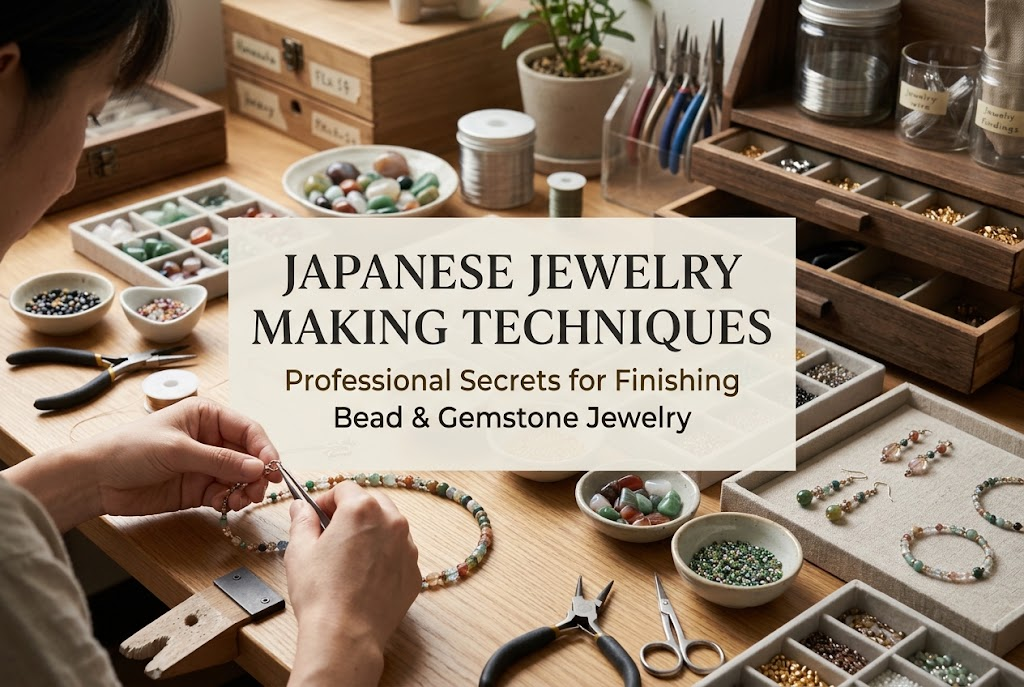
In this article, I will explain practical techniques and rules of craftsmanship that will elevate the quality of your beaded and gemstone jewelry to a professional level. Going beyond simple tool selection and basic stringing, I'll share all the know-how needed to fundamentally boost your work's quality. With just a few small tips and a shift in mindset, your pieces will transform dramatically.
When you place store-bought jewelry next to a loosely crafted handmade item, the difference is obvious right away. It is not necessarily a difference in design. The true reason why a viewer perceives a piece as "beautiful" lies in the accumulation of millimeter-level precision.
There should be no unnecessary gaps between components, the loops of metal findings must not be warped, and the overall flow of the piece must be smooth. Only when all of these meticulous conditions are met does true luxury and elegance reside in the artwork.
No matter how expensive or beautiful the natural gemstones you use are, if the metal finishing at the ends is sloppy, the value of the entire piece drops instantly. Humans unconsciously tend to trace visual "joints" with their eyes—such as metal wire ends and jump ring connections.
If there is distortion or a gap at these connection points, the eye catches on it, giving the impression of rough, homemade work. Conversely, if the fine details are processed perfectly, even a piece made with affordable beads can be made to look like a sophisticated, high-end accessory.
The biggest reason why a piece looks cheap is compromise during the crafting process. Thoughts like "It's slightly bent, but it's for me, so it's fine," or "There's a tiny gap, but the wire won't slip out, so it's okay" lower the finished quality of the whole piece.
Professional artisans and crafters who make high-quality work never ignore that lingering feeling of imperfection. The moment they notice something feels off, they undo the step to start over or refine it until the shape is flawless. The quality of a piece is determined not by how long you spend making it, but by precision without compromise.
Metal processing is unavoidable when crafting bead and natural stone accessories. Opening and closing open jump rings and C-rings, shaping loops on eyepins and headpins, and executing wire wrapping—mastering the precision of these three metalworking techniques is the fastest route to upgrading your finished quality.
When opening and closing jump rings or C-rings, pulling them sideways to widen them is a mistake you must avoid. Rings should always be twisted open by moving the ends back and forth (toward and away from you). When closing them, use the same back-and-forth movement, rubbing the metal edges together until they snap perfectly into place.
A perfect closure means a state where absolutely no light shines through the seam of the ring. Whether viewed from the side or top, the seam should align seamlessly, leaving a smooth surface where you feel no step or ridge when touching it with your finger.
Leaving a gap can cause delicate design chains or thin wires to slip out. Using two pairs of flat-nose pliers, gently grip the ring while applying a subtle inward pressure to return it to a flawless, continuous circle.
When bending eyepins or headpins, do the loop sizes vary from piece to piece? In earrings or necklaces, inconsistent loop sizes between the left and right sides or across individual components are a classic tell of amateur work.
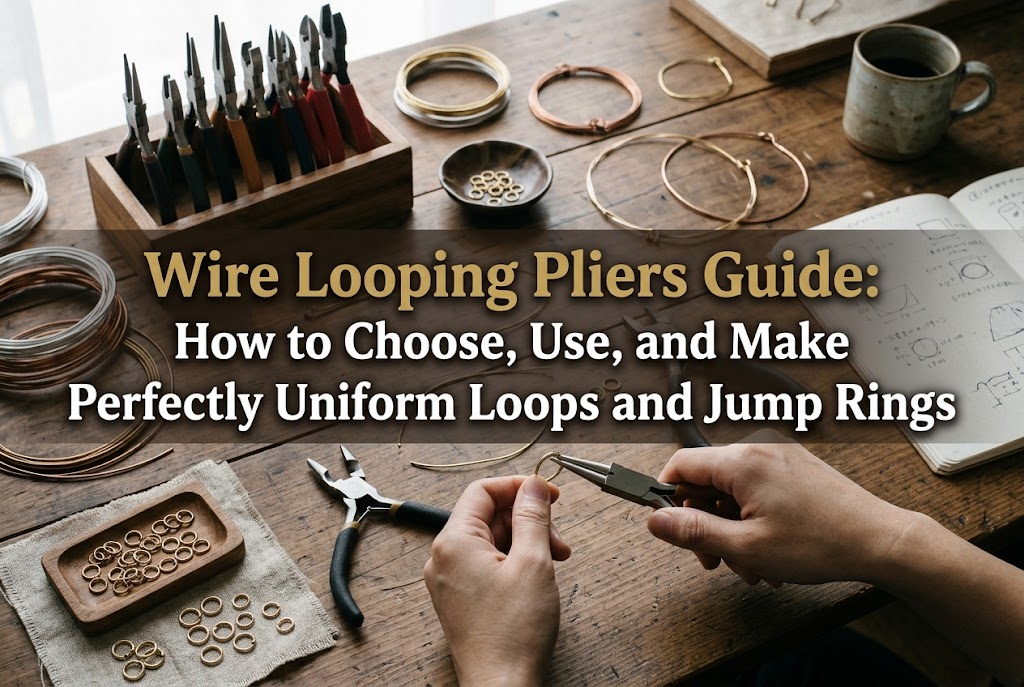
When forming loops, make sure the point where you grip the wire with your round-nose pliers is identical every single time. A great tip is to draw a guide line on the metal jaw of your round-nose pliers with a permanent marker, allowing you to create beautiful loops of uniform size every time.
It is also crucial to bend the pin at a sharp 90-degree angle before forming the loop. Shaping a clean circle right from the base ensures a neat loop that sits squarely on top of the bead without awkward gaps, achieving that coveted professional look.
When connecting natural gemstones, wire wrapping (often called *megane-dome* in Japan) is the technique that offers the highest strength and most luxurious feel. What determines the quality of a wire-wrapped loop is keeping the number of wraps uniform around the core wire and ensuring there are no gaps between the coils.
If you wrap one side three times, make sure you wrap the opposite side exactly three times as well. Allowing the wire to overlap or leaving loose gaps that result in rough coiling is a definite no-no.
Secure the base of the wire loop with pliers, and use your other hand to apply consistent tension while wrapping the wire cleanly into a smooth coil without gaps. Cut the excess wire end as close to the core as possible, and flush it down along the axis using fine-tipped pliers. It passes the test if it feels smooth and won't snag on clothing fibers.
Have you ever made a necklace or bracelet that ended up feeling stiff and rigid, or conversely, too loose and floppy? This is evidence that the tension adjustment when threading nylon monofilament or coated wire wasn't quite right.
The most common mistake among beginners is pulling the thread or wire as tight as possible before securing it with a crimp bead out of fear that the components might slip out. Tightening the stringing material excessively removes all slack, causing the piece to lose its natural, fluid movement.
Bracelets and necklaces create their intended beautiful silhouettes by curving along the wrists or neckline. If locked down in a stiff, straight line, the accessory will bunch up awkwardly when worn instead of draping gracefully against the body.
When passing wire through beads or gemstones and securing it to findings with crimp beads, the correct approach is to leave a very subtle amount of play (less than 1 millimeter of space).
While securing the crimp bead, do not keep the piece stretched out completely flat. Instead, curve it into a "C" shape, mimicking how it will look when worn, before crimping. This prevents the beads from colliding and binding against each other when bent.
The secret to creating an elegant drop is leaving just enough subtle slack so that the piece flexes smoothly when lifted and the beads shift ever so slightly when touched.
The crimp beads and calottes (bead tips) used to finish the ends of necklaces and bracelets also greatly influence the overall aesthetic.
Crushing a crimp bead flat with brute force using flat-nose pliers does not look clean. Flattening it creates sharp corners that look unappealing and risk scratching the skin or snagging clothing.
The prettiest finish is achieved by using dedicated crimping pliers to fold the crimp bead in the center and compress it into a neat, rounded shape. If you use calottes (bead tips), close the left and right cups carefully so they align perfectly into a sphere. If the cups are gapping or misaligned, it immediately gives a cheap impression.
Beyond technical metalwork, rules exist for material selection and layout to elevate the finished quality. Natural gemstones, in particular, vary in color tone, pattern, and size from stone to stone. Whether you can understand these individual differences and incorporate them into your design is a decisive difference between professional and amateur crafters.
When you purchase natural gemstone beads, even those on the same strand will display slight variations in color intensity, internal inclusions, and tiny size differences. Stringing these at random as they come produces a cluttered look lacking unity.
Before assembling, always lay all the stones out on your work surface to inspect subtle differences in tone and size. Arrange them so the colors form a smooth gradient that deepens toward the center (front) of the piece, or place the most well-shaped, beautiful stone right in the middle.
Simply taking the time to calculate and arrange subtle shifts in color creates harmony across the entire work, transforming it into a strikingly refined piece.
Accessories are not meant to just be looked at while lying on a table; they are completed when worn. If a design sags out of shape or twists around to show its backside due to weight, the design fails its purpose.
Pay close attention to the center of gravity, especially with earrings and statement necklaces. As a rule of thumb, place heavier large gemstones or substantial metal components at the bottom or center of the design.
Placing heavy components near the top ruins stability when worn, causing the piece to dangle awkwardly. At the design stage, calculate the physical weight balance, not just the visual balance.
High-quality pieces have perfectly matched metal findings. Even within "gold" findings, shades vary subtlely—such as yellow gold, rose gold, or light gold—depending on the manufacturer and base material.
If your jump rings are yellow gold while your eye pins and chain are light gold, it creates a subtle visual clash. Always unify the plating color and material (such as 14KGF or SV925) using findings of the same color code from the same manufacturer whenever possible.
Additionally, match the texture of your metal parts (glossy, matte, or antique finish) with the texture of your gemstones (translucent gloss, matte, or vintage style). Matching the overall tone between materials ties everything together, dramatically boosting the overall polish.
Do you thoroughly perform a final check and polish after assembling your piece? Professionals do not call it a day the moment assembly finishes; they conduct rigorous checks and final adjustments from that point onward.
Never Miss Burrs or Scratches on Metal Parts and Beads
Are you accidentally using beads or metal findings that have burrs (small protrusions) or fine scratches from the manufacturing process? Acrylic beads and metal components frequently have sharp mold seams left behind.
Using components with burrs not only looks bad, but can also cause discomfort against the skin or catch and ruin delicate clothing threads. Always run your fingertips over components while crafting to check for rough spots.
If you find a burr, gently smooth it away using a fine-grit sanding sponge or precision craft knife before assembling it into your piece. Spares no effort here; this extra step enhances safety and builds trust as a craftsman.
Natural stones and metal findings accumulate oils and dust from human hands during crafting, which dulls their natural shine. Translucent quartz, glass beads, and shiny metal parts lose half their beauty from fingerprints alone.
Before assembling components—and immediately after completing the piece—wipe everything down thoroughly with a soft microfiber cloth or dedicated jewelry polishing cloth. Simply wiping away excess oil and smudges restores the inherent clarity and brilliant luster of the materials.
A freshly polished accessory radiates an overwhelming sense of presence and luxury on its own.
Here, I'd like to share my personal "rules" that I never compromise on when making bead and gemstone jewelry in my daily life. Although I work on various handmade crafts, I strictly observe these rules when it comes to jewelry making.
What I value most is this: "If something feels off mid-way through, no matter how far along the work is, unstring or unbend it without hesitation and redo it."
Sometimes, halfway through stringing a necklace, I'll think, "Hmm, the color balance feels a bit off," or "That loop turned out slightly crooked." If I try to rationalize it with "Well, nobody will notice from a distance," I will inevitably end up focusing on that exact flaw when it's done, resulting in a piece I don't truly love.
Noticing that something feels off is proof that your eye for detail is growing sharper. The moment you feel hesitation, make the call to stop, undo the step, and remake it. This unwillingness to compromise is the shortest path to maximizing the finished quality of your work.
The beauty of a finish is directly proportional not just to your hand technique, but to the precision of the tools you use. I have bought and tried countless pliers throughout my journey, and my work's precision improved dramatically once I switched to high-quality tools whose tips align perfectly without any alignment slop.
When selecting tools, choose pliers with fine tips where the cutting edges or gripping surfaces meet flawlessly. Trying to force work with cheap, misaligned tools leaves unwanted scratches on metal findings, making the finish look messy.
Furthermore, when using pliers, I make it a point not to force the metal into shape, but rather to gently guide it while feeling the natural flex of the wire. Operating the tool tips as if they were extensions of your own fingertips, without applying excessive force, is the secret to creating smooth curves and clean seams without leaving scratches.
Before considering your piece complete, run through the following checklist. When every box is checked, your work has reached a quality that rivals or surpasses store-bought items!
Make this checklist a habit in your crafting process. Clearing each point one by one will steadily improve your technical skills, leaving you with fantastic pieces you can proudly show off to anyone.
What you need to raise the quality of your bead and gemstone accessories isn't magic or impossibly complex advanced techniques.
The key to everything lies in how deeply you understand these absolute fundamentals and how meticulously you execute them without cutting corners.
It might take time at first. Undoing your work to start over can sometimes feel frustrating. However, the joy of holding a piece crafted with intense attention to detail, and the thrill when you try it on in front of a mirror, is second to none.
Accessories born from careful handwork speak volumes about your passion and dedication, bringing genuine radiance to the person who wears them. I hope you'll incorporate these techniques into your next project and create your most beautiful masterpiece yet!
If you enjoyed this article, sharing it with your crafting friends on social media would make me super happy and encouraged! See you in the next article! This was Yassy from Crafters!


For example, if you are looking for articles about mizuhiki, try searching for "mizuhiki"; if you are interested in tools, try keywords like "nippers" or "pliers."
