Beginner’s Guide to Wax Sealing: Tools, Starter Kits, and How to Make Beautiful Wax Seals
yassy
Crafters!

Hello, this is Yassy from Crafters! (・∀・)
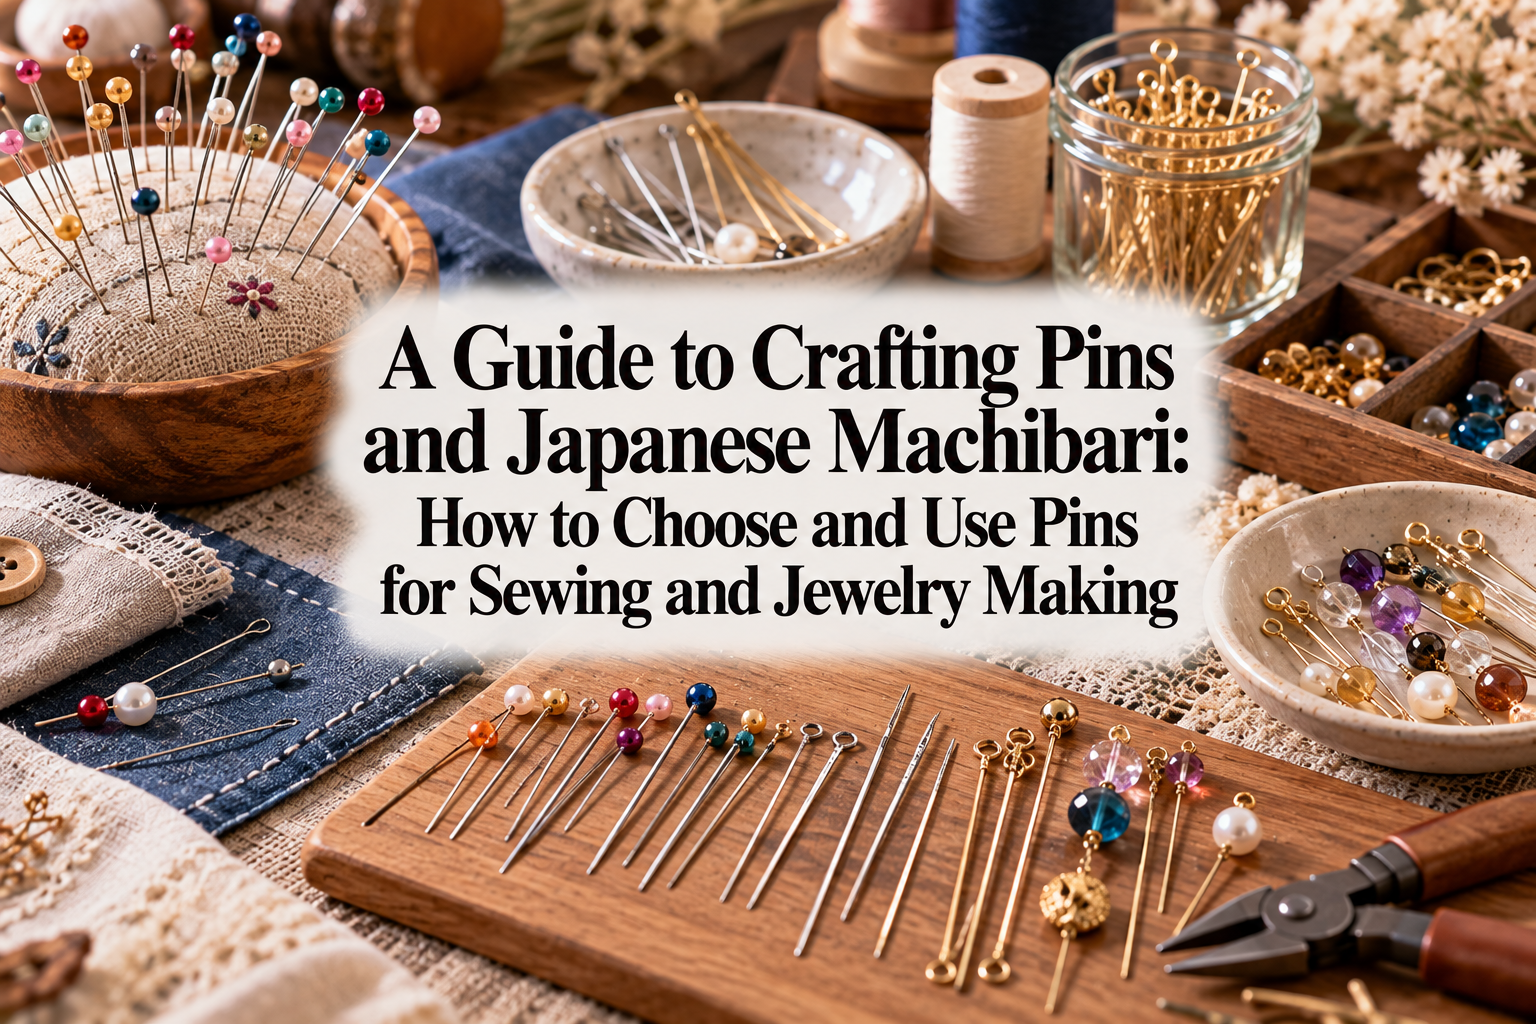
Whenever you step into crafting—whether you open a sewing box or browse the findings aisle at a craft store—pins are everywhere. Because they are such everyday items, it is easy to assume that any pin will do the job. However, that assumption is a huge mistake. Selecting the correct pin and using it properly is one of the most fundamental techniques for elevating your handmade work to a professional standard.
Over the years, I have crafted everything from fabric pouches to beaded accessories and sculptural 3D projects, handling countless varieties of pins along the way. As someone who loves both buying and testing craft tools, I can assure you: using the wrong pin for your materials will inevitably lead to frustration—leaving permanent puncture marks in delicate fabrics or distorting jewelry findings.
In this guide, I will walk you through the various types of sewing pins (known in Japan as machibari) and jewelry pins, their specific uses, how to choose the right one, how they compare to alternative tools, and critical tips to avoid common beginner mistakes. Let’s find the perfect pins to take your crafting precision to the next level!
Pins are not merely background helpers. They serve as an essential framework that dictates both the accuracy and speed of your crafting.
In handmade crafts, pins fulfill two main purposes: temporary basting/holding and permanent connection/assembly. In sewing, pins hold fabric layers in place temporarily so they do not shift while stitching. In jewelry making, however, metal pins become permanent, structural components of the piece itself.
Choosing the wrong pin not only slows you down, but can also permanently damage your work. For instance, piercing fine silk with a thick, heavy-duty sewing pin will cut the woven threads and leave irreversible holes. On the other hand, using a flimsy, ultra-thin jewelry pin for a heavy bead will cause the metal to bend and the component to fall off during wear.
Understanding each pin’s unique characteristics and matching it to your project is the essential first step to crafting success. Let’s explore each category in detail.
Sewing pins, widely called machibari (待ち針) in Japan, vary significantly by shaft thickness, length, and head material. While they may all look like simple needles with heads at first glance, understanding their physical differences is crucial.
When selecting sewing pins, the material of the head deserves your closest attention. Pin heads on the market are broadly divided into two categories: glass and resin (plastic).
To put it simply: for handmade sewing, always choose glass-head pins.
The defining advantage of glass heads is their superior heat resistance. When sewing, you will frequently press seams or shape fabrics with an iron while pins are still holding the layers together. Glass heads will never melt, even when pressed directly with a hot iron.
Conversely, plastic heads—common in budget multi-packs—melt almost instantly when touched by an iron. Melted plastic sticks to your fabric and iron soleplate, ruining your project in an instant. While plastic-headed pins are acceptable for tasks that involve no ironing whatsoever, glass-head pins are by far the best and safest choice for all-around sewing.
The diameter of the pin shaft is vital for securing fabric securely without leaving visible damage. Pin diameters generally fall into three categories:
Never insert a thick, heavy-duty pin into a sheer or lightweight fabric; it will separate or break the fibers and leave noticeable holes. Conversely, using an extra-fine pin on heavyweight canvas will cause the pin to bend under pressure. Always match the shaft diameter to the fabric weight.
Pin length is also an important factor. Longer pins (around 48 mm to 50 mm) are ideal for quilting and large bag-making, whereas standard lengths (around 35 mm to 38 mm) offer the best control when working on small pouches and garment details.
There are also specialized pins that either lack a ball head entirely or feature miniature heads:
Silk Pins: These are fine, all-metal pins with tiny, flat heads. They are indispensable when placing paper patterns flat over pinned fabric before cutting, or during precise machine sewing where you need minimal bulk under the presser foot. Because their flat heads lie flush, they also do not get in the way of acrylic rulers.
Appliqué Pins: Designed with exceptionally small heads, these pins are used when layering small fabric cutouts. Their miniature profile keeps sewing thread from catching on the pin heads while you hand-stitch.
In recent years, many crafters have embraced sewing clips (often called temporary holding clips) as a substitute for pins. However, clips do not make traditional sewing pins obsolete. Each tool has clear strengths and limitations.
Sewing clips excel when working with materials you cannot puncture, as well as very thick layers. Faux leather, laminated fabric, vinyl, and genuine leather will retain permanent holes once pierced by a pin. You must always use clips—never pins—on these puncture-sensitive materials. Clips are also fantastic for holding bulky areas together, such as folded bag handles.
However, there are two crucial tasks only pins can handle: pinning away from fabric edges and aligning complex curved seams.
Clips can only grip along the outer edges of a seam allowance. If you need to position a pocket in the middle of a fabric panel or secure inner layers of a large project, pins are your only option. Furthermore, when matching registration marks on curved, three-dimensional seams—such as set-in sleeves—pins provide the precise, point-to-point positioning clips cannot replicate.
My recommended approach is to use glass-head sewing pins as your standard foundation, and bring in sewing clips for edge holding and puncture-sensitive materials. Combining both tools gives you the highest efficiency and the cleanest finish.
In the realm of beadwork and natural stone jewelry, pins are not basting tools—they are permanent metallic findings that link components together. Here is an overview of the three most common jewelry pins: T-pins (headpins), 9-pins (eyepins), and ball pins.
Headpins (frequently referred to as T-pins in Japan due to their flat, T-shaped tops) feature a flat, stamped end.
Their main purpose is to sit at the terminal bottom of a bead or drop component. When you thread a bead onto a headpin, the flat bottom acts as a stopper to keep the bead from sliding off. You then use round-nose pliers to bend the remaining wire shaft into a loop at the top, allowing the beaded drop to hang from an earring hook or necklace chain.
One critical pitfall when using headpins is the relationship between the bead hole and the pin head. If the bead hole is larger than the flat head, the bead will slip right past it. When working with large-hole beads, slide a small metal bead cap or a tiny seed bead onto the pin first to act as a secure stopper.
Eyepins (often called 9-pins in Japanese craft shops because the pre-formed loop resembles the numeral 9) come with a round eyelet already formed at one end.
Their primary function is to link beads as intermediate connectors. You can attach another component or jump ring to the pre-formed eyelet, slide your bead onto the straight wire shaft, and then form a second loop on the opposite end with round-nose pliers. Connecting several of these units in sequence allows you to assemble elegant bead chains and bracelets.
To attach a finding to the pre-formed loop of an eyepin, use chain-nose pliers to twist the loop slightly open to the side. Always open the loop with a front-to-back twist rather than pulling it outward laterally; pulling sideways causes metal fatigue, warps the loop, and prevents it from returning to a clean circle.
Ball pins feature a tiny, solid sphere formed at the base of the wire.
Functionally, ball pins serve the exact same purpose as flat headpins. Visually, however, they offer a noticeably more refined, premium appearance. Compared to the industrial feel of a flat headpin, the small sphere gives a delicate, professional accent. When working with teardrop-cut gemstones or artisan glass beads, ball pins keep the metallic footprint subtle and elegant. Whenever I create delicate, high-end jewelry, ball pins are my go-to choice over standard headpins.
When purchasing jewelry pins, always check the wire gauge (thickness in millimeters) and length:
For most standard projects, a length of 20 mm to 30 mm is plenty. If you are stringing larger beads or executing a wire-wrapped loop (a technique known in Japan as megane-dome), choose longer pins measuring 40 mm to 50 mm. If your pin is too short, you will not have enough wire left to form a clean loop with your round-nose pliers.
Beyond sewing and basic jewelry making, the broader world of handcrafts features specialty pins tailored to specific techniques. Knowing how to use these expands your creative range considerably.
Corsage and brooch pins transform handmade motifs—such as faux flowers, tsumami zaiku (traditional folded fabric flowers), and needle-felted accents—into wearable accessories.
They come in various styles, including flat-backed plates with rotating safety catches and combination clip-pin bases. You attach these to the back of your piece using strong multi-purpose craft adhesive or by sewing them through a felt backing disc.
Brooch backs with rotating safety clasps are particularly recommended if you make items to sell; they lock the needle tip securely and eliminate the risk of the brooch unclasping accidentally while being worn.
A kabuto pin (often referred to as a kilt pin or oversized decorative safety pin) is a sturdy, design-forward pin base.
Many craft-grade kilt pins feature several hanging loops along the spine. The pin itself acts as the centerpiece of the design; by suspending beads, charms, or woolen elements from these loops, you can quickly build a stylish shawl pin or statement brooch. It is an excellent item for creating high-impact accessories in a short amount of time.
Pins are also extremely helpful when sculpting with needle felt, resin clay, or lightweight polymer clays.
In needle felting, inserting long sewing pins allows you to temporarily position separate limbs or ears on an animal body. Keeping the pieces firmly in place while you poke the felting needle prevents asymmetry.
In clay work, headpins and eyepins provide internal reinforcement before the clay cures. For miniature food charms and keychains, embedding an eyepin deeply into the uncured clay creates an extremely secure hanging anchor once dried.
Here are three frequent mistakes beginners encounter when working with pins, along with practical solutions:
One of the most dangerous and common accidents in sewing is running the sewing machine directly over basting pins. If the machine needle strikes a steel pin, it can snap instantly, sending sharp metal fragments flying toward your eyes.
How to fix it: Make it a strict rule to pause your machine and pull out the pin right before the needle reaches it. Discard the notion that sewing slowly allows your machine to hop over pins safely. While placing pins horizontally across seams is a traditional basting method, pulling each pin out just ahead of the presser foot is the best practice for both safety and stitch quality.
When turning loops on jewelry pins with round-nose pliers, beginners often end up with square-angled kinks or open gaps that allow components to slip free.
How to fix it: Follow this consistent, three-step technique:
The diameter of your finished loop depends on where along the tapered plier jaws you hold the wire. Marking your pliers or consistently using the exact same spot will help you produce uniform loops every time.
Pressing seams over plastic-headed pins melts the resin into the fabric fibers, leaving a stain that is nearly impossible to remove.
How to fix it: If you are unsure whether your current sewing pins have glass or plastic heads, replace them. Always purchase sewing pins clearly labeled as heat-resistant glass head. This single step eliminates the risk completely.
If you are building your toolkit from scratch, here is my recommended starter setup to ensure you buy only what you need:
Pins are metal tools, and they do not last forever. Proper maintenance and storage are essential for preserving the quality of your work.
If a sewing pin feels rough or snags when entering fabric, the point has dulled or developed microscopic rust. Forcing a rough needle through fabric will pull threads and cause lasting damage. When a pin snags, do not hesitate to throw it away and replace it immediately.
Humidity is also a concern. Moisture and oils from your hands will cause pin surfaces to oxidize over time. Store your pins in a low-humidity environment. Using a pincushion filled with natural wool, which contains natural lanolin, helps keep needle shafts lubricated and prevents rust.
When disposing of bent or dull pins, never toss them loose into the trash. Wrap them securely in scrap cardboard, seal them inside a lidded tin, or wrap them tightly with heavy tape, and label the package clearly according to your local waste guidelines. Practicing thoughtful safety management is an essential hallmark of an accomplished crafter.
In the world of handcrafts, pins are unassuming tools that quietly govern the precision, safety, and visual refinement of your finished creations.
By selecting glass-headed sewing pins suited to your fabric weight, pairing them thoughtfully with sewing clips, and mastering headpins, eyepins, and ball pins for jewelry making, you will notice an immediate upgrade in the quality of your handmade work.
Working with the proper tools removes unnecessary frustration and lets you focus entirely on the joy of creating. I hope this guide helps you find the ideal pins for your upcoming projects!
If you found this guide helpful, please feel free to share it with your fellow makers. See you in the next post—this was Yassy from Crafters!


For example, if you are looking for articles about mizuhiki, try searching for "mizuhiki"; if you are interested in tools, try keywords like "nippers" or "pliers."
