Beginner’s Guide to Japanese Craft Band: Tools, Starter Kits, and Zero-Fail Basketry Tips
yassy
Crafters!

Hello everyone, this is Yassy from Crafters! (・∀・)
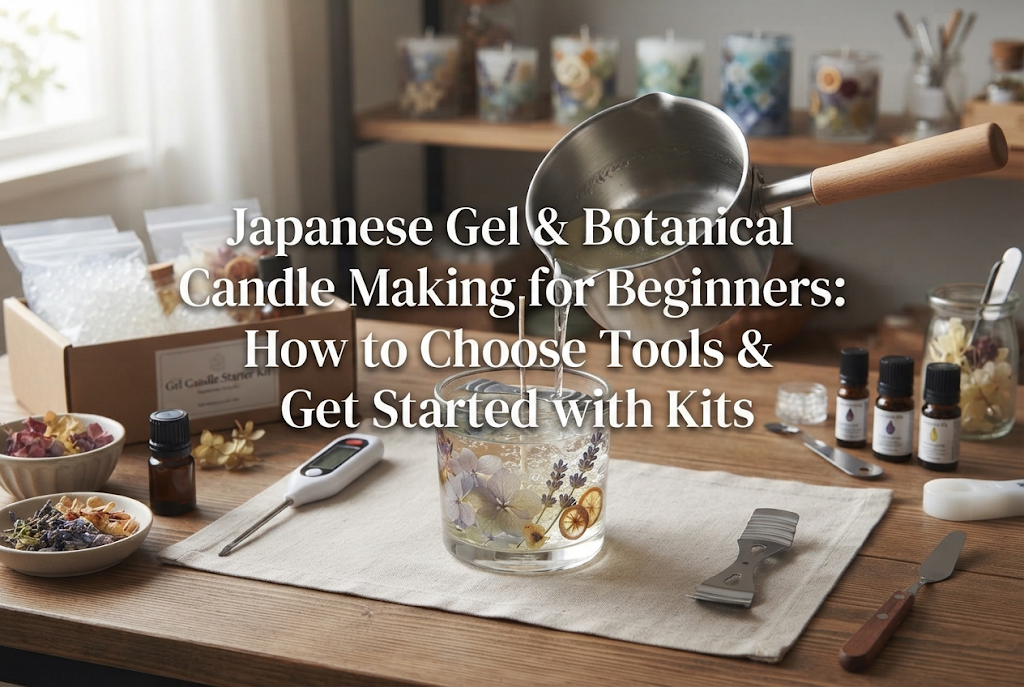
There is nothing quite like dimming the room lights and watching the gentle, flickering flame of a candle. Whenever I spot cute candles at handmade markets or solo craft exhibitions, I can't help but bring them home to add to my collection. While I love admiring and buying them, making my own candles brings a truly special kind of attachment.
Recently, two styles have become overwhelmingly popular among beginners and handmade craft lovers: Gel Candles and Botanical Candles. Gel candles are loved for their plump, crystal-clear transparency, while botanical candles capture the beauty of real dried flowers and dried fruits right inside the wax. Just displaying them as interior decor instantly upgrades the atmosphere of any room.
If you are hesitating, thinking, "Does melting wax sound too difficult?", "Won't the flowers catch fire?", or "What tools do I even need to buy?", don't worry! In this guide, I'll walk you through all the charm of candle crafting. From choosing the right materials without failing, to practical crafting tips, and the smartest, fastest way to get started, I'll navigate you through every step.
Candle making comes in many varieties depending on the materials and techniques used. Among them, what I wholeheartedly recommend are gel candles, botanical candles, and the hybrid style that fuses both together. First, let's look at the unique characteristics and appeal of each.
Gel candles are crafted using clear "gel wax," which is primarily composed of mineral oil and polymer powder. Its biggest feature is an outstanding transparency that standard solid wax simply cannot match.
If you place colorful sand, seashells, or glass ornaments inside a glass container, you can create a piece that looks just like a tiny ocean or underwater world captured in glass. Furthermore, intentionally leaving small air bubbles inside gives a sparkling, bubbly texture like soda, which is a unique strength of gel wax.
Botanical candles encapsulate dried flowers, preserved flowers, dried herbs, and dried fruits along the sides or inside of the candle. Even without lighting them, simply placing them in your room brightens up the space with a floral flair.
Unlike fresh flowers, they require no watering, allowing you to enjoy the beauty of plants for a long time. This makes them immensely popular as gifts or self-care interior decor. When scented with natural aroma oils, they become the ultimate soothing craft, offering both visual beauty and delightful fragrance.
Right now, the craft style attracting the most attention in the Japanese handmade scene is the "Gel Botanical Candle," which encases vibrant dried flowers inside transparent gel wax. You can admire the cuteness of the flowers 360 degrees through the clear gel, and when light hits the candle, it sparkles like a jewel.
While botanical candles made with traditional wax are stylish, if you want to directly enjoy the colors and 3D textures of flowers, starting with a gel botanical candle is definitely the right choice. When I made my first one, I was so moved by the beauty of the finished glass that I gasped out loud!
When you decide to start candle making and open an online craft shop, many people get dizzy from the overwhelming variety of waxes. It's completely natural to wonder, "Paraffin? Soy? Gel? Which one should I buy?" Let's clarify the properties of each material.
Gel wax comes in different hardness categories, such as "soft" and "hard." For container candles made inside glass jars or containers, easy-to-handle "soft" or "medium" hardness gel wax is used. If you want to make pillar candles that stand independently without a container, you choose "hard" gel wax.
If you are a beginner taking your first challenge, I strongly recommend container candles made in glass containers. They won't lose shape, making it easy for beginners to succeed. Gel wax has a higher melting point than standard paraffin wax, fully melting around 90°C to 110°C (194°F to 230°F).
The most common bases for botanical candles are "paraffin wax" and "soy wax" (derived from soybeans). Paraffin wax is petroleum-based, easy to handle, holds vibrant colors well, and is affordable, making it very suitable for beginners.
On the other hand, soy wax is 100% natural, produces less soot when burned, and offers air-purifying effects. It cures with a matte, warm texture, perfect for natural-style creations. However, soy wax is milky white rather than transparent, so it is best suited for designs where flowers are displayed on the outer surface or embedded inside without showing through transparent wax.
Many people think, "Maybe I should just try cheap 100-yen store materials first," but I strongly recommend using professional candle-making materials right from the start. Gel wax sold at budget 100-yen shops comes in small quantities and is significantly inferior in clarity, bubble release, and odorlessness compared to craft-grade supplies.
Even if you take time to arrange cute flowers, it would be a shame if the wax turns yellow or cloudy. To achieve beautiful transparency and safety, picking quality craft wax from the start is the shortest route to success.
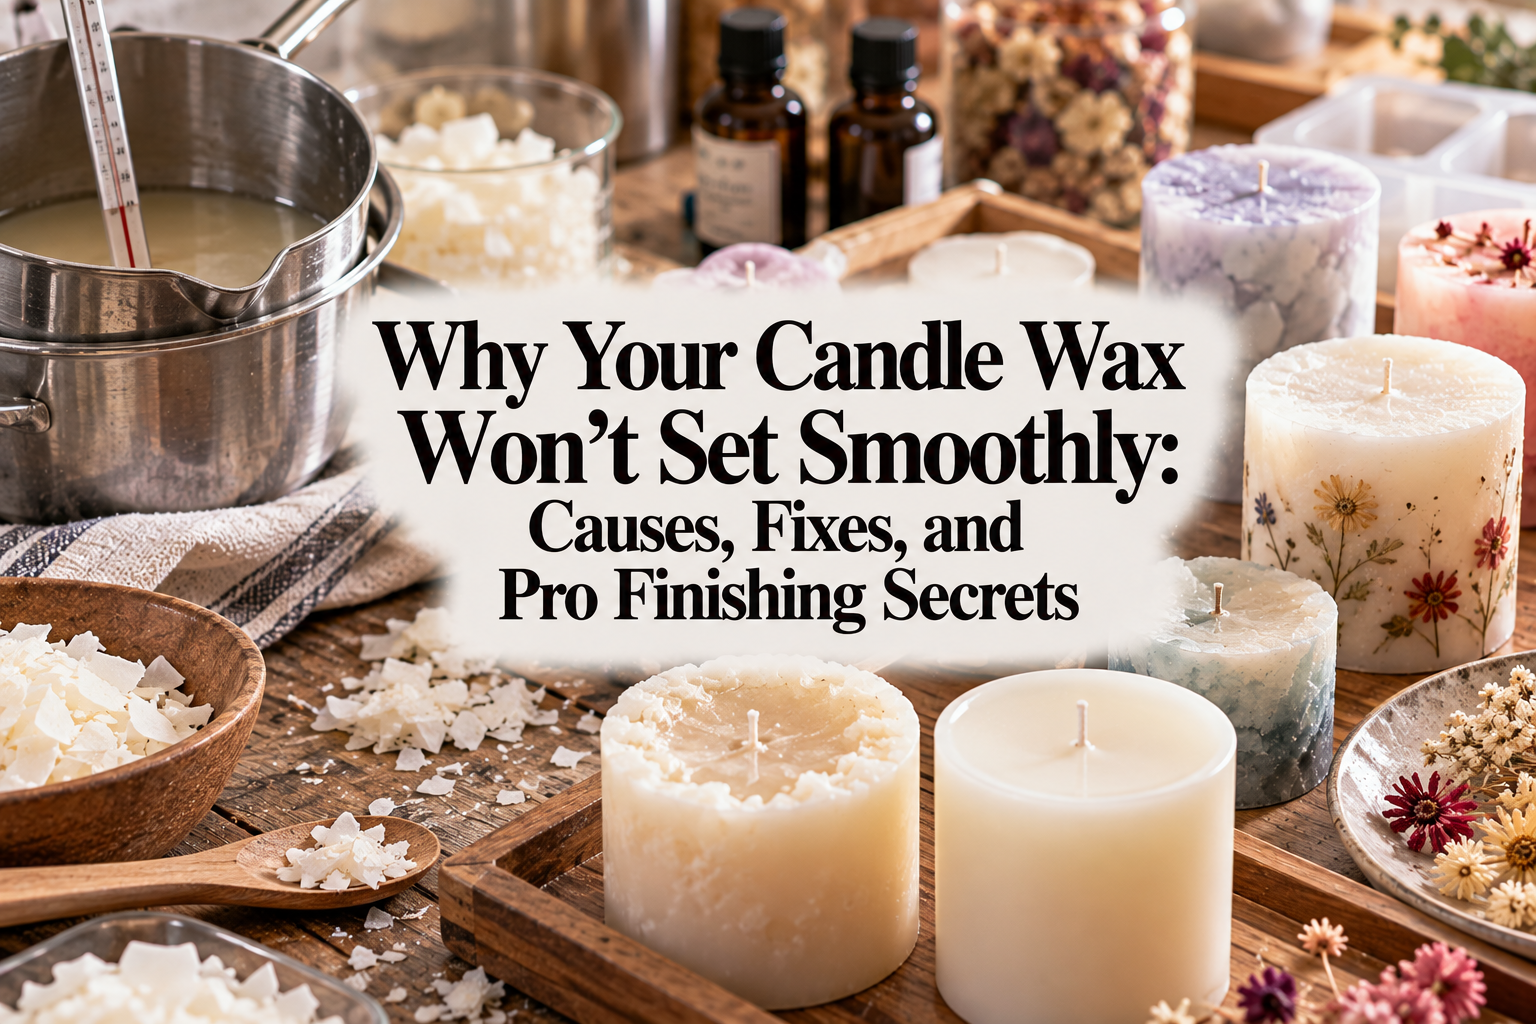
At first glance, candle making seems as simple as "melt and pour," but it is actually a delicate craft governed by temperature control and subtle chemical reactions. Making candles without proper knowledge can lead to frustrating failures or even hazardous accidents. Here are 4 common traps beginners fall into, along with how to avoid them.
When making botanical candles, the most important precaution is avoiding fire risks. If flowers or dried fruits are placed too close to the candle wick, the flame can ignite the dried botanicals when lit, creating a dangerous flare-up.
The absolute rule to avoid this issue is the "Double Structure" (Lantern Structure). This technique completely separates the central burning area from the outer floral area. Specifically, a smaller glass container is placed in the center, and flowers are packed in the gap between the inner and outer containers before pouring gel wax.
With this structure, even when the central wick is lit, the flame will never reach the flowers. It perfectly balances visual beauty with safety, so if you are making botanical candles, be sure to adopt this double-structure method!
"I poured the gel, but it was filled with tiny air bubbles, and I couldn't see the flowers inside!" This is a very common beginner mistake. The main causes of trapped air bubbles are low wax temperature and rushing while pouring.
As gel wax cools, it hardens rapidly and increases in viscosity. If poured while thick and viscous while bumping into flowers, trapped air bubbles cannot escape.
The solution is simple: raise the wax temperature properly to around 90°C–100°C (194°F–212°F) so it remains smooth and liquid, then pour slowly and gently along the inner wall of the glass. Pre-warming the glass container with a hair dryer or heat gun can also dramatically prevent bubbles caused by sudden temperature drops.
It can be heartbreaking when vibrant flowers lose their color, turn translucent, or turn brown the moment hot wax is poured over them. This happens when using fresh flowers or botanicals with residual moisture.
Only completely dry dried flowers or preserved flowers can be used for candles. If even a tiny bit of moisture remains, the heat of the wax causes the plant matter to decay or discolor, which can also lead to mold. Choosing commercial handmade flower craft materials will help prevent color loss and maintain bright, beautiful hues.
Candle wicks come in various thicknesses and materials. If the wick is too thin for the glass diameter, only the center will melt downwards, causing the flame to extinguish (known as tunneling). Conversely, if the wick is too thick, the flame becomes too large, causing soot or overheating the flowers.
For beginners, purchase a pre-tabbed candle wick (a wick attached to a metal base) that matches the diameter of your glass. Secure the metal tab firmly to the bottom of the glass with dedicated wick stickers or hot glue before pouring wax to completely prevent the wick from tipping over.
To craft candles safely and smoothly, having the right tools is essential. Here are the necessary tools and supplies I personally use and recommend for beginners.
Let's go over the specific steps to create a gorgeous Gel Botanical Candle without failures. Following these steps will give your first project a shop-quality finish!
Before starting, lay out your flowers on the table to visualize the finished design. Once the wax is melted, you'll be working against the clock, so you won't have time to hesitate over flower placement during the process.
Trim flowers into smaller pieces according to the glass size. Use tweezers to place them temporarily inside the glass to check overall balance and color arrangement—this is key to success!
Secure the pre-tabbed candle wick in the center bottom of your heat-resistant glass. Apply double-sided tape or a wick sticker to the metal tab and press it firmly into the center base of the glass.
If using a double structure, place a slightly smaller glass container (or candle core) in the center, and carefully pack flowers into the gap between the inner and outer containers using tweezers. Avoid overpacking flowers so that the wax can flow all the way through; leave modest gaps.
Place gel wax in your melting pot and melt it slowly using a double boiler or an IH heater on low heat. Rapid heating over direct flame can alter wax quality, produce smoke, or pose a fire risk, so always monitor with a thermometer.
Once the gel wax is completely melted into a liquid state, check the temperature. Aim for around 90°C to 100°C (194°F to 212°F). If adding candle fragrance oil, stir it in gently once the temperature drops to around 90°C to avoid creating bubbles.
Slowly pour the melted gel wax into the flower-arranged glass container. Pouring along the inner wall of the glass minimizes air entrapment.
If large air bubbles remain on the surface or inside after pouring, gently pop them with a bamboo skewer, or lightly blow warm air with a heat gun across the surface to bring bubbles to the top where they vanish clean.
After pouring, leave the candle to cool slowly on a flat, undisturbed surface. Gel wax hardens as it cools, but leave it untouched for 1 to 2 hours until the interior cures completely.
Once the wax is firm, trim the protruding wick with scissors. The ideal wick length is about 5mm to 8mm (1/4 to 1/3 inch) above the wax surface. If it's too long, the flame becomes too large; if it's too short, the fire extinguishes easily.
Now you understand the steps and tips for candle making! But you might be thinking, "I get what's needed, but buying thermometers, wax, and flowers from separate shops sounds tedious and expensive with shipping…"
For beginners feeling this way, here is the recommendation I can give with absolute confidence: order a starter kit along with necessary supplies on Amazon or online, and start the very day it arrives!
When beginners try to buy individual items self-taught, high-probability mistakes occur—like wick size not matching glass diameter, insufficient wax, or poorly matched flowers. This leads to wasted money and burnout before even finishing.
On the other hand, candle starter kits available online package everything beginners need in perfect balance:
With everything arriving in a single box, your room instantly transforms into a craft studio. It eliminates time wasted on choosing tools and completely blocks the risk of giving up!
When selecting a kit online, make sure it meets these conditions:
Choosing kits with numerous reviews and photos from real users is also a foolproof approach. Selecting a kit with high design appeal and stylish packaging will boost your excitement before you even begin!
When purchasing a starter kit, adding two extra items to your shopping cart makes crafting dramatically smoother: a digital thermometer and candle fragrance oil.
While kits sometimes include basic thermometers, a digital thermometer displays precise temperatures instantly, greatly raising your accuracy and preventing mistakes. They are very affordable, making them well worth having.
Adding a bottle of candle fragrance oil in your favorite scent will also fill your room with wonderful fragrance the moment you light your candle, multiplying your sense of achievement and relaxation!
If you just think, "Maybe I'll try it someday" or "I'll start when I have time," a wonderful handmade lifestyle will never begin. The greatest joy of handmade craft lies in experiencing the process of creating something with your own hands and feeling the emotion when it is finished.
Ordering a kit and supplies online takes just a few clicks, and in just a couple of days, it arrives at your doorstep. By this weekend, your very own beautiful candle can be born. I want you to feel that spark of excitement when the supplies arrive in your hands!
Gel candles and botanical candles are a special, wonderful craft genre that lets you enjoy clear beauty and rich botanical expressions.
While candle making might look tricky at first glance, as long as you understand proper wax selection, temperature control, and the safe double-structure method, even complete beginners can achieve shop-level creations without failures.
There is no need to stand still overthinking. Pick up a simple starter kit and tools, and take your first step into candle making. A one-of-a-kind candle created by your own hands will softly illuminate your room and make everyday life feel that much more special.
If you enjoyed this article, sharing it with friends on social media or chat apps would make me so happy and encouraged!
Until next time, this was Yassy from Crafters! See you in the next article!


For example, if you are looking for articles about mizuhiki, try searching for "mizuhiki"; if you are interested in tools, try keywords like "nippers" or "pliers."
