Prevent Dangerous Epoxy Resin Overheating: The Science of Exothermic Heat and How to Control It Safely
yassy
Crafters!

Hello! I’m Yassy from Crafters! (・∀・)
Welcome to Handmade Crafters, your comprehensive hub for all things handmade! I am a true crafting enthusiast who loves making resin accessories and decor, admiring wonderful creations by other artisans, and hunting for new resin liquids and adorable charms at craft suppliers and online shops!
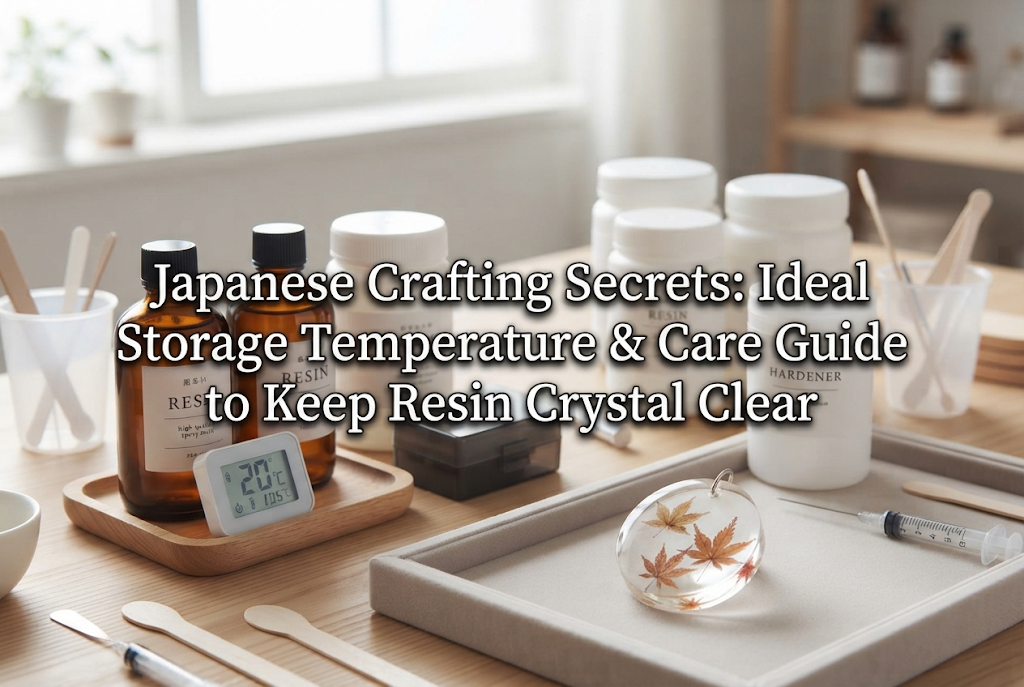
How do you usually store the resin liquid you use? If your answer is "leaving it right on my worktable," "displaying it on a shelf that gets direct sunlight," or "storing it in a clear plastic case from a 100-yen shop," please stop and rethink your storage habits right away.
Resin liquid is a very delicate, sensitive chemical formulation. A single mistake regarding storage temperature or location can cause it to harden inside the bottle on its own, turn yellow even when unopened, or slow down its curing speed, leaving a sticky finish on your projects.
It is heartbreaking when you get ready to create, only to find that your favorite resin liquid has turned into a thick, gloopy mess. In this guide, I’ll share the ultimate rules for the proper storage temperature and care of resin liquid—honed through years of crafting experience, my own past mistakes, and countless tests.
By reading this article to the end, you’ll learn how to prevent resin degradation and consistently create high-quality pieces with a smooth, crystal-clear finish! I’ll cover everything from common misunderstandings beginners face to professional management techniques I practice myself, so please use this as your reference!
The lifespan of resin liquid is determined 100% by its storage environment, not by how often you use it. Without proper storage knowledge, even unopened bottles can degrade dramatically in just a few months. First, let's understand the chemical mechanism behind why storage makes such a huge difference in quality.
The four main culprits that destroy the quality of resin liquid are light, heat, oxygen, and moisture. The UV/LED resin liquids commonly used in handmade crafts contain ingredients called photoinitiators. When these components absorb light of specific wavelengths, a chemical reaction occurs, transforming the liquid into a solid.
Not only sunlight, but also room fluorescent lights, indoor LED lighting, and even slight UV rays streaming through a window can trigger this reaction inside the bottle over prolonged exposure. As a result, the overall viscosity increases, eventually hardening the liquid solid inside the container.
Heat is another major enemy of resin liquid. As the temperature rises, molecular movement inside the resin becomes active, causing self-polymerization (thermal polymerization) where molecules bond together even without light. Furthermore, when oxygen and moisture from the air remaining inside the bottle mix in, oxidation advances. This leads to yellowing (where the resin becomes cloudy and yellow) and cure failure (where the surface remains sticky after curing).
Degraded resin liquid always shows clear warning signs. If you notice any of the following changes in your stored resin, it is proof that degradation is progressing rapidly:
Once resin liquid reaches this state, no matter how powerful a UV light you use, it will never regain its original transparency or hardness. To avoid wasting your precious time and craft supplies on failed projects, keep these mechanisms in mind.
In craft making, two main types of resin are used: one-part UV/LED resin and two-part epoxy resin, which hardens by mixing a main resin and a hardener. These two types have completely different vulnerability factors and rates of degradation.
One-part UV/LED resin is extremely sensitive to light. Because even room lighting causes it to react bit by bit, complete light-blocking is the most crucial factor during storage. As long as light is blocked, it remains relatively stable, though its viscosity fluctuates heavily with seasonal temperature changes.
On the other hand, two-part epoxy resin (main resin and hardener) is especially vulnerable to moisture/carbon dioxide in the air and low-temperature environments rather than light. The hardener (amine-based component) in particular absorbs airborne moisture and carbon dioxide easily; when exposed to air, it oxidizes quickly, causing yellowing and a cloudy appearance.
In addition, the main resin component of epoxy can separate and crystallize when temperatures drop, turning into hard white lumps like crystallized syrup. Because each type has distinct weaknesses, proper temperature control and airtight storage tailored to their specific characteristics are absolute necessities.
Here is the definitive conclusion on the safest environment for long-term, high-quality resin storage: The ideal storage temperature for resin liquid is a room temperature of 15°C to 25°C (59°F to 77°F) in a cool, dark place. Maintain relative humidity at 50% or below as a strict rule.
Leaving resin liquid outside these ranges disrupts the balance of its chemical components, leading to rapid quality decline. Let’s look at the specific danger zones that beginners often fall into.
First, never store resin in environments that reach 30°C (86°F) or higher. Closed rooms in summer, spots in direct sunlight, or areas near heating appliances easily reach 30°C to 40°C (86°F to 104°F) or more.
When exposed to high temperatures, thermal motion among molecules becomes intense. Spontaneous polymerization begins inside the bottle without any light exposure. When you open the cap, you may find the contents turned into jelly or heavily yellowed. Resin altered by heat can never be restored to its original state.
Next is a common mistake beginners make: storing resin in low temperatures below 10°C (50°F), such as inside a refrigerator. Please drop the idea that chilling resin keeps it fresh like food. Storing resin in the fridge is a complete mistake that works against you.
Over-chilling resin liquid causes its viscosity to spike, making it thick and stiff like chilled honey. In this state, air bubbles cannot escape, and the resin will not flow into intricate mold corners, causing serious defects in your work.
Even more severe is the crystallization phenomenon in two-part epoxy resin. Low temperatures cause the components to precipitate and form solid white lumps inside the bottle. Once completely crystallized, reversing the process takes considerable effort.
The biggest hazard of all is condensation. When you take a cold bottle out of the fridge, the sudden temperature difference creates heavy water droplets on the bottle surface and around the cap threads. If even a single drop of water enters the resin liquid when opened, it causes cure failure. Moisture is resin’s ultimate enemy, and even a tiny amount causes finished pieces to remain permanently sticky.
Humidity management is equally vital. Placing resin in humid rooms exceeding 60% humidity allows moisture to seep in through container gaps, dulling its transparency. Resin must be kept in a spot that is not too cold, not too warm, and free from moisture.
Many crafters wonder where exactly in their house they should put their resin. Your home has clear "safe zones" and "danger zones." Here is a breakdown of where to avoid and where to store your supplies.
If you currently store your resin in any of these places, please move it immediately:
So, where is the safest place at home? The location I strongly recommend is:
Inside a hallway storage cabinet or living room drawer completely away from sunlight.
Living spaces like living rooms and hallways benefit from air conditioning or ventilation that keeps room temperatures around 15°C to 25°C (59°F to 77°F). In particular, lower shelves in hallway cabinets or dark closet drawers near the floor experience minimal temperature changes throughout the year, making them ideal.
If you prefer keeping supplies near your workspace, do not place them in clear plastic containers. Store them inside opaque cabinets or drawers that block 100% of light. A spot that is completely dark and temperature-stable is the only true correct choice.
Don't stop at just choosing a location. Cleaning the bottle after use and taking extra steps during storage will extend your resin's shelf life even further. Here are the four steps I practice for flawless storage:
When you finish using resin, do not snap the cap back on immediately. If resin remains on the nozzle tip or cap threads, ambient room light will harden it, fusing the cap shut for the next use. Furthermore, hardened resin flakes can fall back into the bottle and ruin future projects as debris.
Always wipe the nozzle and inside of the cap thoroughly using kitchen paper or a cleaning cloth dampened with ethanol (rubbing alcohol or anhydrous ethanol). Avoid paper tissues, as loose fibers stick to the nozzle and get mixed into your work.
After cleaning, screw the cap back on tightly without any gaps. A loose cap lets air inside, accelerating oxidation and absorbing ambient moisture, which leads to curing issues. Make it a habit to check that the cap is secured all the way to the base every time.
Resin bottles are often made of black or translucent plastic, but that alone is insufficient for light protection. Placing them inside commercially available aluminum zip bags is the most reliable way to block light entirely.
Aluminum material blocks 100% of UV rays and visible light. Placing the resin bottle inside an aluminum zip bag and sealing it tightly locks out both light and air completely.
Additionally, place a small packet of silica gel desiccant (available at 100-yen shops or craft suppliers) inside the bag. This removes interior humidity and minimizes degradation from moisture contamination.
Always store resin bottles standing upright. Storing bottles on their side keeps liquid sitting inside the nozzle continuously. This makes the nozzle prone to clogging from slight light or air exposure, and if the cap happens to loosen, liquid can leak out and make surrounding tools sticky.
Use pen stands, deep plastic bins, or divided organizer boxes (commonly found at 100-yen shops) to ensure bottles stay upright without tipping over.
In Japan, we experience four distinct seasons with hot summers and cold winters. Here are seasonal techniques to protect resin liquid from harsh temperature swings.
During summer, turning off air conditioning while away for work or errands can easily push room temperatures above 30°C to 35°C (86°F to 95°F). Leaving resin in these conditions degrades it in just a few days.
When leaving the house in summer, a pro technique is to place your aluminum-zipped resin inside an insulated cooler bag. However, keep this crucial warning in mind: Never let ice packs directly touch the resin bottle! Direct contact over-cools the resin, leading to condensation or thick hardening.
Use the insulated bag strictly as a heat barrier. Simply placing your resin inside keeps internal temperature rises very gradual even if the outer room heats up, keeping your supplies within a safe range. If you keep AC running continuously in a specific room (such as a room for pets), storing resin in a dark cabinet there is the easiest option.
In winter, when room temperatures drop below 10°C (50°F), resin viscosity skyrockets, making it as thick as cold syrup. High viscosity prevents air bubbles from escaping when poured into molds, resulting in ruined pieces filled with void holes.
However, if your resin thickens, never blast the bottle with a hot hair dryer or heat it in a microwave. Rapid heating deforms the plastic bottle and thermally alters the chemical components, rendering it useless.
The only correct method to restore stiff winter resin to its original smooth fluidity is a warm water bath.
Correct Warm Water Bath Steps:
Gently warming the resin in 40°C water restores its smooth, easy-to-use viscosity safely without damaging its molecular structure. Doing this 15 minutes before starting work in winter ensures beautiful results just like in summer.
Resin liquid is not a magical material that lasts forever. Even when stored in perfect conditions, it has an expiration date. Here are realistic lifespans for unopened and opened bottles, along with clear signs that it’s time to throw them out.
Unopened Shelf Life: Approx. 1 to 2 years from manufacturingEven if unopened and kept in a cool, dark place, resin has a maximum shelf life of 1 to 2 years. Avoid bulk-buying large quantities under the assumption that bargain sales will last 3 or 4 years. Over time, internal oxidation advances gradually even in sealed containers, lowering transparency.
Opened Shelf Life: Approx. 6 months to 1 year after openingOnce opened, resin liquid lasts roughly 6 months to a year. Air enters the bottle the moment it is opened, initiating oxidation and moisture absorption. Therefore, purchasing bottle sizes you can comfortably finish within six months according to your crafting pace is the best strategy for maintaining top quality.
If you wonder whether an older bottle of resin is still usable, run through this checklist. If even one point applies, the resin has reached the end of its life:
Using degraded resin might look okay right after curing, but pieces can turn yellow or drop attached components a few months later. When creating pieces to sell to customers or give as gifts to loved ones, never use expired resin. While it may feel wasteful, switch to fresh resin to uphold quality.
If your resin has slightly yellowed but you feel too hesitant to throw it away, use it up for these practical tasks instead of wasting it:
1. Testing New Silicone Molds and Checking Shapes:Use older resin to test out new mold shapes or check where air bubbles tend to get trapped before using your best supplies.
2. Crafting Opaque, Dark-Colored Pieces (Black, Navy, etc.):When mixing heavy colorants like black, dark blue, or deep brown, slight yellowing in the base resin is completely unnoticeable. Using older resin for dark bases or bottom layers where transparency is not required allows you to use up every drop without waste.
In this guide, we covered storage temperatures and care techniques to preserve resin liquid quality flawlessly!
Let’s review the key takeaways for long-lasting resin:
When managed with proper knowledge, resin liquid rewards you with stunning clarity and impressive hardness down to the last drop! Many issues like yellowing or sticky surfaces can be solved simply by re-evaluating your storage environment.
Check your resin storage spot at home today and set up a perfect environment so you can enjoy your supplies for a long time and make beautiful handmade crafts whenever inspiration strikes!
If you found this guide helpful, please share it with your craft friends on social media! See you in the next article! This was Yassy from Crafters!








For example, if you are looking for articles about mizuhiki, try searching for "mizuhiki"; if you are interested in tools, try keywords like "nippers" or "pliers."
