What Is Wool Felting? A Complete Beginner’s Guide to Projects, Difficulty, Workspace, and Costs
yassy
Crafters!

Hello crafters, it's Yassy! (・∀・)
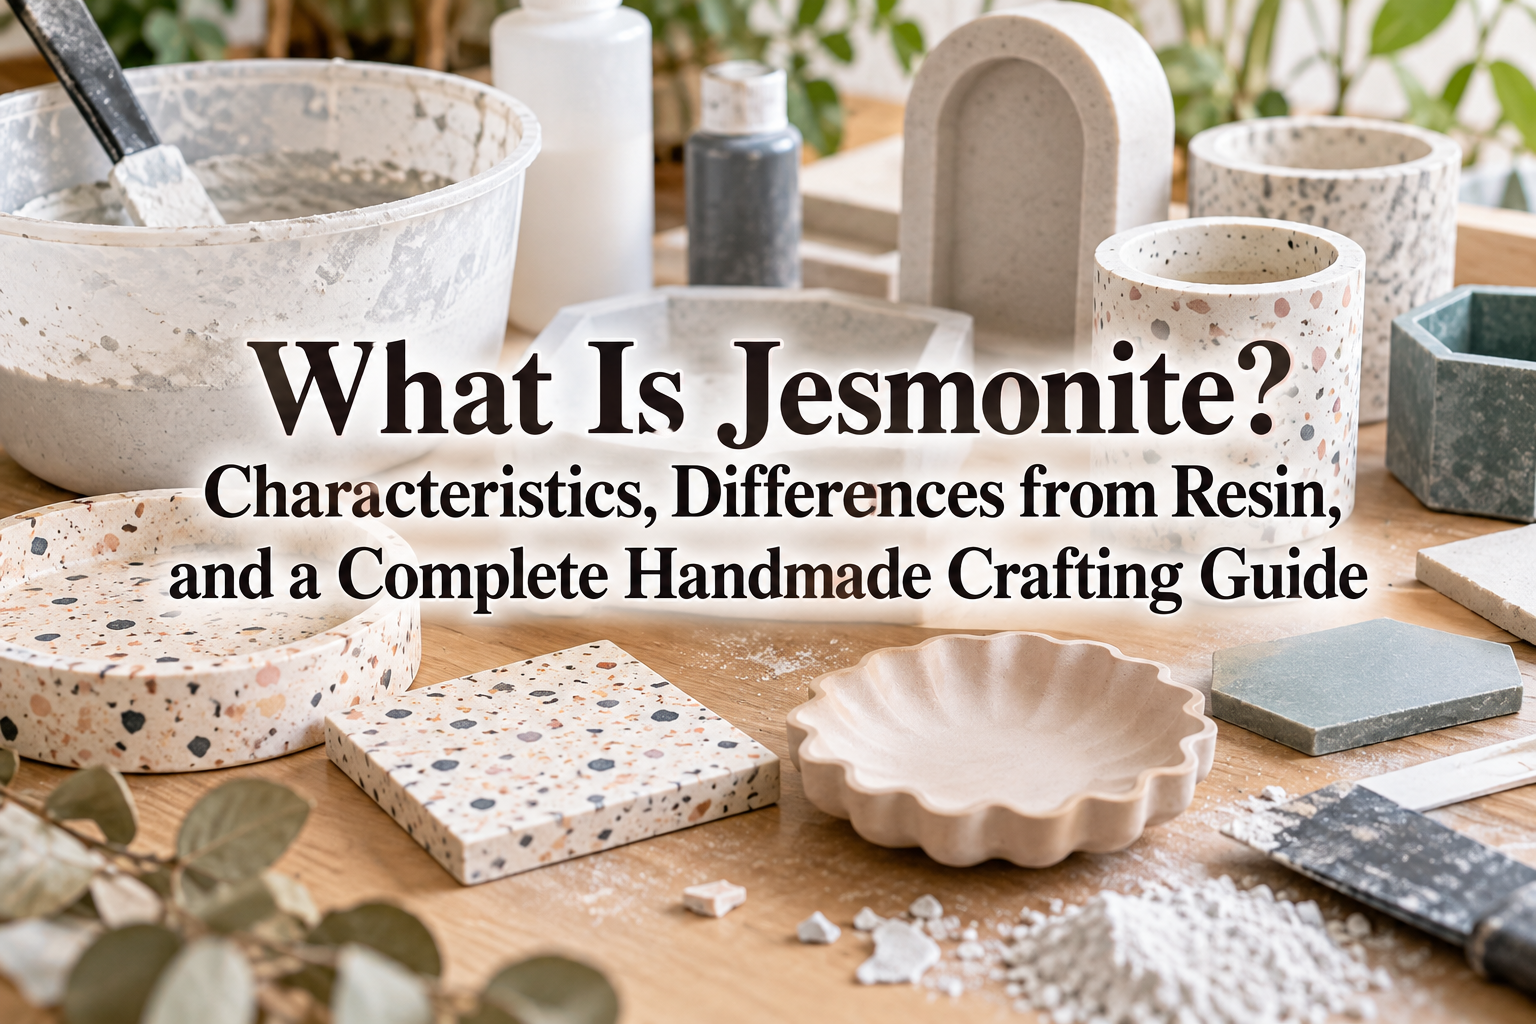
There are countless mediums in the crafting world, but one material right now has captured my absolute attention—and the enthusiasm of creators worldwide: the water-based composite resin known as Jesmonite.
Over the years, I have crafted with just about everything—epoxy resin, plaster, polymer clay, and beyond—yet I still vividly remember the shock of working with Jesmonite for the very first time. With its ceramic-like texture, eco-conscious profile, and astonishing versatility, it truly reshapes what we think of as conventional crafting materials.
If you find yourself asking, "I keep hearing about Jesmonite, but how is it actually different from resin or plaster?" or "Can a beginner really make those stylish boutique home decor pieces at home?", this guide is for you. Below, I break down everything from Jesmonite's core properties and standout benefits to a step-by-step molding tutorial, plus pro-level coloring, terrazzo, and wet-sanding techniques.
With this knowledge in hand, you'll be ready to dive straight into making your own stunning pieces. Let's elevate your handmade crafting journey together!
To craft successfully without trial-and-error setbacks, it helps to understand exactly what Jesmonite is and how its composition sets it apart from traditional casting materials.
Jesmonite was invented in the United Kingdom in 1984 as an eco-conscious alternative to traditional solvent-based casting resins. It consists of two components: an organic liquid (a water-based acrylic emulsion) and an inorganic powder (a mineral-based base). When mixed, a chemical reaction occurs, curing into a rock-solid, durable material.
Its definitive trait is being water-based. Unlike traditional chemical resins, Jesmonite contains no harsh solvents or overpowering chemical odors. While it has long been trusted in fine art sculpture, architectural restoration, and theater stagecraft, its tactile beauty and exceptional safety have recently triggered a worldwide boom among handmade home decor and jewelry artisans.
It provides the serene, tactile weight of fine ceramic, stone, or plaster, paired with remarkable ease of use.
When makers want to cast three-dimensional items into silicone molds, epoxy or UV resin is often the first thought. However, Jesmonite and resin are completely different mediums.
Resin's primary advantage is its crystal-clear transparency. That said, working with resin inevitably releases strong chemical fumes, demanding dedicated ventilation. Uncured resin also carries the risk of skin irritation and allergic reactions upon direct contact.
In contrast, Jesmonite is entirely VOC-free (Volatile Organic Compounds). It produces zero noxious vapors, meaning you can comfortably craft in a closed room or right at your dining table without worrying about chemical fumes.
Another game-changer is curing time. While epoxy resin generally requires 24 to 48 hours before it can be handled, Jesmonite can be demolded in just 20 to 30 minutes after pouring. Being able to conceive an idea and hold a fully hardened piece in your hand within an hour is an advantage resin simply cannot match.
Because Jesmonite involves blending a powder with a liquid, many newcomers assume it is simply another form of gypsum plaster. In reality, their durability and structural integrity are worlds apart.
Standard plaster remains brittle even when dry. Drop it, and it will chip, crack, or shatter with ease. It also deteriorates quickly when exposed to moisture, making it ill-suited for functional, everyday lifestyle items.
Jesmonite, by contrast, benefits from the cross-linked acrylic polymers inside its liquid base, giving the cured product high tensile strength and impact resistance. Even when cast into thin profiles—like coasters, trinket dishes, or jewelry trays—it resists chipping and breaking under daily use. It combines the tactile charm of stone with the resilience of structural polymers.
Jesmonite's popularity across global DIY communities is rooted in five practical advantages that blend creative enjoyment with professional-quality finishes.
A safe workspace should always come first. Jesmonite emits no toxic vapors, making it gentle on your health and suitable for crafting around family and pets. If you have ever experienced headaches or lingering smells from solvent-based craft resins, Jesmonite offers a breath of fresh air.
The single most enchanting quality of Jesmonite is its surface texture. Once fully cured, it feels silky-smooth and cool to the touch, closely resembling fine porcelain, unglazed ceramic, or polished marble. It has a reassuring weight and completely avoids the lightweight, synthetic feel of conventional plastics, allowing you to produce boutique-worthy homeware at home.
Waiting days between steps can stall creative momentum. Jesmonite begins an exothermic reaction shortly after mixing and hardens rapidly, reaching demolding strength in roughly 20 to 30 minutes. This allows you to produce multiple pieces in a single afternoon—a massive plus when testing new colorways or preparing inventory for craft markets.
In its raw state, Jesmonite cures into a soft off-white. This neutral canvas means you can tint it to any hue imaginable—from muted pastels and earthy tones to bold primaries. Beyond solid colors, you can easily create sophisticated marble swirls or cast crushed cured fragments back into the mix to produce trendy terrazzo patterns.
Once demolded, Jesmonite cuts and sands smoothly. Using wet-sanding techniques not only creates a velvety-smooth surface, but also reveals colorful embedded chips in terrazzo designs. The more you hand-finish the piece, the more its character develops—one of the most rewarding aspects of working with this medium.
Jesmonite comes in a few formulations tailored to different project scales and environments.
For crafters and home-based artists, Jesmonite AC100 is the standard go-to formulation. It is versatile, user-friendly, and perfect for interior objects.
AC100 uses a strict weight ratio of 1 part liquid to 2.5 parts powder. Curing to a smooth, ceramic-like finish, it is ideal for indoor items like coasters, trays, small vases, jewelry stands, and candle holders. Unless you have specialized outdoor requirements, start your journey here.
For exterior garden ornaments or large sculptures exposed to the elements, Jesmonite produces AC730, a cementitious composite offering high water, weather, and fire resistance. However, AC730 features a coarser texture, different mixing ratios, and unique curing dynamics. It is best tackled after gaining confidence with AC100.
When working with AC100, precision is essential. The 1:2.5 ratio must be measured with an accurate digital scale (preferably measuring to 0.1 g). Guessing ratios can leave your piece soft, powdery, or prone to cracking.
Here is the complete process for casting clean, bubble-free Jesmonite pieces from start to finish.
Crucial Rule: Always pour the liquid into your cup first, then add the powder. Adding liquid on top of powder will trap dry pockets at the bottom and create stubborn lumps.
Because Jesmonite has a slightly viscous consistency, air bubbles can become trapped against mold walls. Use this pro technique to avoid surface pinholes:
Once poured, leave the mold undisturbed on a flat surface. Within a few minutes, you will feel the mold warm up as the exothermic curing process takes place.
After about 20 to 30 minutes, once the piece feels hard and has cooled back down, gently peel back the silicone mold to release your creation. Newly demolded pieces still retain internal moisture and will feel slightly cool and damp. Place them in a well-ventilated area for roughly 24 hours to cure fully and reach maximum strength and matte beauty.
Here are several creative techniques you can explore beyond simple solid colors.
To color your base, use dedicated water-based Jesmonite pigments. They are intensely concentrated and disperse smoothly.
For the most uniform color, add pigment drops directly into the liquid component before mixing in the powder. Keep your pigment addition under 2% of the total mixture weight. Over-pigmenting can interfere with the chemical cure, resulting in sticky surfaces or structural weakness.
Terrazzo homeware remains one of the most beloved craft trends. The process is straightforward once you know the steps:
When first demolded, the chips will be hidden beneath the surface film. Sanding (explained below) will expose the embedded color chips in all their glory.
For an elegant marble look, prepare your primary base color (e.g., white) and a secondary accent color (e.g., charcoal) in separate cups. Spoon a few drops of the accent color into the base cup, then take a stirrer and draw one or two gentle figure-eights through the surface. Do not overmix. Pour directly into the mold; the natural flow of the liquid will create organic, fluid veining.
To create a splatter effect, flick concentrated pigment or colored slurry into an empty mold with a stiff brush before pouring your main color. For layered horizontal stripes, pour contrasting colors in stages, allowing each layer a short rest to partially firm up before adding the next.
Polishing and protecting your piece ensures it looks and functions at its best for years to come.
After letting your demolded piece dry for a day, wet-sand the surface using wet-and-dry sandpaper lubricated with water. Wet sanding suppresses dust and prevents the paper from clogging.
Progress through grit levels: 240 → 400 → 800 → 1200 grit.
For terrazzo pieces, start firmly with 240 grit to grind away the outer skin until the colorful chips emerge cleanly. Then work up through finer grits to achieve a remarkably silky texture.
Because cured Jesmonite contains micro-pores, untreated surfaces can absorb oils, coffee rings, and moisture over time. Applying surface protection is essential for functional coasters and vanity trays.
Apply two light coats of specialized Jesmonite Acrylic Sealer with a soft cloth or foam sponge, allowing each coat to dry thoroughly. Finish by buffing in a coat of natural carnauba wax or microcrystalline wax to enhance water repellency and impart a soft, luxurious satin sheen.
Jesmonite opens up exciting possibilities for contemporary home decor, jewelry, and sculptural accents. With its safe water-based formula, rapid 30-minute turnaround, and refined ceramic-like finish, it offers endless avenues for creative experimentation.
Try starting with a simple coaster or small trinket tray, experience the magic of wet sanding, and feel the tactile quality of a finished piece in your hands. I hope this guide inspires your next creative project!
If you found this helpful, feel free to share it with your fellow makers. Until next time, happy crafting from Yassy!




For example, if you are looking for articles about mizuhiki, try searching for "mizuhiki"; if you are interested in tools, try keywords like "nippers" or "pliers."
