Can You Decant Resin into Smaller Bottles? Safe Storage, Container Guide, and Light-Blocking Rules
yassy
Crafters!


Hello everyone! This is Yassy from Crafters! (・∀・)
When making handmade crafts, have you ever felt like your pieces look a bit too soft or sweet, and wished you could give them a more refined, sophisticated edge? Or maybe you've wanted to create sleek, modern interior decor with a cool, urban vibe?
When that craving hits, I highly recommend incorporating "industrial, inorganic textures" into your work. Simply adding a touch of cool concrete-like gray, a heavy metallic sheen, or a matte, stony feel instantly tightens up your design, giving it a modern and high-sense finish.
However, when beginners attempt to work with industrial textures, they often hit a wall. Common struggles include: "It turned into a plain, dull gray block," "The surface turned out too rough and looks cheap," "It's way too heavy for accessories," or "The paint peels off easily."
So in this article, I will explain everything from the basic concepts of using inorganic textures to material selection, painting techniques, and tips for combining contrasting materials! By following this guide, even beginners can create stylish, high-quality craft pieces without failing.
In the world of handmade crafts, an "inorganic texture" refers to a linear, cold, or mineral-like texture that stands in contrast to the warmth of natural materials (like wood grain, soft fabrics, or rounded clay shapes). Typical examples include concrete, cement, plaster, metal, glass, and matte finishes.
The biggest advantage of incorporating inorganic textures is that it brings urban sophistication, a sense of weight, and sharp contrast to your work. Rather than making the entire piece inorganic, combining these textures with warm materials—such as wood, dried flowers, or glossy resin—allows both elements to highlight each other's beauty.
The key point for beginners to remember is that there are two main approaches: using real inorganic materials, or creating the illusion of inorganic textures through painting and surface processing. Choosing the right method based on your item's intended use and size is the very first step toward success.
Let's first review the representative materials used to achieve an industrial look, along with their advantages and ideal uses.
For interior decor items like trays, vases, and planters, heavy cement or mortar is ideal. Because it gives an authentic cold touch and coarse bubble texture, it commands attention just by being placed in a room.
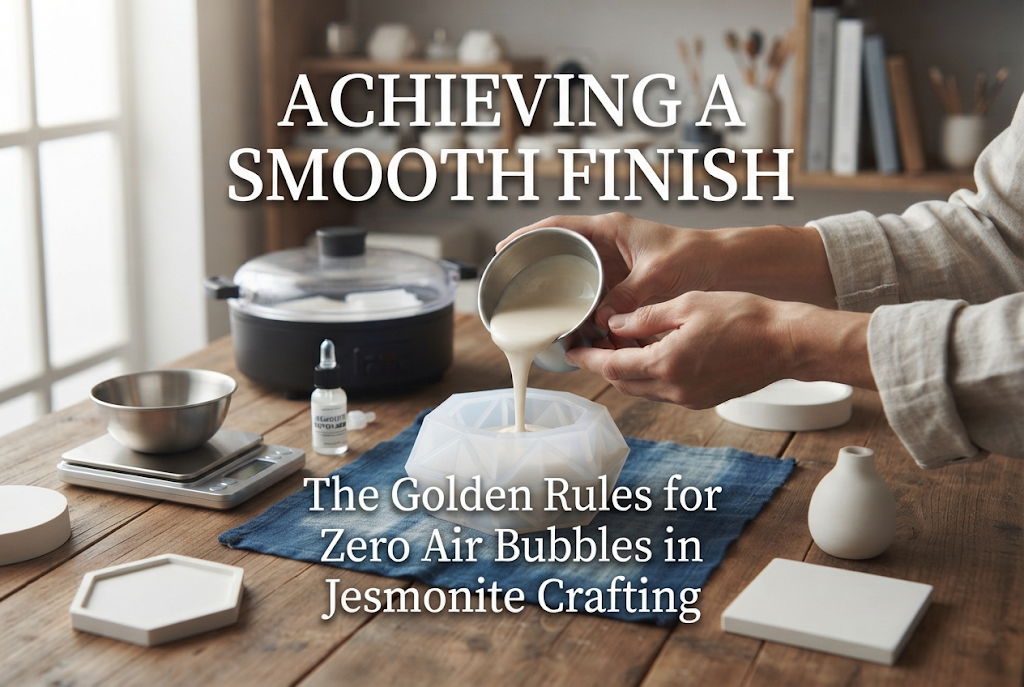
On the other hand, for wearable accessories or small items where chip resistance is important, I recommend Jesmonite or high-strength plaster. These materials provide a finer, smoother stone-like texture than cement and are easy to color, making them very user-friendly.
If you feel that mold-casting is too high a hurdle, make use of iron paint or texture paint, which can be brushed on to recreate the feel of metal or sandstone. Simply painting them onto wood, plastic, or paper clay surfaces instantly transforms them into an industrial-style piece.
Many beginners paint an object gray or pour cement hoping for an industrial feel, only to end up disappointed, thinking, "It looks so plain… like a piece of debris from a construction site!" The cause of this disappointment is monotony.
If you look closely at real concrete or metal surfaces, they are never a single coat of uniform color. Instead, they feature subtle shade variations, differences in light reflection, localized roughness, and patinas from aging, all blended together in complex layers.
To escape a flat, lifeless appearance, keep these three approaches in mind:
Adding just this little extra effort elevates your work to a professional standard. The secret to success is recognizing that an inorganic style doesn't mean "nothing is there," but rather aiming for a state of "calculated complexity within silence."
Now, let's go over the actual crafting process. First, here is how to make interior accessories using real cement or mortar.
For materials, use quick-drying cement or mortar powder available at hardware stores or craft shops. For tools, prepare disposable cups for mixing, a spoon, and silicone molds for pouring.
Step 1: Gradually add water to the cement powder and mix thoroughly until no lumps remain. If you add too much water, it will crumble easily after curing; if you add too little, it will be filled with air bubbles. Aim for a slurry consistency slightly thicker than cream soup.
Step 2: Slowly pour the mixture into your prepared silicone mold. Once poured, gently tap the sides of the mold to bring large air bubbles inside to the surface.
Step 3: Allow it to cure completely according to the specified drying time (preferably 24 hours or more). If you rush demolding, the corners may chip, so patience is key.
Step 4: After removing it from the mold, sand the bottom and edges with sandpaper if necessary. Performing wet sanding (sanding with water) at this stage prevents dust from flying around and results in a beautiful, smooth surface.
Safety Note: Cement and mortar are strongly alkaline. Contact with skin can cause irritation, and inhaling the dust is harmful to your health. Always wear disposable gloves, safety glasses, and a dust mask during work, and work in a well-ventilated area.
If you feel that setting cement requires too much prep and cleanup, or if you want to make lightweight pieces, painting techniques are the perfect choice. You can apply paint over base structures made of wooden boxes, plastic containers, or paper clay.
To create a concrete-style paint finish, prepare gray, dark gray, and white acrylic paints, along with a kitchen sponge.
Step 1: Apply an even coat of medium gray paint over the entire piece with a brush as a base coat and let it dry completely.
Step 2: Take a small piece of cut sponge, apply a tiny amount of dark gray paint, and wipe off the excess paint thoroughly on a palette or paper napkin.
Step 3: Using the dry-ish sponge, gently dab the surface of your project to create a mottled, spotty pattern. The trick to making it look authentic is to dab randomly rather than concentrating on one spot.
Step 4: Repeat the same dabbing process with white paint using a dry sponge. By layering light and dark areas together, you achieve a deep texture mimicking a real concrete wall.
Furthermore, if you mix a little baking soda or sand into your paint, it creates fine surface roughness that feels remarkably like real stone to the touch. When using iron paint (a commercial paint designed to give a iron-like finish), dabbing it on with a sponge rather than applying it with a brush gives it a heavy, textured look reminiscent of cast iron.
Inorganic textures also work wonderfully in jewelry like earrings and rings. However, if an accessory is entirely gray or metallic, it can look overly rugged. That's why I recommend striking a balance between "industrial texture x soft femininity or warmth."
Here are three ideas I love to use:
Once you've achieved your desired industrial texture, don't forget the final finishing process. Neglecting this step can lead to paint flaking off during use or cement dust rubbing off on your hands.
For the finish, use a matte water-based varnish or a matte coating spray. Applying a glossy clear coat will ruin the stone or iron texture you worked hard to build, so be sure to choose a product labeled as "Matte."
When using a spray, hold it about 20 cm (8 inches) away from the piece and apply a few light coats. This keeps the protective layer neat while maintaining the raw texture and enhancing water and wear resistance.
Additionally, if you are making cement or plaster trays, attaching felt pads or silicone rubber feet to the bottom shows great consideration for preventing scratches on furniture, which buyers and users will truly appreciate.
In this article, I explained in detail how to incorporate industrial, inorganic textures into your projects to give them a stylish, modern edge.
Let's recap the key points for success:
Once you master using industrial textures, your range of creative expression will expand dramatically, allowing you to give your craft style an instantly chic makeover. If it felt a little daunting before, start casually by trying out concrete-style painting with acrylics and a sponge!
If you enjoyed this article, I would be so happy if you shared it with your friends on social media!
Until next time, happy crafting! This was Yassy from Crafters!




For example, if you are looking for articles about mizuhiki, try searching for "mizuhiki"; if you are interested in tools, try keywords like "nippers" or "pliers."
