Zero Ripples: Why Resin Surfaces Distortion Happens & How to Achieve a Glass-Like Finish
yassy
Crafters!

Hello, this is Yassy from Crafters! (・∀・)
You’ve probably seen that warm, knotted cord art in stylish home decor shops or cozy cafes. Yes, that’s macrame! It’s immensely popular in bohemian and modern interiors worldwide, and adding just one piece to a room instantly transforms the atmosphere into something chic and inviting.
I personally love making, looking at, and collecting handmade crafts! Having explored many different craft genres over the years, I can tell you that the true charm of macrame boils down to two things: how easy it is to start with almost no tools, and the soothing feeling of tying cords with your own hands.
If you're asking yourself, "Can I really do this?" or "It looks difficult, so what should I buy first?" let me reassure you. As long as you choose the right materials and approach, macrame is a craft where even absolute beginners can create surprisingly high-quality pieces from day one!
In this guide, I’ll cover everything you need to know to start macrame from scratch without failing. By the time you finish reading, all your doubts will be gone, and you’ll be eager to start making your first piece. Let's dive in and begin your macrame journey today!
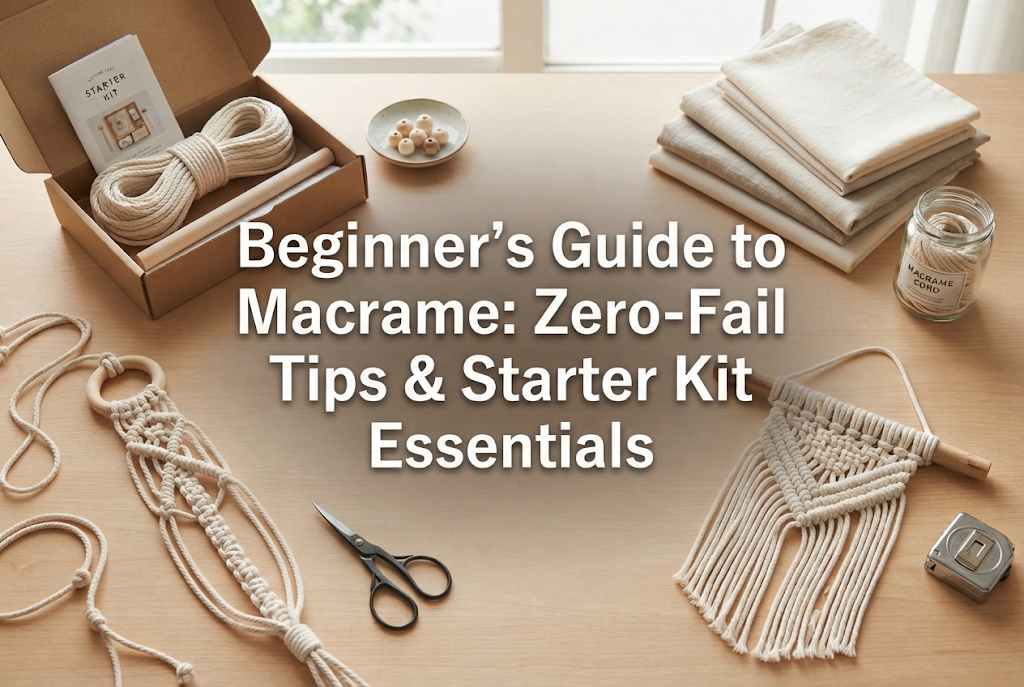
Macrame is a traditional crafting technique where you tie strands of cord into knots over and over using only your hands—no special needles, hooks, or machines required—to build beautiful patterns and 3D home accessories.
Unlike knitting or crocheting, you don't need hooks or needles. Unlike sewing, there are no complicated machines to thread. Your fingertips are your best tools.
The greatest appeal of macrame lies in its light, portable nature. As long as you have a flat table and some cord, you can work on the living room sofa while watching TV or listening to your favorite music.
Another major draw is the exceptional functionality and design quality of the finished pieces. You can handcraft coasters, plant hangers, wall tapestries, bags, and keychains that add color and warmth to daily life.
Whenever I spot cute macrame items in lifestyle shops, I catch myself thinking, "Oh, what a lovely knot pattern!" and often end up bringing them home. Picking out my favorite cord and mindfully tying knots is also one of the absolute best ways to destress.
Even if you don't consider yourself particularly dexterous with your hands, there's no need to worry. By learning just a few basic knot patterns, you can complete stylish home decor items that look like they were made by a pro. Macrame is truly one of the most rewarding crafts for beginners!
When starting macrame, the first hurdle most people face is deciding which cord to buy. Opening an online shop reveals so many varieties that it’s easy to feel overwhelmed.
If you pick randomly here, you might end up with cords that hurt your fingers or don't hold the shape you envisioned. Here is the straightforward guide to choosing the right cord.
Macrame cords generally fall into three structural categories:
For beginners, the absolute best choice is 3-strand twist cord! It withstands re-tying and holds neat patterns, making it your strongest defense against mistakes.
Cord thickness ranges from fine 2mm cords to bulky 5mm+ cords. You choose based on your project.
To get right to the point: beginners should pick either 3mm or 4mm cord!
Cords under 2mm require a huge number of knots, which can tire your fingers and lead to loss of momentum. On the other hand, cords over 5mm require more force to knot tightly and make detailed patterns tricky to form.
A thickness of 3mm to 4mm lets you knot quickly, yields clear knots, and helps you finish projects in satisfying time. It’s a versatile size suitable for both coasters and plant hangers.
While you'll find linen, jute, polyester, and acrylic cords available, you don't need to overthink it: choose 100% natural cotton!
Cotton cord feels soft against your skin, which keeps your fingers from hurting while knotting. Its natural texture also enhances the stylish, organic feel characteristic of macrame.
Synthetic fibers tend to be slick, causing knots to slip open, while jute is stiff and scratchy on the hands—both are harder for beginners to manage. Experience the joy of macrame first with 100% cotton.
Macrame requires very few tools, but having these essential items makes crafting comfortable and ensures a beautiful finish. Check what you already have at home versus what you might need to pick up.
While macrame is approachable, beginners often run into a few common pitfalls. Knowing these patterns in advance guarantees you can avoid them effortlessly.
This is the classic macrame mishap: realizing your cord is too short to finish when you’re almost at the end! It's a disheartening moment every crafter wants to avoid.
Tying knots consumes far more cord than you might expect. Consumption varies by knot type, but remember this golden rule:
"Cut your cord 4 to 6 times the length of your finished project dimension."
This is an absolute principle! For example, if you want to make a 50cm-long tapestry, each cord strand should be cut to between 200cm and 300cm. Cutting cord a bit longer than you think you need is the only reliable way to prevent running short halfway through.
If you pull tightly on some knots and leave others loose, your finished piece will bend or warp unevenly.
The solution is simple: maintain a consistent, gentle tension and knot rhythmically.
You don't need to pull with maximum force. Applying a gentle, uniform tension that lets the cords sit neatly against each other is the secret to clean, uniform knots. Periodically step back and look at your work from a distance to check for warping.
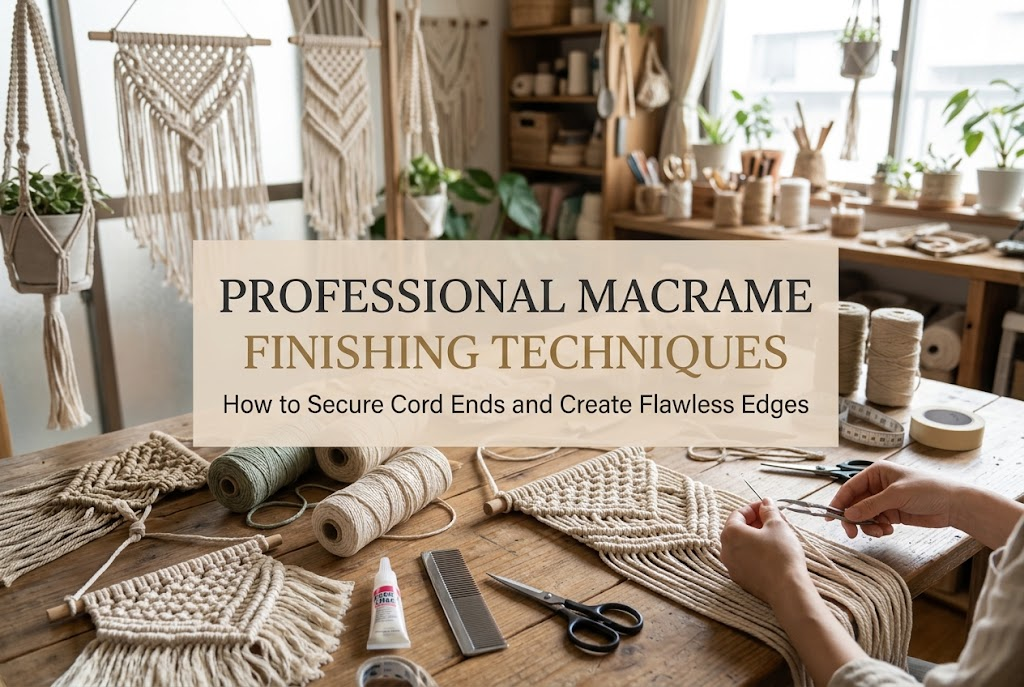
The fringe on coasters or tapestries defines the overall quality of the piece. Trimming it haphazardly with scissors instantly gives it an amateur look.
Follow these steps for a neat, clean fringe:
Following these simple steps creates a polished, professional-looking fringe. Don't skip the masking tape guide!
There are endless knot variations in macrame, but don't feel overwhelmed! Mastering just 4 basic knots allows you to create over 80% of popular macrame designs.
Focus on making these four techniques second nature first.
The starting knot for almost every project. It attaches folded cord strands to a base like a wooden ring or dowel rod.
Fold the cord in half and pass the loop from behind the rod to the front. Pull the two loose ends through the loop and tighten. Passing the loop from back-to-front versus front-to-back changes the knot's appearance slightly, so you can choose based on your design preference.
The iconic, most frequently used knot in macrame! You'll see it in coasters, bags, wall hangings, and more.
It uses 4 strands. The middle 2 strands act as the "core," and you knot using the outer 2 strands.
Cross the left strand over the core strands to form a number "4" shape. Place the right strand over the left strand's end, pass it behind the core strands, and pull it out through the left loop. Repeat the process in reverse starting with the right strand. Completing both left and right sides creates one clean, square knot.
Offsetting square knots in alternating rows allows you to create a beautiful mesh-like lattice pattern.
A decorative knot that twists into a charming spiral sequence, often used for plant hanger straps.
Making it is remarkably simple: take the square knot process described above, but repeat only the first side (for instance, starting from the left every time) continuously!
Knotting consistently from one direction causes the cord to naturally twist into a smooth spiral. Watching the elegant twist take shape under your fingers is truly satisfying.
An important technique for creating clean diagonal or horizontal lines, as well as diamond patterns across your work.
You hold one cord as a guide (core) and wrap an adjacent cord around it twice to tie a hitch. By adjusting the angle of your guide cord, you can control whether the pattern travels horizontally or diagonally.
This knot can feel slightly tricky at first, but once you get the feel for it, you can design geometric patterns freely, expanding your macrame possibilities dramatically!
Now that you know the knots, you might wonder what to build first. Here is a step-by-step project progression to build skills without frustration.
The absolute best first project is a coaster!
It uses shorter cord lengths and takes only 30 minutes to an hour to finish. Secure your cords to a corkboard and repeat square knots until you reach the desired length.
You'll also get to practice combing out and trimming the fringe along the sides, covering all the core macrame steps in one small piece. Sipping tea from a mug sitting on a coaster you made yourself feels wonderful!
Once you're comfortable tying square knots on a coaster, move on to a 3D classic: the plant hanger.
Designed to suspend potted plants or air plants, you attach cords to a wooden ring, use spiral knots for the hanging straps, and cross square knots lower down to form a net basket for the pot.
Moving from flat work to a functional 3D item is an exciting milestone. Hanging greenery near a window creates an instant cafe-like atmosphere in your room.
For your third step, try the quintessential macrame item: a hanging wall tapestry!
Mount cords onto a short piece of driftwood or wooden dowel, combining square knots, spiral knots, and double half hitches to create V-shapes or diamond patterns.
Wall hangings offer total design freedom, letting you express your personal taste completely. Hanging your finished piece in your living room or entryway brings an incomparable sense of accomplishment!
If you're excited to start macrame, you might be wondering where to get all the materials.
A mistake beginners often make is visiting multiple discount stores trying to piece together supplies bit by bit.
Rather than gathering mismatched items from various dollar stores, purchasing a complete Macrame Starter Kit from online shops like Amazon or local craft sites is by far the easiest and most reliable approach!
Most comprehensive starter kits cost around $15 to $25. For the price of a couple of coffees, you gain a lifelong craft hobby and charming handmade decor for your home—making it a fantastic investment.
Search for "Macrame Starter Kit for Beginners" on your favorite online store to explore beautiful options. Picking a design you love is the fastest first step toward enjoying macrame!
In this guide, we've covered everything from cord selection and essential knots to tool setup and secret tips for success.
Let's review the main takeaways:
Handmade crafting really begins the moment you pick up the cord and tie your first knot. The feeling of displaying natural accessories you made with your own hands—and hearing friends ask, "Wait, you made this yourself?!"—is immensely satisfying.
Browse for starter kits or cord colors that inspire you today, and jump right into the wonderful world of macrame! I'm cheering for your handmade journey every step of the way!
If you enjoyed this guide, sharing it with your crafty friends would mean the world to me! See you in the next article—this was Yassy from Crafters!



For example, if you are looking for articles about mizuhiki, try searching for "mizuhiki"; if you are interested in tools, try keywords like "nippers" or "pliers."
