Types of Japanese Needle Felting Wool: A Complete Material Guide to Elevate Your Craft
yassy
Crafters!

Hello, this is Yassy from Crafters! (・∀・)
As someone who absolutely loves handmade crafts, there is one technique I passionately recommend above all others for combining practicality and cuteness: Japanese Craft Band (also known as paper band or Eco-Craft)! The sense of accomplishment you feel when you finish weaving a basket or bag with your own hands is truly addictive.
With craft band, you can make stylish tote bags like the ones you see in boutique lifestyle shops, or practical storage baskets tailored to your preferred size and color to declutter your home. Best of all, you don't need heavy equipment, dangerous blades, or heat. All you need is a flat desk and a few familiar tools to safely start crafting right in your living room today.
However, when beginners decide to start, many find themselves wondering: "What is the difference between paper band and Eco-Craft?" "What tools should I buy first?" "Can someone clumsy like me really weave a basket?"
In this guide, I will share all my knowledge and experience to cover everything from the basic structure of Japanese craft band to choosing the right tools, selecting beginner-friendly projects, and using starter kits available online for the fastest start without frustration!
When you enter the world of Japanese paper band craft, you will encounter several names that might cause confusion. Understanding these terms and the characteristics of the material will clear up any hesitation when shopping for supplies.
To put it simply: these terms all refer to flat, band-like paper cords made primarily from recycled paper. Their material properties and weaving methods are essentially identical, so you don't need to overthink it.
Originating in Japan from heavy-duty bands used to tie heavy rice sacks, these paper bands are eco-friendly and remarkably strong. Just because they are made of paper does not mean they look cheap. A well-woven craft band creation boasts durability and elegance that rivals traditional bamboo baskets or Asian rattan goods.
The most important concept to understand when handling craft band is the number of strands (referred to as jo in Japanese). Craft band is made by joining multiple fine paper cords side-by-side into a single flat strip. The standard base size is a 12-strand band (12-jo).
When crafting, you don't always use the full 12-strand width as it is. Depending on the design, you split the band yourself into custom widths—for example, splitting a strip into 6 strands for the vertical stakes or 2 strands for the weaving strips. Splitting the band using a dedicated splitter or a discarded piece of plastic packing strap (PP tape) is one of the most satisfying parts of craft band making!
Beginners often worry: "Since it's paper, won't it tear easily or weaken near water?" However, the multi-layered woven structure is surprisingly sturdy—it won't give way even if you lift a basket filled with heavy books. Furthermore, applying the correct finishing treatment makes it resilient enough to repel light water droplets.
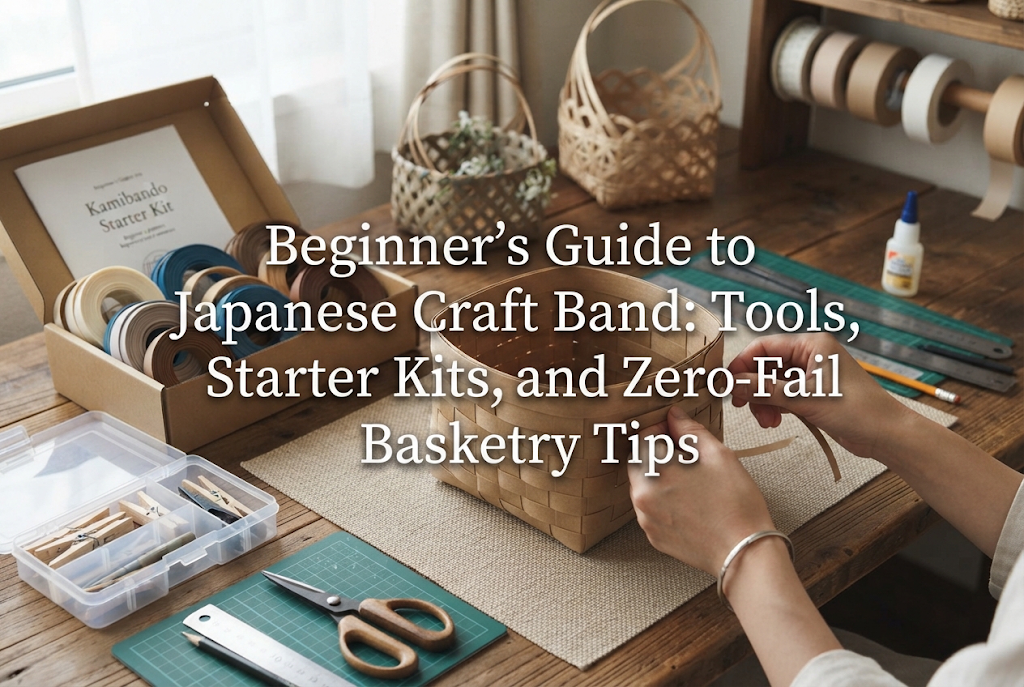
Compared to other handmade crafts, starting craft band requires a relatively low initial tool budget. However, relying on inadequate household substitutes can drastically lower your work efficiency and lead to warped results. Here are the 6 essential tools I strongly recommend gathering from the start.
The biggest mistakes beginners make are using standard liquid paper glue and ignoring scissor quality. Craft bands need to be pulled firmly while weaving, so light paper glue will not hold them securely. High-viscosity, quick-drying wood glue is the best choice.
Additionally, some people attempt to use masking tape or cellophane tape for temporary holds, but tape can damage the paper surface or peel off unexpectedly. Preparing a generous supply of strong clothespins or craft clips is the secret to a neat, tight finish.
The saddest thing in crafting is tackling an overly complicated project right away and giving up. In craft band making, as long as you learn the basic structure step-by-step, anyone can create beautiful pieces.
It is tempting to pick a gorgeous tote bag or a large storage basket as your very first project after seeing photos online. However, this is a classic pitfall. Large projects require cutting multi-meter strips, weaving huge amounts of band, and managing side walls that easily warp if your tension is uneven.
The golden rule for beginners is to start with a micro-project that can be completed in 30 to 60 minutes. The success of finishing a small item gives you the confidence and momentum to tackle bigger designs.
If your finished piece looks slightly crooked or loose, knowing a few simple technique adjustments can completely transform your work. Here are professional secrets I use whenever I weave.
About 80% of warping issues happen because the base was not constructed accurately. The initial intersections between vertical and horizontal base strips must maintain a precise 90-degree right angle. If this grid is slanted, the entire basket will twist as you weave upward.
Furthermore, pull each row of weaving band snugly to avoid loose gaps. Use your awl to push down the woven rows regularly to maintain an even, tight texture.
One of the most useful tricks in Japanese craft band making is Water Shaping (mizu-seikei)! Paper band softens when exposed to moisture and hardens firmly into shape as it dries.
If your basket looks slightly misshapen after weaving, lightly mist the entire piece with a water spray bottle. Once the paper becomes pliable, gently manipulate the shape with your hands into a square or neat circle. Clamp any stubborn edges with clothespins and let it dry completely. It will set into a crisp, sturdy shape that looks store-bought!
When weaving is complete, finish your piece with a coat of water-based clear varnish. Applying varnish offers three major benefits:
Using a water-based clear acrylic spray varnish makes it easy to coat fine crevices evenly without brush marks. Always work in a well-ventilated outdoor area and allow the piece to dry thoroughly.
When starting craft band, beginners should avoid visiting multiple craft stores trying to gather loose materials. Calculating required band lengths and picking individual color rolls can feel overwhelming at first. Purchasing a starter kit online is the fastest and easiest way to begin.
Once you have completed a kit or two and mastered the basics, consider purchasing a large roll (such as a 100m or 400m bulk roll) online. Buying bulk rolls offers a much lower cost per meter compared to small 10m craft store packs.
Keeping a large roll of a versatile shade—such as natural craft brown, warm chestnut, or clean white—allows you to freely craft home storage baskets, trash cans, or large interior hampers whenever inspiration strikes!
If I were starting today from scratch, here is the exact combination I would put into my cart to ensure a zero-fail start:
Once these items arrive, clear off a desk over the weekend, open the instructions, and enjoy creating your very first craft band project!
Japanese craft band (paper band / Eco-Craft) is a wonderful handmade craft that requires only simple, safe tools while allowing you to create charming, practical baskets and bags.
At first, splitting bands or weaving straight lines might feel a bit unfamiliar. But the joy you feel when you complete a beautiful, firm basket through careful weaving, water shaping, and varnishing is unmatched. Using your handmade baskets to organize favorite items or carrying your custom tote bag on outings adds so much warmth to daily life!
Pick out a fun starter kit or your favorite color materials today, and jump into the wonderful world of craft band crafting!
If you enjoyed this article, sharing it with your crafting friends on social media or messaging apps would mean the world to me. See you in the next article! This was Yassy from Crafters!


For example, if you are looking for articles about mizuhiki, try searching for "mizuhiki"; if you are interested in tools, try keywords like "nippers" or "pliers."
