Complete Leather Care Guide: How to Prevent Mold, Cracking, and Losing Shape for a Lifetime of Use
yassy
Crafters!

Hello, everyone! It's Yassy from Crafters! (・∀・)
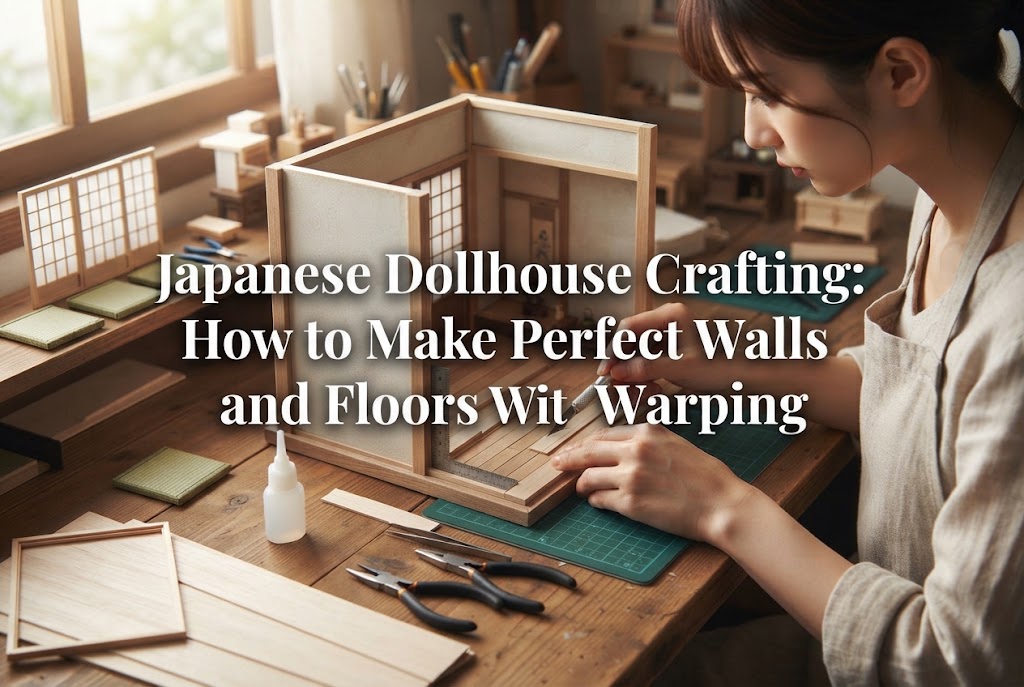
There is something truly captivating about the delicate, charming worlds nestled inside miniature rooms. Looking at them never fails to make my heart flutter. I personally love making, admiring, and buying handmade crafts, and I have a huge soft spot for miniature houses and dollhouses. Whenever I spot a wonderful piece in a shop or at an exhibition, I can easily gaze at it for hours. And the excitement of displaying one in your own room and switching on its warm lights is simply unmatched.
If you have found your way to this article, chances are you are thinking: "I really want to build a cute miniature house like that myself, but I am not very handy and have no clue where to start." Let me reassure you right away: you do not need any specialized technical skills or advanced know-how. As long as you know the right steps and have the right tools, anyone can start building their dream miniature house today.
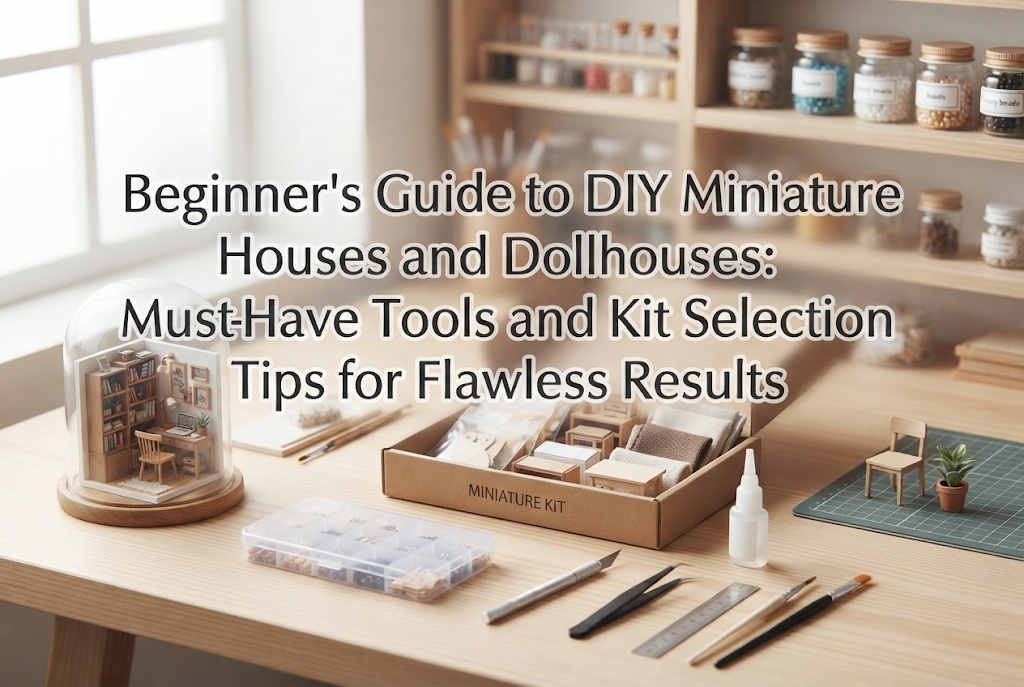
In this comprehensive beginner's guide, I will walk you through everything you need to know to complete your first miniature house or dollhouse smoothly and without frustration. From picking a kit you won't give up on to the essential "miracle tools" you should keep on hand and tips for a gorgeous finish, I've got you covered. Once you finish reading, you'll be ready to pick up a starter kit and tools online, and dive headfirst into this exciting craft!
The greatest appeal of miniature houses and dollhouses lies in the deep sense of immersion they offer, along with the immense satisfaction of building your ideal space with your own hands. Assembling palm-sized furniture, tiny accessories, and laying down each piece of wallpaper feels almost like working a little bit of magic.
Stepping away from the hustle and bustle of daily life to focus on tiny components is an incredible way to relieve stress. Losing track of time as a miniature room gradually takes shape before your eyes is a wonderful luxury that we can truly appreciate as adults.
Once finished, your creation doubles as an eye-catching piece of home decor. Many recent miniature house kits include built-in LED lights. Turn off the room lights, flip the miniature switch, and a gentle, cozy glow instantly transforms the space into a soothing haven. Miniature crafting combines the joy of building, the pride of displaying, and the comfort of admiring your work.
You might wonder, "Can I really handle such intricate work?" Don't worry at all. Today's miniature kits are exceptionally well-made, containing all the materials and clear diagrams you need. If you follow the steps methodically, even those who feel clumsy can produce a finished piece that looks like it was made by a seasoned pro.
When it comes to building miniature houses, there are two main approaches: gathering materials to build entirely from scratch, or using a commercially available kit. For beginners, the best choice—without question—is an all-in-one assembly kit.
Attempting to build from scratch right from the start almost always leads to giving up. It requires a tremendous amount of preparation and specialized knowledge: cutting wood to scale, calculating proportions, choosing paints, and drafting furniture templates. It is easy to spend a fortune on materials only to end up with warped pieces and an unfinished, abandoned project.
In contrast, a commercial kit eliminates all the tedious prep work that often causes mistakes. Pre-cut wooden pieces, fabrics, papers, hardware, and even LED light components are bundled together in one package. All you need to do is follow the instructions to achieve a flawless result.
Searching online marketplaces like Amazon will bring up countless miniature house kits. However, picking one purely based on appearance comes with the risk of choosing something far too difficult and abandoning it halfway through. When choosing your very first box, make sure to evaluate it using these three criteria:
When you purchase a miniature house kit, it may come with basic tweezers and a small tube of glue. However, I strongly advise against relying solely on included tools. They tend to lack precision and will drastically slow down your work, causing unnecessary frustration.
In fact, about 80% of your ease of work and the beauty of your final finish depends on the quality of your tools. That doesn't mean you need to buy expensive, professional-grade equipment; you just need reliable, accessible tools that you can easily order online. Here are seven tools that I personally rely on and wholeheartedly recommend:
When newcomers struggle with miniature house assembly, it usually boils down to a few predictable mistakes. Understanding these hurdles ahead of time will keep you calm and confident throughout the build. Here are the solutions I've developed through my own crafting journey:
The most common beginner error is smearing excess glue across components. When glue oozes onto clear plastic sheets or tiny furniture, it can dry cloudy and leave a messy, sticky surface that cheapens the look of your piece.
The fix is simple: never apply glue straight from the bottle onto small parts. Instead, squeeze a small dollop onto scrap paper or a tray, pick up a tiny droplet with the tip of a toothpick, and dab it onto the contact points. Even a tiny speck is often more than enough. If glue does seep out, gently wipe it away with a damp cotton swab before it dries.
Miniature kits contain dozens of wooden parts that look nearly identical. If you build on intuition without consulting the manual, you might install a piece reversed or flipped, causing other parts down the line not to fit.
To avoid this, sort your parts thoroughly before starting. Check the labels printed on the bags or sheets (such as "A-1" or "B-3") against the manual's parts list. Get into the habit of double-checking notches, cutouts, and hole alignments against the diagrams right before gluing.
You will need to cut out numerous printed paper parts, including books, wallpaper, cushion patterns, and plant foliage. Trying to force the scissors around tight curves often wrinkles or tears the delicate paper.
The secret to clean cuts is to move the paper, not the scissors. Use the inner part of the scissors' blades, closing them slowly while rotating the paper smoothly with your other hand. For straight edges, skip the scissors entirely—use a sharp craft knife and a metal ruler for far cleaner results.
Electrical wiring sounds intimidating to many beginners, but miniature kit wiring is surprisingly straightforward once you understand the setup. Usually, you simply twist matching color wires together (red to red, black to black) and insulate the joint with heat-shrink tubing or electrical tape.
Almost all lighting failures are caused by loose twists that fail to make contact, or reversing the positive and negative leads. Always insert batteries and test the lights before permanently gluing fixtures into walls or ceilings. Fixing wiring after it has been buried inside a wall is a headache, so verifying that everything illuminates beforehand is a must.
Building strictly according to the manual produces a lovely result, but adding a few subtle touches will elevate your project into something that looks professionally made. Here are three simple techniques I use:
When you cut out printed paper parts, the white cross-section of the paper's core is exposed along the edges. When multiple paper parts come together, these white outlines can make the whole scene look distinctly paper-like.
To fix this, take a water-based marker or colored pencil matching the printed design and gently run it along the cut edges. For instance, color the white edge of a red book cover with brown or red ink. This tiny detail eliminates the white paper look and gives items a convincing, solid presence.
Fabrics used for bedding, curtains, and sofa cushions shouldn't look rigidly stretched and flat. Perfectly stiff fabric can look unnatural and plastic-like.
Gently pinch the corners of cushions with tweezers or press soft folds into bedcovers to give the impression of a lived-in space. Curving the bottom hem of curtains slightly inward creates the illusion of soft fabric swaying in a gentle breeze.
Rather than placing tableware, shelf books, or potted plants in rigid, straight lines, try arranging them at slight angles or in relaxed groupings.
Tipping one book slightly on a bookshelf or setting a coffee cup at a gentle angle toward a chair immediately adds depth and visual interest, turning a sterile display into an inviting, realistic vignette.
Ready to jump in? Head over to your favorite online shop, such as Amazon, and search for "miniature house kit beginner." You will discover a huge variety of enticing designs.
If you're unsure which one to choose, follow your intuition. Pick a theme you genuinely love—whether that's a chic European-style café, a warm Scandinavian-inspired living room, a retro Japanese sweet shop, or a magical antique bookstore. When you choose a space you'd love to live in or admire, your excitement will carry you through the entire assembly process.
Before purchasing, check the product details to confirm: an estimated build time of around 10 to 15 hours, included LED lighting, and an included dust cover. Opening the box for the first time and seeing all the tiny, perfectly packed parts feels like discovering a treasure chest—it's an experience that never gets old.
Once your kit and tools arrive, set up a comfortable workstation. A corner of a dining table or desk is more than enough space. However, because miniature parts are tiny, dropping one on the floor can make it difficult to find. Placing a light-colored desk mat or a large sheet of white paper across your work area will help you spot fallen pieces instantly.
To keep things organized, use shallow trays or craft organizers. Bring out only the parts needed for your current step to prevent items from going missing.
Put on your favorite music or a podcast, prepare a warm cup of tea or coffee, and enjoy the process. Rather than rushing to finish in one sitting, working for an hour or two each day is the key to turning miniature building into a relaxing, sustainable hobby.
Miniature house and dollhouse crafting does not require exceptional artistic talent. With the right tools and an all-in-one kit, anyone can bring their own enchanting mini world to life.
Here is a quick recap of the key points for beginners:
The moment you connect the final piece and switch on the LED lights, watching the tiny room illuminate with warm light is truly unforgettable. Once you experience that sense of accomplishment, you'll be hooked on the wonderful world of miniatures.
If you feel inspired to give it a try, now is the perfect time. Look up a starter kit that catches your eye, gather your basic tools, and take your first step into this magical craft!
If you enjoyed this guide, sharing it with your friends on social media would mean the world to me and keep me inspired! Until next time—happy crafting from Yassy!



For example, if you are looking for articles about mizuhiki, try searching for "mizuhiki"; if you are interested in tools, try keywords like "nippers" or "pliers."
