Mastering Social Media for Handmade Sales: The Golden Rules to Build a Loyal Following and Boost Your Reach
yassy
Crafters!

Hello everyone, it’s Yassy from Crafters! (・∀・)
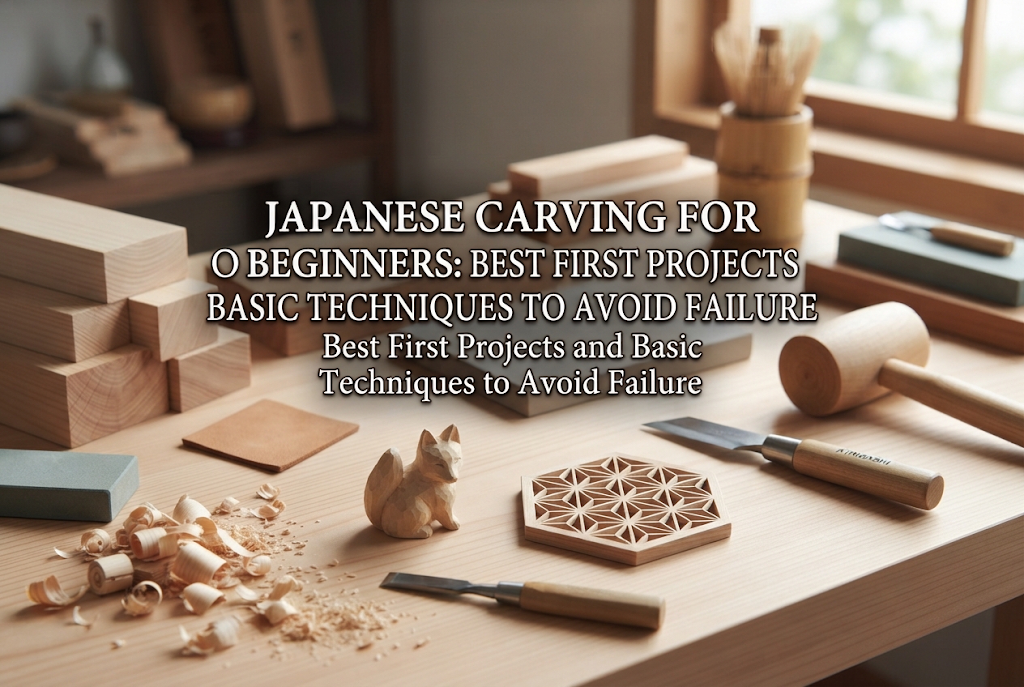
Carving is a wonderful craft where you use knives and chisels to shape raw materials into beautiful three-dimensional art. From soap carving, which fills the room with a sweet fragrance, to wood carving with its warm natural textures, and colorful fruit carving, the world of carving is deeply rich and captivating.
When you decide, "I want to experience the joy of carving!" or "I want to make something tangible!", the very first hurdle you encounter is deciding what to carve first. Looking at craft books or social media, you see stunning roses with layers of delicate petals, intricate geometric patterns, and realistic animal figures that leave you feeling excited and inspired.
However, if you jump straight into a complex, high-level project out of admiration, the blade might slip, chipping your material, or your hand might get tired from struggling with the tool, leading to frustration before you even finish. Choosing your very first project is the most critical turning point for building confidence and improving your carving skills.
In this guide, I will introduce ideal first projects tailored to different materials that will help carving beginners master basic tool techniques while completing a beautiful piece. I will also cover key tips to prevent common mistakes, proper tool handling, and a step-by-step roadmap for progressing to your next craft project. Use this as your guide to starting your very first creation!
Before selecting a design, it is important to know that suitable motifs for beginners share three common features. Ignoring these conditions often leads to taking on projects beyond your current skill level, which can result in giving up halfway. Let's start with these three basic rules to avoid failure.
The foundation of carving lies in moving the blade at a consistent angle and pressure. Complex projects require advanced techniques, such as constantly changing the direction of the blade or applying subtle twists. For your first piece, choose a design that relies on repeating simple, straight blade movements—either pulling the blade cleanly toward you or pushing it straight away.
Carving requires a high level of concentration. When you are not used to holding carving tools, you tend to apply unnecessary force, quickly tiring your fingers and wrists. If you pick a large project that takes days to finish, fatigue will cause your blade to slip, leading to ruined materials or even injury. Choose a compact size that allows you to feel the joy of saying, "I finished it today!"
With fully 3D shapes like spheres or animal faces, shaving off just a bit too much can disrupt the overall balance, making it difficult to fix. At first, it is best to choose a flat relief carving—where you carve design motifs down into a flat surface—or simple functional items composed of straight lines and gentle curves. Motifs where slight variations in depth actually add handmade charm will give you peace of mind.
Soap carving is wildly popular, especially among women, because you can easily do it indoors and clean up the shavings without fuss. The absolute best first project in this genre is carving a 5-petal flat flower relief onto the surface of a bar of soap.
Many beginners think, "Since I'm trying this, I want to carve a rose!" However, roses require a complex understanding of 3D space, including rolling and layering petals. The standard, foolproof route is to start by drawing a circle on a flat soap surface and carving a 5-petal flower with evenly spaced petals.
This simple flower contains all the foundational elements required for future soap carving techniques. Once you can carve this single motif cleanly, your fingertips will remember how it feels when the knife blade smoothly glides into the soap.
Here is what you will need to get started:
The most crucial factor here is the freshness of the soap. An old, dry bar of soap that has been sitting in storage for years will crumble into powder the moment you touch it with a blade. Standard bars from well-known brands found at supermarkets or drugstores are perfectly fine, but make sure to use fresh ones from sealed packages. Soft, moist soap dramatically improves how smoothly you can carve.
Follow these step-by-step instructions to create your flower:
Step 1: Smooth out the soap surfaceCommercial soaps usually feature brand logos or curved surfaces. Hold your knife flat and slice off a thin layer to erase the logo and bumps. This prepares a clean, flat canvas for your work.
Step 2: Sketch the central core and petalsUsing a toothpick, lightly scratch a small circle (about 1 cm in diameter) in the center of the soap. This will be the center of your flower. Next, make five small dots around the circle in a star shape to mark the tips of the petals. Beginners should always draw guideline marks rather than trying to carve freehand.
Step 3: Make the central core 3DHold the carving knife at a vertical (90-degree) angle to the outline of the central circle and make a light, shallow cut about 2–3 mm deep. Next, insert the blade from the outside toward the center at a 45-degree angle to create a V-shaped groove around the circle. Remove this small strip of soap to make the central core pop up.
Step 4: Carve the petal outlinesCarve rounded petals one by one around the center. Move the knife in a semi-circle from the center toward the outer tips to define the boundary between petals. Just like with the center core, make a vertical cut along the outline, then pare away the excess soap on the outside at an angle to make the petals stand out.
Step 5: Finishing touchesNeaten up the areas where petals meet, then gently brush away tiny shavings from the surface using a soft flat brush. Your basic flower relief is complete!
A mistake almost every beginner makes is having a petal snap off completely. This happens because the knife angle is too shallow, or because you try to carve too deeply in one motion, exerting leverage force against the soap.
Remember that a knife is a tool for slicing, not for prying. If you try to lift the soap upward with the tip of the blade, the structural integrity gives way and it cracks. When your vertical outline cut and your 45-degree angled cut intersect properly, the shaving will naturally fall away on its own. Never force or pry with the tip of the blade.
Wood carving lets you feel the natural strength of timber, creating pieces that grow more cherished the more you use them. For beginners starting out with wood, the ultimate recommended first project is a wooden butter knife.
While many people think a wooden spoon sounds cute, carving a spoon requires using a gouge chisel to hollow out a deep bowl. Navigating changing wood grain orientations makes this surprisingly tricky. In contrast, a butter knife consists mainly of flat surfaces and gentle curves without deep hollows. There is no better project for learning how wood behaves under a blade.
Wood fibers run in specific directions; if you carve in the wrong direction, the wood will tear and trap the blade. Carving the blade tip and handle slopes of a butter knife teaches your hands the fundamentals of woodworking—specifically, which direction to glide the blade for a silk-smooth finish.
Here is the essential gear for starting wood carving:
When selecting timber, choose a soft to medium hardwood or softwood. Great choices for beginners include basswood (shina), Japanese white magnolia (hoo), or Japanese cypress (hinoki). Avoid extremely hard woods like zelkova, oak, or ebony, as they demand razor-sharp professional tools and significant hand strength. Basswood or magnolia craft blanks found at craft stores are ideal and easy to work with.
Work safely by following these steps to shape your knife:
Step 1: Draw the side profile on the wood blankUsing a pencil, trace a butter knife silhouette onto your rectangular wood piece. Give the blade tip a gentle curve and keep the handle wide enough for a comfortable grip. Thin handles risk snapping during carving, so start with a slightly chunkier design.
Step 2: Rough carving (blocking out the shape)Always put on a cut-resistant glove on the hand holding the wood (your non-dominant hand). Using your knife, slice away the wood outside your pencil guidelines bit by bit. Instead of removing large chunks at once, peel off thin shavings as if sharpening a pencil.
Step 3: Taper the blade thicknessForm the blade section used for scooping and spreading butter. Smoothly glide the knife down both sides equally so the wood gradually tapers toward the tip. If the blade starts catching or digging deep into the fibers, stop immediately! Reverse the direction of the wood block and slice from the opposite way. This is what it means to carve "with the grain."
Step 4: Chamfering and shaping the handleShave off the sharp, square edges of the handle to form a smooth, rounded, or octagonal shape that feels great in the hand. Use short, controlled knife strokes to pare down each corner line. Leaving visible knife marks can give your piece a charming, rustic handmade texture.
Step 5: Sanding and oil finishOnce you finish carving, use #120 sandpaper to smooth out uneven steps, then progress to #240 and #400 to achieve a silky finish. Wipe away all wood dust, put a small amount of walnut or perilla oil on a paper towel, and rub it thoroughly into the wood. Once the oil cures, your glossy wooden butter knife is complete!
Carving wood requires more physical force than soap. Therefore, tool safety demands strict attention. The absolute golden rule for beginners is: Never place your supporting hand or fingers in front of the blade's path.
Keep the hand holding the wood piece strictly behind the cutting edge at all times. Master the "thumb push cut"—where you place your non-carving thumb on the back of the blade to push it forward using leverage—to completely prevent accidental slips where the blade leaps forward. Also, maintain a tidy workspace and avoid carving over your lap.
Understanding which projects to avoid is just as important as selecting the right one. While the following motifs look attractive, they are far too difficult for a first attempt:
The classic, opulent rose is the dream project for many craft lovers, but it demands multiple advanced techniques—shaping thin petals, forming gentle curls, and layering curved inner petals. Beginners often end up crushing the center core or breaking off outer petals, resulting in disappointment. Save roses for after you can cleanly carve at least three basic flat flowers!
Carved wooden spoons are incredibly popular, but using a gouge chisel to carve a deep bowl is difficult because the grain orientation shifts drastically within a small area. This frequently causes the blade to catch, tearing chunks out of the timber or accidentally carving right through the bottom. Start with a flat butter knife first to get a feel for wood properties.
Sculpting fully 3D animals like bears or birds requires strong spatial awareness and drafting skills to ensure the form looks correct from 360 degrees. Once wood or soap is shaved away, it cannot be replaced; over-carving distorts symmetry, leaving you with an unrecognizable shape. If you want to make animals, start smart with flat relief brooches cut from a wooden board.
If I were starting over as a complete beginner today, this is the exact step-by-step progression plan I would follow to build up my techniques gradually:
Adding just one new technique to what you learned in your previous piece is the golden rule for improving steadily without getting discouraged. Avoid trying to jump three steps at once—enjoy expanding your skills one project at a time!
The best first projects for carving beginners are the 5-petal flower relief in soap and the wooden butter knife. Both pack foundational techniques into compact builds that give you a wonderful sense of achievement in a short time.
You don't need to aim for perfection right away. The true delight of carving comes from feeling the blade glide smoothly through the material and watching a design slowly emerge through your own hands.
Gather your soap or wood blank, pick up your knife, and take that careful first cut in a calm crafting space. The moment your first shaving cleanly curls away, your exciting personal carving journey begins!
If you enjoyed this guide, please share it with your creative friends on social media! It means the world to me and keeps me motivated.
Until next time, happy crafting! This was Yassy from Crafters!




For example, if you are looking for articles about mizuhiki, try searching for "mizuhiki"; if you are interested in tools, try keywords like "nippers" or "pliers."
