9 Essential Craft Heating Tools: A Categorized Guide to Transform Your Handmade Projects
yassy
Crafters!

Hello, everyone! It’s Yassy from Crafters! (・∀・)
In the world of handcrafting, leather holds a truly special presence. Leather creations—which fit better in your hands the more you use them and develop a deep, rich character over time—are full of charm for both makers and buyers alike. I love making and buying various handmade items myself, and whenever I hold a piece made of real leather, my excitement instantly goes up!
However, when you actually try to buy leather at a craft store or online shop, many people find themselves completely overwhelmed by the vast variety. Technical terms like "cowhide," "nume leather" (vegetable-tanned leather), "chrome tanning," "suede," and "synthetic leather" line the shelves, leaving you wondering which one to pick. Choosing the wrong material can make cutting or sewing difficult, which is a major reason why beginners get frustrated and give up on their projects.
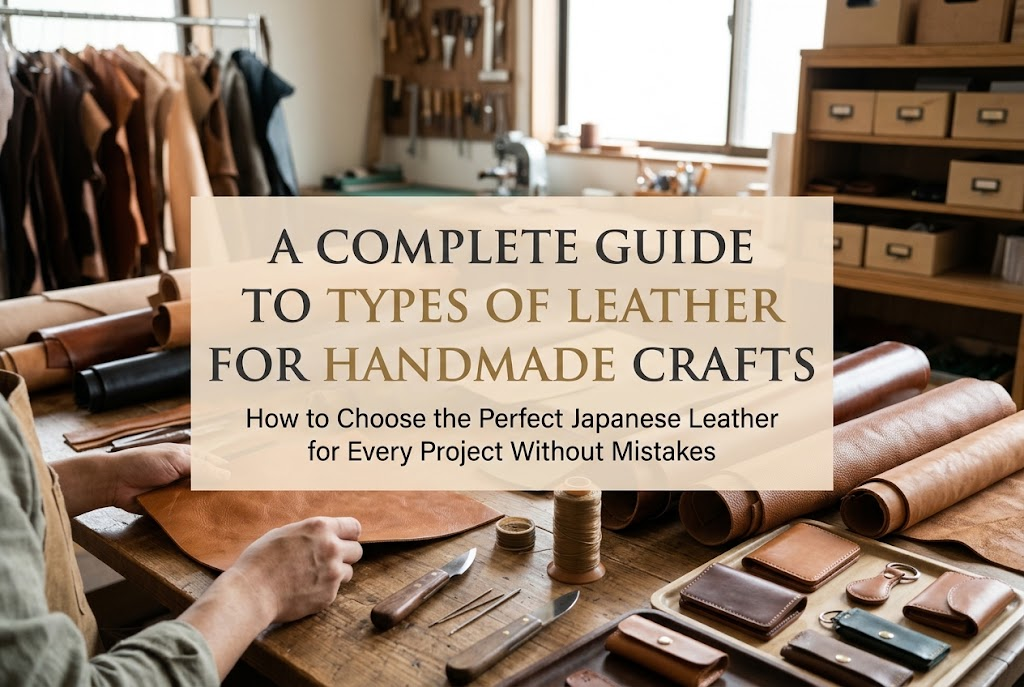
So in this guide, I will thoroughly cover the types of leather used in handmade crafting, their unique characteristics, and a zero-fail guide to choosing the right leather for the specific project you want to make. Once you master this leather knowledge, your crafting skills will undoubtedly level up to the next stage. Read through to the end and find the perfect piece of leather for your next creation!
When working with leather materials, the very first thing you need to understand is the crucial difference between genuine leather (natural leather) and synthetic leather (faux leather). While many of them may look similar on the surface, their properties as materials, workability, and durability are completely different. Selecting the right type based on the purpose of your intended project is your very first step toward success.
Here, I will clearly outline the pros and cons of each. It is not a matter of which one is superior overall, but rather about making the right choice to match your project concept and budget.
Genuine leather is a natural material made by processing (tanning) raw animal hides to prevent them from decaying. The greatest charm of genuine leather lies in its high rarity—no two pieces in the world are exactly alike—and the joy of watching it age over time (patina/aging).
Because it is a natural material, each individual hide retains evidence of the animal's life, such as natural scars, wrinkles, and blood vessel marks. These are not defects; rather, they are the unique texture and personality that only real leather can offer. Furthermore, the process wherein the leather deepens in color, gains luster, and softens through exposure to hand oils and sunlight is an experience exclusive to genuine leather.
Its durability is also exceptionally high, and with proper care, a piece can last for 10, 20, or even more years. Another strong advantage unique to genuine leather is the ability to burnish the cut edges (called koba in Japanese leathercraft) to achieve a beautifully polished finish. If you want to make authentic leather goods or emphasize a high-end feel, genuine leather is the definitive choice.
Synthetic leather and artificial leather are chemical fiber products made by coating a base fabric with polyurethane resin or polyvinyl chloride (PVC) resin to mimic the surface of real leather. Unlike genuine leather, they have the major advantage of being water-resistant and extremely easy to care for.
Their quality is uniform, and because you can use the material from edge to edge without waste, the yield (effective utilization rate of the material) is extremely high. They are also significantly cheaper than real leather and offer a rich variety of colors and patterns. Because they can be easily cut with standard scissors and sewn smoothly even with a domestic sewing machine, they are very easy materials for beginners to handle.
However, synthetic leather suffers from unavoidable age-related degradation. Deterioration begins from the moment it is manufactured, and after a few years, the surface resin undergoes hydrolysis, causing it to flake off and crumble. The lack of patina to enjoy over time and the inability to burnish the cut edges (koba burnishing) are clear drawbacks. Choosing synthetic leather is the right answer when making water-resistant pouches or casual daily goods while keeping costs low.
The most important factor when choosing genuine leather is the type of "tanning." Tanning is the process of removing hair and impurities from raw animal hide, preserving it against decay and drying, and transforming it into usable "leather." The chosen tanning method largely determines the leather's firmness, texture, and how easily it ages.
Leather tanning methods are mainly categorized into three types: "vegetable tanning," "chrome tanning," and "combination tanning." Buying leather without understanding these differences can lead to critical failures, such as the finished piece being unable to hold its intended shape.
Leather tanned slowly and carefully using natural tannins extracted from plant bark is known as vegetable-tanned leather. Among these, natural vegetable-tanned leather that has not been dyed or finished is specifically called nume leather (本ヌメ革) in Japan.
The defining feature of vegetable-tanned leather is its overwhelming firmness and body. It does not stretch easily, is extremely sturdy, and maintains a solid three-dimensional shape. Furthermore, its greatest attraction is its dramatic patina over time. As you use it, the light beige color gradually shifts into a rich, deep amber hue, developing a unique, beautiful sheen.
When dampened with water, it becomes pliable, allowing for techniques such as stamping, tooling, or wet-molding into 3D shapes. The more you burnish the cut edges (koba), the glossier and sleeker they become. If you want to experience the true essence of traditional leathercraft, vegetable-tanned leather is the way to go.
Leather tanned quickly and efficiently using basic chromium sulfate, a chemical agent, is known as chrome-tanned leather. A large portion of mass-market leather products circulating today utilize chrome-tanned leather.
The key features of chrome-tanned leather are that it is exceptionally soft, lightweight, and pliable. It boasts high heat resistance and excellent color receptivity, allowing for vivid colorways and consistent finishes. Because it resists water, dirt, and scratches, it is ideally suited for everyday bags, garments, and daily-use accessories.
However, it will not undergo the dramatic aging process seen in vegetable-tanned leather. While it is perfect for items where you want to preserve the pristine initial appearance for a long time, you cannot burnish its cut edges (koba) using gum tragacanth or Tokonole (a popular Japanese edge-finishing agent) to produce a shine. Edge finishing for chrome-tanned leather requires either a folded edge technique (herikaeshi) or applying specialized edge paint (pigment liquid).
Combination tanned leather (also called combi-tanned leather) is produced by combining both vegetable and chrome tanning processes. It is a hybrid leather material that balances the merits of both techniques.
While retaining the softness, durability, and vibrant color output of chrome tanning, it also offers a pleasant moderate stiffness and subtle aging qualities characteristic of vegetable tanning. It allows for a certain degree of edge burnishing while remaining relatively resistant to water, making it very user-friendly.
It is an excellent material that fulfills ambitious requests such as: "I want to make a soft bag, but I also want it to hold its shape to some degree," or "I want easy maintenance, but I still want a touch of genuine leather texture."
Depending on the animal species used as the raw material, leather differs completely in surface grain, thickness, strength, and weight. Here, I'll explain the characteristics of representative animal leathers commonly used in leathercraft. Pick the best animal leather according to the scale and purpose of your project.
The most popular and widely distributed leather in handmade crafting is cowhide. It boasts a perfect balance of strength, thickness, and durability, making it suitable for almost any item, including wallets, bags, belts, and key cases.
Cowhide is further subdivided based on the age and gender of the cattle. Here are three representative types every beginner should know:
If you're unsure where to start, choosing vegetable-tanned steerhide (nume leather) is a foolproof rule for success.
Pigskin is a notable leather material in Japan, as it is self-sufficiently produced domestically. The defining characteristic of pigskin is its distinctive pore structure, which opens in clusters of three forming triangular patterns. Thanks to these pores, it has outstanding breathability and is exceptionally lightweight.
It is highly resistant to friction and possesses strong tear resistance even when thin, making it fantastic as a lining material. Pasting pigskin onto the inside of a bag or using it for the interior of a wallet dramatically boosts both the quality and durability of your creation.
Additionally, polished pigskin with a glossy finish (known locally in Japan as ame-buta or polished pigskin) and soft suede-processed pigskin work wonderfully as stylish main materials too.
When you want to create delicate, elegant pieces, goatskin and sheepskin are highly recommended. Both are significantly lighter than cowhide and feature a gentle, soft touch.
Goatskin has fine pebbled grain (distinct wrinkle patterns) on its surface and offers high strength despite being thin. Thanks to its excellent abrasion resistance, it is well-suited for items handled frequently, such as book covers, business card holders, and gloves.
On the other hand, sheepskin is the softest among all leather materials, featuring an ultra-fine grain and a moist, supple texture. It showcases an incredible presence when used for plush drawstring pouches, jewelry cases, or accessory accents that benefit from its fluffy softness.
When you want to step away from standard leathers to produce strong individuality or high luxury, specialized materials known as "exotic leathers" come into play. These include crocodile, alligator, python, and ostrich.
Python leather features wild, beautiful scale patterns; using it just as a single accent piece on a wallet or charm creates an overwhelming statement. Additionally, Cordovan—taken exclusively from the rump of a horse—boasts supreme density and intense gloss, earning it the title "the diamond of leather."
While exotic leathers and Cordovan are expensive, even small accent pieces can dramatically raise the selling price and brand value of your handmade crafts.
Leather transforms in appearance and texture not only by animal species, but also depending on how it is split, painted, or surface-finished. Even with the same cowhide, workability and care methods change 180 degrees depending on the surface processing. Select the optimal finish based on your skills and project image.
When leather is sliced (skived or split), the layer retaining the original outer skin surface (the smooth side with pores) is called full-grain or top-grain leather (gin-men / 銀面 in Japanese). This is the high-quality outer layer where you can enjoy high strength and the natural texture or grain of the leather.
In contrast, the layer beneath the grain side—the fibrous, fuzzy reverse side of the leather—is called split leather (toko-gawa / 床革 in Japanese). Split leather has lower strength and tends to fray, making it less durable on its own, but it is extremely inexpensive.
Split leather is an ideal material for beginners to practice making prototypes (toiles). Alternatively, you can use it smartly as an inner reinforcement material inside final pieces, or turn it into casual coasters and tags that intentionally take advantage of its fuzzy texture.
Leather thoroughly infused with oil or wax during tanning or finishing is referred to as "oil leather" or "waxed leather." Representative examples include traditional British Bridle leather and American pull-up leather.
These leathers feel moist and substantial to the touch, showing a unique expression called the "pull-up effect," where oil shifts and lightens in color at bent sections. Waxed leather features white wax (bloom) rising to the surface; as you use it, the wax melts from body heat and friction, giving rise to an explosive gloss.
They offer high durability and water resistance. If you want to make chic, cool men's wallets, key cases, or classic bags, oil leather is your ultimate choice.
Leathers where the grain or flesh side is abraded with sandpaper to create a warm, fuzzy nap are collectively called "napped leathers." They offer a soft touch and cozy warmth, making them incredibly popular materials for autumn and winter handmade items.
Napped leathers go by different names depending on which side is buffed:
Because napped leathers absorb water and stains easily, applying a protective waterproof spray before use is an absolute rule to keep them beautiful for a long time.
Patent leather (often called enamel leather in Japan) is created by applying a thick coat of urethane resin to the surface, creating a intense, mirror-like gloss. It offers vivid coloration, resists water, and is perfect for dressy party bags or ladies' accessories.
On the other hand, embossed leather is created by pressing metal plates under high heat and pressure to stamp artificial patterns into the surface. Patterns range from crocodile styles to shrink (pebbled) textures and camouflage prints.
The greatest advantage of embossed leather is that surface scratches are remarkably inconspicuous. If you are making key cases or smartphone covers that endure hard daily use, choosing embossed leather ensures a clean look for a long time.
Once you understand leather types and tanning methods, the next thing to check is thickness (in millimeters) and hardness. No matter how wonderful a piece of high-grade nume leather is, if you choose the wrong thickness or hardness, you will end up with an unusable item. Here are the clear selection standards and best thicknesses by project.
When crafting staple leather small goods like bifold wallets, long wallets, business card holders, or pass cases, the golden rule is to use different leather thicknesses within a single project. If you make the entire item with the same thickness, overlapping layers will become awkwardly thick and bulky.
Specific thickness guidelines are as follows:
Providing firm hardness on the outside to protect the contents while using thin leather inside so the piece doesn't bulge when layers stack up is a professional design technique.
When crafting larger projects like tote bags, shoulder bags, or pouches, choose leather based on the structure (whether it should stand upright or slouch naturally).
If you want to create a tote bag or backpack that stands firmly on its own, use vegetable-tanned cowhide with a thickness of 2.0 mm to 3.0 mm. By polishing the cut edges (koba) thoroughly, you can complete a heavy-duty, lifetime bag.
On the other hand, if you want to make a soft shoulder bag that fits comfortably against the body or a drawstring pouch, chrome-tanned leather or oil leather around 1.0 mm to 1.5 mm is best. If you plan to use an inside-out sewing technique (stitching the item inside out and turning it right-side out), never use hard leather—turning hard leather inside out creates severe wrinkles and cracks. Always choose soft, chrome-tanned leather for that technique.
When making leather accessories like earrings, hair ties, or brooches, or when crafting leather patches for bags, lightness and ease of cutting are your top priorities.
The optimal thickness is ultra-thin leather between 0.6 mm and 1.0 mm. At this thickness, you can easily cut complex curves with standard scissors or a craft knife without stress.
As for leather types, vibrant chrome-tanned cowhide with rich color variations, soft and light sheepskin, or pig suede are ideal. Using heavy leather puts unnecessary strain on ears when worn as earrings, so remember: lightness is king!
There are typical failure patterns that beginners frequently fall into when starting leathercraft. By knowing these potential stumbling blocks in advance, you can completely prevent wasted expenses and crafting frustration. Here are the top three most common failures brought to me, along with foolproof ways to avoid them.
The most common mistake is buying thick, rock-hard nume leather over 2.5 mm thick simply because "it looked cool in the shop." Punching holes with a pricking iron (diamond chisel / hishime-uchi) through thick, stiff leather requires immense muscle strength. Furthermore, cutting rounded corners becomes difficult, and pushing needles through can hurt your fingers, causing beginners to quit.
[How to Avoid It]Hand-sewing beginners should start with medium-thickness leather around 1.2 mm to 1.5 mm that offers a nice balance of firmness and pliability. If you happen to buy thick leather, it is wise to ask a specialty leathercraft store to skive it down to your specified thickness (a service called suki-kakou in Japan).
Assorted scrap leather bundles (hagire packs) sold cheaply at craft stores or online look incredibly appealing to beginners. However, after opening the package, many suffer the tragedy of finding that the hardness, thickness, and leather types are completely random, with not a single piece large enough to fit their project pattern!
Most pieces in scrap packs are factory offcuts, mixing chrome-tanned and vegetable-tanned pieces together. Combining different types of leather in one project leads to mismatched textures and aging behavior, resulting in an unpolished look.
[How to Avoid It]When you want to complete a specific project, don't buy scrap bundles; instead, purchase pre-cut leather sheets sold in standard sizes like A4. Scrap packs are best reserved for tiny items like keychains or tags, or strictly for practicing hole punching and stitching.
Many beginners start crafting with the goal of polishing cut edges with Tokonole to create shiny, sleek projects, only to find the edges remain rough and fuzzy no matter how much they rub. This is not a matter of polishing technique—it's caused by accidentally choosing chrome-tanned leather or split leather!
Due to chemical properties, chrome-tanned leather fibers do not solidify under friction heat. Therefore, rubbing edge-finishing agents like Tokonole on chrome-tanned edges will not yield a shiny burnished finish.
[How to Avoid It]If your design relies on polished, beautiful cut edges (koba) or smooth back sides (toko-men), make sure the material is labeled as "vegetable-tanned leather" (nume leather) when purchasing. If you choose chrome-tanned leather, adjust your design to use folded edges (herikaeshi) or coat the cut edges with pigmented edge paint.
We have thoroughly explored the types, characteristics, and zero-fail selection criteria for leather used in handmade crafting. Leather might seem intimidating at first glance, but once you grasp the unique traits of each type, no other material offers as much joy in crafting and pride in ownership.
Let's review the key takeaways from this article once more:
Materials chosen with a clear understanding of leather types and properties will dramatically reduce your crafting stress and elevate the quality of your finished work many times over. When browsing leather at a local shop or online store, be sure to revisit this guide to discover the ideal leather companion for your dream project!
If you found this guide helpful, I would be so happy and encouraged if you shared it with your crafty friends on social media or messaging apps! Until next time, happy crafting! This was Yassy from Crafters!


For example, if you are looking for articles about mizuhiki, try searching for "mizuhiki"; if you are interested in tools, try keywords like "nippers" or "pliers."
