Moving Beyond the Beginner Stage in Japanese Shrink Plastic Crafts: The Golden Order for Upgrading Your Tools
yassy
Crafters!

Hello, everyone! It’s Yassy from Crafters! (・∀・)
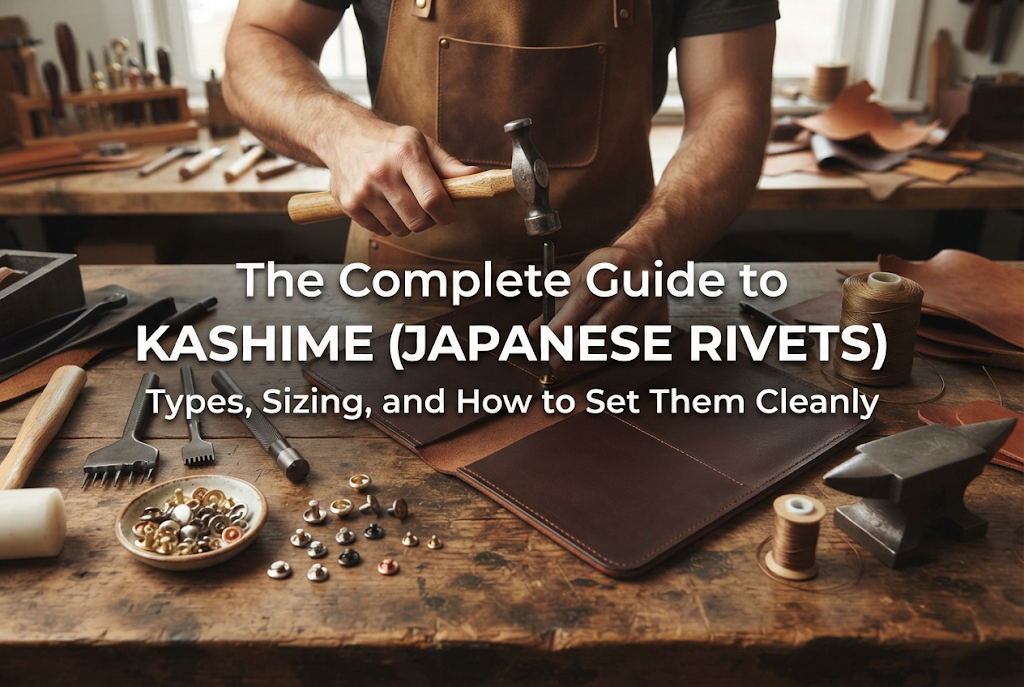
If you enjoy leathercraft or making structured fabric bags, you have likely come across metal rivets. In Japan, these essential craft hardware pieces are known as kashime (カシメ). They are indispensable for joining pieces of leather securely or reinforcing heavy-duty bag handles.
However, stepping into a craft store or browsing an online supplier can quickly become overwhelming. You will see terms like single-cap (katamen), double-cap (ryomen), small (ko-gashime), large (o-gashime), short-post (tanjaku), and long-post (nagaji). It is easy to wonder: "Which one should I actually buy?"
If you choose the wrong kashime for your material thickness or project purpose, it might pop loose over time or bend sideways when hammered. On the flip side, once you understand the basic rules of selection and setting, kashime will become your go-to hardware for instantly elevating both the durability and the professional finish of your work!
In this guide for beginners, I will walk you through the basic structure of kashime, the differences between types, how to calculate the perfect post length, the essential tools you need, and expert tips for setting them flawlessly every time.
A kashime (rivet) is a metal fastening piece used to clamp two or more layers of leather or fabric together. By applying pressure from above with a hammer and setter, the parts lock together permanently to create a reinforced bond.
They are widely used in stress points where stitching alone might fail under heavy load, or when joining thick leather pieces that are difficult to sew through by hand or machine. Beyond their practical strength, their metallic shine and vintage textures make them a popular decorative accent.
A standard kashime set consists of two interlocking parts:
The mechanism is straightforward: you insert the post through a prepunched hole, place the cap over the protruding post on the other side, and strike it using a dedicated rivet setter (setting tool) and mallet. The top of the post flattens and flares outward inside the cap, locking the two pieces securely together.
Once properly set, a kashime cannot be disassembled without cutting or destroying the hardware with pliers. Choosing the right size and installing it accurately the first time is essential!
Kashime rivets are generally divided into three categories based on their design: Single-Cap (Katamen), Double-Cap (Ryomen), and Decorative / Domed (Tama / Kazari).
Single-cap kashime feature a smooth, rounded dome on the front cap, while the base of the post on the back has a hollow, indented center.
Key Features:
Recommended Uses:Inside key cases, behind card pockets in wallets, interior bag pockets, or lining layers where the back of the rivet will be covered with fabric or leather.
Double-cap kashime feature identical rounded, finished caps on both the front and the back. Whether viewed from the face side or the reverse side, the appearance is polished and symmetrical.
Key Features:
Recommended Uses:Bag handle attachments, shoulder strap joints, wristlets, key fobs, and the exterior of leather goods—any place where the reverse side will be visible or handled directly.
Beyond standard rounded caps, there are high-domed ball-shaped rivets (tama-gashime) as well as decorative rivets featuring stamped patterns, star or heart shapes, or faux turquoise resin inlays.
Key Features:
Recommended Uses:Embellishments on leather jackets, accent points on keychains, or decorative bands on belts.
Quick Note: How Kashime Differs from Eyelets and SnapsKashime (Rivets): Completely seals the hole, permanently joining layers together.Hatome (Grommets / Eyelets): Leaves an open center reinforced with metal, designed for threading cords, rings, or laces.Hokku (Snap Fasteners / Spring Snaps): Functional hardware that can be snapped open and closed repeatedly.
The most common beginner mistakes happen during size selection. In Japanese craft terminology, kashime are measured by two parameters: Cap Diameter and Post Length.
The cap diameter determines both the visual presence and the holding surface area of the rivet. Here is a guide to standard Japanese sizing standards:
If you are unsure where to start, Ko-gashime (6mm) is the standard for small goods, while Chu-gashime (around 9mm) is the sweet spot for bags and straps.
Even more critical than the cap diameter is the post length. The same 6mm small kashime can come in short (tanjaku), standard (namiasi / chu-ashi), and long (nagaji) post variations.
If the post length is incorrect, you will never get a secure hold no matter how hard you hit it. Always use this golden formula:
The Golden Rule for Kashime Post Length:Total Material Thickness + 1.5mm to 3.0mm = Optimal Post Length
For example, if you are joining two pieces of 1.5mm thick leather together, your total thickness is 3.0mm.Adding 1.5mm to 3.0mm means you should look for a kashime with a post length of approximately 4.5mm to 6.0mm.
Measure your stacked leather or fabric with a ruler or digital caliper before purchasing your hardware!
The finish (surface plating) dramatically influences the aesthetic tone of your finished project. Match your rivets to your other hardware pieces—such as swivel snaps, D-rings, and zippers—for a cohesive, professional appearance.
Even when two rivets have the identical antique gold finish on the surface, the core metal underneath can differ:
To install kashime cleanly without damaging their appearance, use the right dedicated tools. Improvised alternatives almost always crush the hardware.
Once your workspace is set up, follow these three simple steps for consistent, professional results:
Mark your desired placement with an awl. Lay your stacked material flat on your rubber pounding board, hold your hole punch perpendicular (strictly at a 90-degree angle), and strike firmly with your mallet to pierce a clean hole through all layers.Tip: A hole that is too small will pinch and wrinkle the material around the post, while an oversized hole allows the rivet to shift off-center. Choose a punch that matches the post diameter or is slightly larger.
Push the post through the hole from the back of your project. Place the cap over the exposed post tip on the front side and press gently until you feel or hear a faint "click" as it temporarily catches.Next, align the bottom cap (or the bottom base) into the corresponding concave depression of your metal anvil base.
Place the concave tip of your rivet setter directly over the top cap. Ensure the setter rod is held completely vertical, not tilted in any direction.Using your mallet, tap straight down with moderate force. Do not attempt to smash it down in a single heavy blow! Instead, give it 3 to 4 steady, controlled taps, checking after each strike to see if the rivet has seated snugly against the material.
If your rivets aren’t setting properly, check these frequent causes and fixes:
Here are three practical examples from my own workshop to show how I choose kashime depending on the project:
Working with metal hardware like kashime might seem intimidating at first, but the selection rules are actually very straightforward:
Keep these fundamentals in mind, and you will be able to create sturdy, professional-looking leather and textile pieces with confidence. I encourage you to add kashime into your next project and explore the endless possibilities of handmade crafts!
If you found this guide helpful, please feel free to share it with your fellow crafters on social media. See you in the next article—happy crafting from Yassy!








For example, if you are looking for articles about mizuhiki, try searching for "mizuhiki"; if you are interested in tools, try keywords like "nippers" or "pliers."
