Achieving a Smooth Finish: The Golden Rules for Zero Air Bubbles in Jesmonite Crafting
yassy
Crafters!

Hello, everyone! It’s Yassy from Crafters! (・∀・)
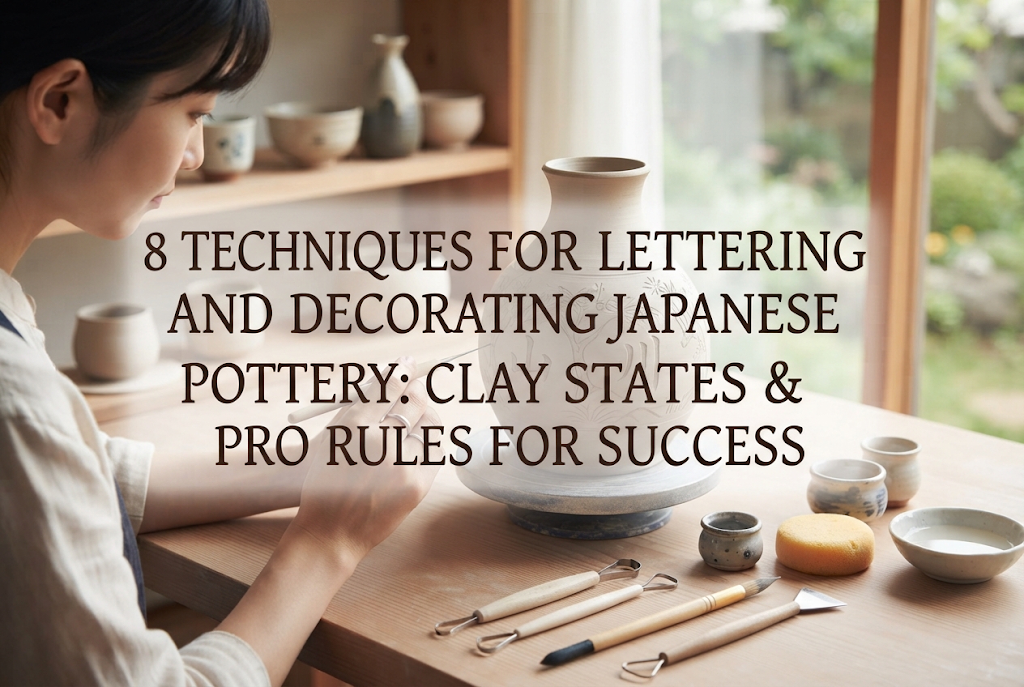
When making your own original pottery, have you ever wanted to add custom patterns or lettering to the surface? Whether it's your initials, a hand-drawn illustration, Scandinavian-style geometric patterns, or delicate botanical motifs, adding designs to your ceramics instantly elevates their charm!
As someone who loves making and collecting various handmade crafts, my heart always skips a beat whenever I see handcrafted ceramics adorned with stylish lettering and art. The beautiful pottery displayed in boutique shops and handmade marketplaces all feature clever techniques tailored to their designs.
However, many beginners run into common obstacles: "When and how should I write letters on clay?" "Why did my drawing disappear after firing?" "Why do my carved lines look so jagged?"
The absolute key to successful pattern making and lettering in pottery is selecting the right technique according to the clay's dryness level. As long as you understand the proper timing and methods, even those who aren't confident in their drawing skills can create beautiful, professional-looking designs.
In this guide, I will thoroughly explain 8 lettering and decorating techniques matched to different clay stages, common beginner pitfalls to avoid, and practical pro tips that I use myself!
When adding patterns or text to ceramic pieces, the most crucial step is understanding the current state of your clay. From the moment you shape the clay until it is fully fired, its moisture content changes constantly. If you do not adapt your decorative technique to these changes, your piece may warp, crack, or fail to show the design properly.
The creative process is broadly divided into three stages: Freshly Formed Clay (Wet), Leather-Hard (Semi-Dry), and Bisque-Fired. Let's look at the characteristics and best decorative methods for each stage.
Right after you finish shaping the kneaded clay, it contains a high amount of moisture and is extremely soft. Because it indents easily with a simple touch, you must handle it carefully to avoid distorting the overall form.
This stage is ideal for decorations that take advantage of softness—such as creating deep, bold relief textures or gentle impressions over large areas. However, it is not suitable for delicate lettering, as soft clay tends to drag, stretch, and lose shape under fine tools.
After letting your piece sit for several hours to a day after shaping, moisture moderately evaporates from the surface, bringing it to the "leather-hard" state. At this stage, touching the piece leaves no fingerprints, and the clay feels similar to hard cheese or sturdy leather.
This semi-dry condition is the absolute golden window for carving, incising, and stamping. There is no risk of deforming the piece, and when you cut into the clay with tools, the edges remain crisp without pulling. If you want to carve fine patterns or crisp lettering, always target this leather-hard timing.
After the clay is completely dried, it undergoes a low-temperature first firing at around 800°C (1472°F), known as "bisque firing." The moisture is fully driven out, leaving a hard structure like a unglazed roof tile. The surface retains countless microscopic pores that absorb water and pigments rapidly.
While you can no longer carve or gouge the clay after bisque firing, it is the perfect state for painting with underglaze or applying transfers. If you want to write characters or draw illustrations freely like watercolor painting, doing so after bisque firing is the correct approach.
Decorations performed while the clay is soft to leather-hard create physical depth and tactile relief on your artwork. When glaze is applied over these textured surfaces before the final firing, variations in glaze depth create rich color gradients and visual intrigue.
Here are four primary techniques that are beginner-friendly yet yield high-quality results.
This technique involves pressing commercial rubber stamps, metal lettering stamps, or textured lace fabric directly onto the clay surface to transfer a design. It is the easiest way to create uniform, neat characters and patterns in an instant.
Using alphabet or numeric stamp sets allows anyone to make personalized mugs or commemorative date plates with ease. The best timing to press your stamp is during the leather-hard stage when the clay has firmed up slightly. If pressed when too soft, the vessel will warp; if pressed when too dry, fine cracks will form around the impression. Maintaining a consistent depth while pressing is the key to a clean finish.
Using needles, bamboo skewers, potter's needles, or fine carving tools (kanna), this technique involves directly incising letters or drawings into the clay surface. It excels at adding handwritten warmth and rustic character to your art.
Be sure to work strictly in the leather-hard state. The carved lines form shallow grooves; during the final firing, glaze flows into these grooves, making the lines pop. Rather than trying to brush away the tiny clay shavings (burrs) while carving, let the piece dry completely first, then gently brush them off with a stiff brush or dry sponge to keep your lines clean.
Sgraffito involves applying a colored liquid clay called "slip" (engobe) over the body clay, allowing it to reach a leather-hard state, and then carving through the surface slip with a sharp tool. Removing the top layer reveals the contrasting color of the clay body underneath.
For example, if you paint black slip over white clay and carve out floral shapes or letters, striking white motifs will emerge against the black background. This is a technique I highly recommend if you want to create modern, graphic designs reminiscent of Nordic tableware. The key to success is controlling your carving depth so you don't cut too deep into the base clay.
Appliqué (Chofu) is a 3D technique where separate clay shapes or cutout letters are attached to the vessel’s surface using liquid clay (slip/dobe) as glue. This creates raised, cameo-like relief patterns.
On the other hand, Inlay (Mishima / Zogan) involves carving grooves into the clay, filling those grooves with a contrasting color clay, and then scraping the surface flat once dry. Similar to woodworking inlay, this keeps the surface smooth while integrating distinct, multi-colored letters or motifs. Because both methods combine different clays, it is essential to use clays with similar shrinkage rates during firing.
These techniques involve applying pigments or specialized liquid agents after the vessel is dried or bisque-fired to create visual imagery. Compared to carving methods, liquid applications offer a wider variety of colors for vibrant creations.
Let's explore four brush and liquid techniques ranging from graphic designs to delicate watercolor effects.
Using a squeeze bulb or applicator bottle filled with liquid slip, this technique squeezes out lines and dots onto the piece like decorating a cake. Known as Itchin drawing in Japanese pottery, it produces raised, dimensional, and charmingly tactile designs.
It is perfect for piping cursive typography or creating dotted patterns. The liquid slip's consistency is critical: if it's too runny, it slumps and spreads flat; if it's too thick, it won't flow smoothly and lines break. Aim for a velvety consistency similar to a thick soup.
This is the classic technique of painting directly onto bisque-fired ware using ceramic underglazes or Gosu (a traditional Japanese cobalt blue pigment). It feels very similar to painting with watercolors on paper, offering complete creative freedom.
Because bisque ware absorbs moisture almost instantly, moving your brush as if on paper will cause the pigment to drag and dry out mid-stroke. The trick is to load your brush generously with underglaze and water, gently placing the moisture onto the surface as you guide the brush. Applying a clear topcoat glaze over your artwork locks the painting under a glass layer during the final high firing, preserving your colors permanently.
For those who say, "I'm not good at drawing," or "My handwritten text looks crooked," underglaze transfer sheets and stencils are absolute must-try tools!
Underglaze transfer papers for pottery allow you to press intricate, professional-grade patterns or stylish typography onto bisque ware using a damp sponge in seconds. Alternatively, you can cut out stencils from clear plastic folders, place them against your bisque piece, and dab underglaze through the openings with a sponge. Anyone can achieve crisp, sharp-edged lettering effortlessly with this method.
This sophisticated technique utilizes a wax or latex-based water repellent (often called CP solution in Japan) that repels liquid glaze.
You paint your text or design onto bisque ware using a brush dipped in water repellent. Once dried, you dip the entire vessel into a glaze bath. The glaze naturally sloughs off the areas treated with the repellent, leaving the raw clay exposed. For instance, if you submerge a piece in black glaze, the brush-painted areas will resist the glaze and stand out in the clay's natural tone.
This approach produces striking color contrast and delivers a refined, mature aesthetic.
When lettering or decorating ceramics, unsatisfactory results usually stem from specific technical oversights. Here are five frequent mistakes encountered by beginners, along with foolproof rules to prevent them.
Keeping these rules in mind before starting will eliminate 90% of potential failures!
Cause: You carved while the clay was too soft, or you tried rubbing off the clay shavings with your fingers while still damp, smudging them back into the piece.Fix: Always wait patiently until the clay reaches the firm "leather-hard" state. Never touch wet clay burrs immediately after carving. Once the clay is fully dry, gently sweep them away with a firm brush or soft wool brush to leave clean, sharp grooves.
Cause: Choosing the wrong top glaze or applying it too thickly. Opalescent, matte, or opaque glazes applied heavily over underglaze art or fine carvings will hide the design beneath.Fix: For pieces with underglaze painting or fine incised lines, always apply a thin to medium coat of clear glaze (such as transparent wood ash or clear shiny glaze). Choosing the right glaze type is essential to let your patterns shine through.
Cause: A difference in moisture content between the main body clay and the applied slip or clay parts. If you attach a wet clay piece to a dry body, they shrink at different rates, causing the joint to pop off.Fix: When attaching clay parts, ensure both pieces have similar moisture levels. Score both joining surfaces thoroughly with crosshatching, apply plenty of liquid clay slip (dobe), and press them firmly together.
Cause: A simple oversight when positioning letter stamps. Alphabets like 'S', 'B', or 'R' are notoriously easy to misread when looking directly at the stamp face.Fix: Before stamping your actual vessel, always do a test impression on a scrap piece of clay. Checking the actual impression in clay with your own eyes—not just stamping on paper—is an absolute golden rule!
Cause: Pottery clay shrinks by approximately 10% to 15% through drying and final high firing. If you draw fine text at the exact size you want for the finished product, it will contract in the kiln, closing the gaps between strokes.Fix: When drawing or carving text, plan your design 10% to 20% larger than your intended final size, keeping generous spacing between individual lines and letters.
With eight different techniques available, you might wonder, "Which technique should I start with?" As someone who has explored various craft mediums, if a pottery beginner asked me for the fastest, foolproof way to create store-quality ceramics, I would recommend the following roadmap without hesitation.
If you want to create custom lettered pieces with the highest success rate, combining leather-hard stamping with a clear glaze is unbeatable. It requires zero drawing ability, and anyone can produce neat, gorgeous typography.
Step-by-Step Method:1. Shape your mug or small dish using hand-building or slab-building techniques.2. Place it in a shaded, well-ventilated spot for about half a day until it reaches a leather-hard state.3. Once firm enough that handling won't distort its shape, press commercial alphabet stamps firmly to a uniform depth.4. Allow the piece to dry completely and undergo bisque firing.5. Dip the entire piece into a transparent glaze and perform the final firing.
The glaze pools slightly inside the recessed stamped letters, reflecting light beautifully and highlighting your custom text. This approach is fantastic for making sophisticated, personalized gift items!
You don't need to buy expensive, specialized ceramic equipment right away. Look around your home—it's filled with tools that create amazing patterns!
By utilizing everyday textures, you can invent infinite, original designs unique to you!
Painting directly onto porous bisque ware with underglaze can feel nerve-wracking when you only get one shot. To prevent mistakes, use this clever pencil tracing technique!
How to do it:1. Draw your desired artwork or lettering on a piece of paper at 100% actual size.2. Turn the paper over and shade the back heavily using a soft pencil (2B to 4B).3. Position the paper shaded-side-down onto your bisque ware.4. Trace over your original design using a ballpoint pen with firm pressure.
The graphite powder transfers onto the porous bisque surface, leaving a clear guideline! Don't worry about graphite smudges—carbon from pencil graphite burns away completely at high kiln temperatures (above 1200°C/2192°F). Simply trace over your guidelines with underglaze for stress-free, accurate results!
We’ve covered everything from clay stage timing to troubleshooting rules for decorating and lettering Japanese pottery. Let's recap the essential rules:
Decorating ceramics is a fascinating blend of science—calculating clay moisture and shrinkage—and artistic freedom. Start small by stamping your initials on a tiny coaster or dish. Seeing your hand-carved details baked permanently in the kiln as a lifelong heirloom is an unforgettable feeling!
I hope these techniques inspire your next ceramic project. Happy making, and I'm cheering for your pottery journey!
If you enjoyed this guide, please share it with your creative friends on social media or messaging apps! See you in the next article! This was Yassy from Crafters! (・∀・)


For example, if you are looking for articles about mizuhiki, try searching for "mizuhiki"; if you are interested in tools, try keywords like "nippers" or "pliers."
