Epoxy Resin Mixing Ratios: The Step-by-Step Guide to Precise Measuring and Zero Curing Failures
yassy
Crafters!

Hello, everyone! It is Yassy from Crafters! (・∀・)
I absolutely love making, looking at, and buying all kinds of handmade crafts. But as anyone who dives deep into crafting knows, there is an unavoidable wall we all eventually run into: crafting speed and batch production.
When you are crafting a single item for yourself or a friend, taking your time and pouring meticulous care into every detail is part of the joy. However, the moment you showcase your creations on social media, open an online shop, or sign up for craft markets, the entire situation shifts.
When orders start rolling in or market dates approach, many makers run into the exact same wall: "It takes hours just to finish one piece, so I can't build up stock," or "The more I make, the more exhausted I get because there are never enough hours in the day."
I have been there myself. In the past, I used to craft items strictly one by one from start to finish, pulling all-nighters before deadlines and ending up completely burned out. Looking back on that bitter experience, I can say with absolute certainty: once you reach the stage where you want to produce and deliver multiple items, you must switch your mindset from "one-off mode" to an "efficient batch production workflow."
In this guide, I will walk you through how to establish a rock-solid production workflow that doubles or even triples your efficiency—without sacrificing an ounce of quality. From common misunderstandings to actionable steps you can implement today, here is my complete advice condensed for you.
First, let's clear up the biggest misconception beginners face when they hear terms like "efficiency" and "batch production."
Many crafters worry that streamlining means cutting corners, or that their work will lose its handmade warmth and quality. Please toss that thought aside right now. Batch production and cutting corners are two completely different things.
True efficiency is not about dropping your standards. It is about eliminating unnecessary backtracking, hesitation, switching tools repeatedly, and waiting idly for things to dry. In fact, refining your process eliminates slight variations from piece to piece, resulting in quality that is often far more consistent than when making single pieces.
The fundamental distinction between one-off crafting and batch production comes down to individual completion (finishing one item entirely before starting the next) versus batch processing (performing the same step across multiple items at once).
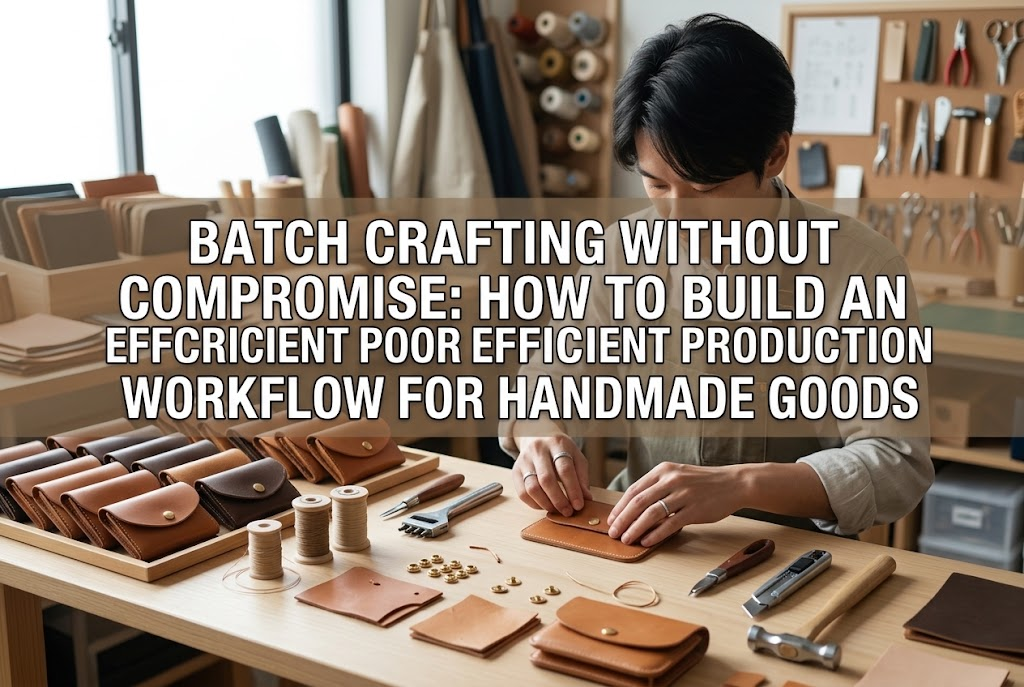
Imagine making a piece of jewelry. You cut the parts, attach findings with jump rings, apply adhesive, and mount the finished piece onto a display card. If you do this one by one for ten pieces, you will switch tools 10 times, open and close your glue cap 10 times, and shift mental gears 10 times.
With batch processing, you cut the components for all 10 pieces together, link all 10 sets of findings, and then glue all 10 in a single run. You pick up each tool just once. Because your fingers repeat the exact same movement, your work speed increases exponentially.
Every time your brain switches between different types of tasks, it burns focus. Repeating the same motion sequentially allows your fingers to develop muscle memory, increasing both precision and speed simultaneously. That is the greatest advantage of a batch workflow.
How exactly should you organize your crafting stages? Here are the five sequential steps I use to build a streamlined workflow. Follow these steps to map out your process without hesitation.
The first step in building a workflow is breaking down your routine into minute individual steps and writing them down. Never try to manage this purely in your head.
For example, let's break down the process of making a drawstring pouch:
List every single action from start to finish in a notebook or digital memo without skipping anything. Seeing this list visually clarifies which tasks can be grouped together and where passive waiting periods occur.
Having to stop mid-project because you ran out of a part, grabbed the wrong metal finish, or snapped your thread costs immense amounts of time. Prepare your plan and assemble all materials before you start assembling anything.
A great method is to measure and cut all materials needed for your planned batch (such as 5 or 10 pieces) and place them together in a shallow tray or bin. I call these "in-house crafting kits."
When every required supply is sitting right in front of you before you begin assembly, you can work uninterrupted without losing momentum.
Once your kits are ready, tackle each step you broke down in Step 1 in batches.
If you are cutting fabric, cut out all 10 sets in one session. If you are ironing, press all 10 pieces consecutively. If you are gluing, line up all 10 items and apply the adhesive in one smooth sequence.
The crucial rule here is: never touch the tools for the next step until the current step is 100% complete across the entire batch. Committing strictly to this rule is the key to slashing production time.
If you find yourself repeatedly measuring with a ruler or spending time aligning pieces, create your own custom "jigs" (guides or fixtures) to assist you.
A jig might sound technical, but you can build them easily using everyday supplies. For example, if you always press a fabric hem at the exact same width, cut a piece of sturdy cardstock to that exact dimension to serve as a pressing guide. If you glue jewelry cabochons at a precise position, draw reference marks on a clear plastic sheet and position your base blanks over it.
Replacing the action of "measuring every single time" with "aligning against a guide" eliminates measurement errors entirely and can triple your working speed.
Once all component parts are ready, proceed to final assembly. After assembly is complete, establish a dedicated step purely for inspection.
The most dangerous risk in batch production is letting an error slip through to the entire batch. Line up your completed items and check them against a predetermined checklist:
Rather than glancing over items casually while packing them up, setting aside dedicated "inspection time" guarantees that only market-ready, professional-quality pieces leave your studio.
When makers first attempt batch production, there are a few recurring traps. Having walked through all of these myself, here are the pitfalls and how to steer clear of them.
When you first realize how much faster batch processing is, it is tempting to jump straight into making 50 pieces at once. Avoid this at all costs. Tackling large volumes before you are used to the workflow leads to mental fatigue, and if an error occurs, you risk creating a mountain of ruined materials.
The Fix: Start with small batches of 3 to 5 pieces!When testing a new workflow, treat 3 to 5 units as your standard starting batch. Only after you can produce 5 units smoothly should you scale up to 10 or 20.
Jumping directly into batch production with a brand-new design is extremely risky. There is almost always a gap between how you imagine a piece coming together and how it actually behaves during assembly. If you cut materials for 10 items and discover a dimensional flaw during assembly, all of that material goes to waste.
The Fix: Always make a complete single prototype first!Before starting a batch of a new design, craft one single piece from start to finish. Take note of which steps took the longest and what order made assembly easiest. Professional crafters use the data gathered from that single prototype to design the ultimate 10-piece production flow.
The biggest vulnerability of batch processing is that if a mistake occurs, it gets duplicated across every single piece in the batch. Finding out at the very end that you attached 10 pairs of earring findings backward is a craft room nightmare that happens all too often.
The Fix: Implement a "single-piece check" between steps!Whenever you finish a batch step (like punching holes in 10 items), take one sample piece and test-fit it with the next component before proceeding to the next batch operation. Inserting these mini-checks between stages completely prevents entire batches from being ruined.
Handling multiple parts simultaneously can quickly turn your work desk into chaos. Spending minutes asking "Where did my snips go?" or searching for a specific finding is pure wasted time.
The Fix: Use shallow organizer trays for sorting!Take advantage of shallow trays or sorting bins. You can assign one tray per individual project set, or organize trays by production stage—such as "Cut," "Awaiting Glue," and "Completed." Keeping parts off the bare table and inside designated trays keeps your space organized and speeds up your work.
Different handmade genres demand different workflow strategies. Here is how I structure workflows across three common craft disciplines.
In jewelry making, where small findings are everywhere, unifying fingertip movements is the secret to speed.
Minimizing how often you pick up and put down your pliers can cut production time in half compared to making pieces one by one.
For sewing, grouping ironing tasks and minimizing thread color changes are your biggest efficiency wins.
Setting up your ironing board right beside your sewing machine to minimize standing and sitting also yields massive results.
In crafts that involve waiting for ink, paint, or clay to cure and dry, overlapping your schedule is vital.
Eliminating idle waiting time by slotting in secondary prep work dramatically boosts total productivity.
To master your workflow, paying attention to your physical environment is just as crucial as refining your steps. No matter how clean your process is, an inconvenient workstation drags down your pace. Here are the core rules I follow for desk setup.
There is a proven logic to setting up a craft table. Taking a right-handed crafter as an example:
Create a single one-way flow moving from left to right. Placing items so that your hands have to cross over or reaching backward creates unnecessary friction. Raw supplies enter from the left, undergo processing in the center, and exit to the right as completed stages.
Because batch crafting involves repetitive actions, your focus can naturally waver over time. To keep your attention sharp and prevent sloppy mistakes, adopt structured time blocks.
A remarkably effective approach is the Pomodoro method: 25 minutes of focused crafting followed by a 5-minute break. Set a timer for 25 minutes and give yourself a game-like goal: "I will attach jump rings to all 10 pairs during these 25 minutes!"
Working against the clock eliminates idle distractions and checking your phone, accelerating your output considerably. Taking that five-minute break also relieves eye strain and eases neck and shoulder tension, helping you sustain top-tier quality over long sessions.
Stepping away from purely one-off crafting and adopting batch production allows you to scale your handmade output while keeping your standards uncompromised.
Let's recap the core principles:
When you organize your workflow and boost efficiency, you earn back valuable time. You can spend that extra time dreaming up fresh designs, engaging with your community on social media, or connecting with your buyers.
Best of all, you break free from the stressful feeling that "no matter how much I make, I never finish in time," restoring the pure joy and smile that handmade crafting should bring.
Writing down your steps might feel like extra homework at first. But once you establish your personal workflow, it becomes an invaluable asset that supports your entire creative journey for years to come.
For your next project, instead of assembling pieces one at a time, lay out materials for five items and give batch processing a try. You will be amazed at the sheer speed and beautiful consistency of the results! I am cheering on your handmade journey every step of the way!
If you found this guide helpful, sharing it with your fellow makers would mean the world to me! Until next time, this has been Yassy from Crafters!


For example, if you are looking for articles about mizuhiki, try searching for "mizuhiki"; if you are interested in tools, try keywords like "nippers" or "pliers."
