Beginner’s Complete Guide to Dried Flower Swags & Flower Crowns: Easy Start with Online Materials and Starter Kits
yassy
Crafters!

Hello! This is Yassy from Crafters! (・∀・)
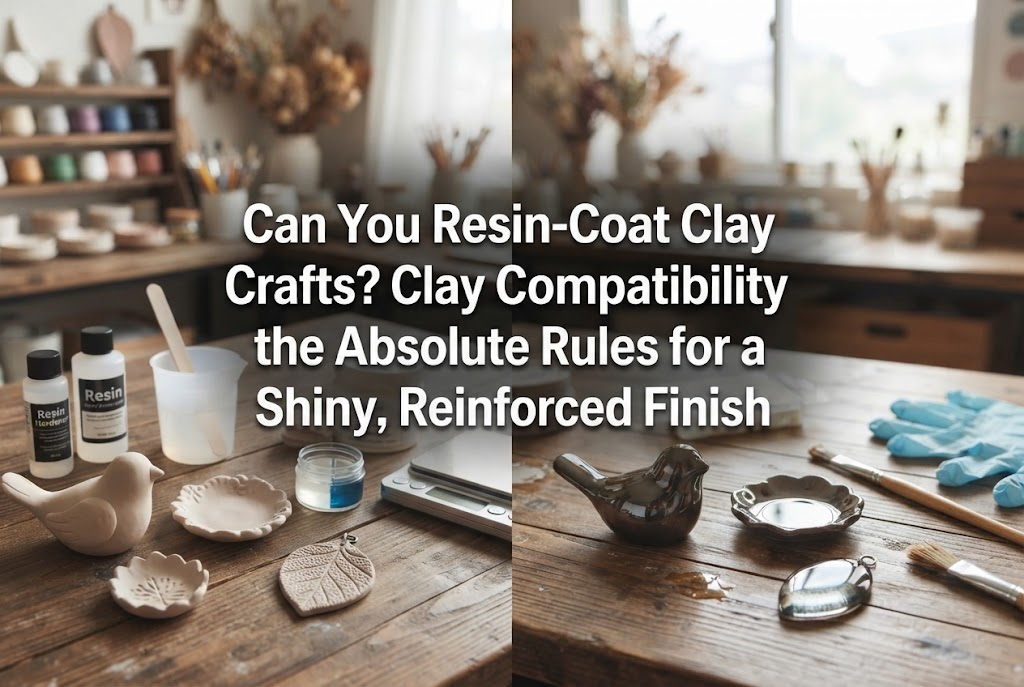
Have you ever created adorable miniature sweets or accessory parts out of clay and wondered, "I want to make this even glossier!" or "I want to reinforce it and make it water-resistant!" after finishing the shape?
That's usually when applying a resin coating using UV or LED resin comes to mind. Many crafters often feel uncertain and wonder, "Is it really okay to apply resin liquid directly on top of clay?" or "Will it peel off or discolor over time?"
Let me give you a clear answer right away: Yes, resin-coating clay crafts is absolutely possible! In fact, if done correctly, you can achieve both a glass-like supreme gloss and incredible durability that won't break even if dropped.
However, you must strictly avoid applying resin liquid directly onto clay without preparation. If you ignore the type of clay, its drying state, or proper surface priming, you will definitely face failure later on. It can cause the surface to wrinkle, create ugly spots as the clay absorbs the resin, or cause the resin layer to peel right off after a few days.
Having crafted countless clay pieces and tested various coating methods over the years, I have derived the "fail-proof rules for beautifully reinforcing clay crafts with resin." Today, I will explain everything in detail!
From common points that confuse beginners to clay compatibility and essential priming steps, this guide covers it all. Reading this to the end will dramatically improve the quality of your clay creations. Please use it as a reference for your craft projects!
Coating and curing clay parts or 3D pieces with resin liquid is an extremely effective finishing method embraced by many handmade artists. First, let's look closely at the major benefits of applying resin to clay crafts, as well as the prerequisite conditions you must follow.
The biggest benefit of resin coating clay pieces is the ultimate level of gloss. You can instantly create a deep, wet-look shine and transparency that regular varnish finishes simply cannot achieve. In miniature fake sweets like strawberries or tarts, this technique is essential for expressing juicy freshness.
The second benefit is a dramatic increase in strength and water resistance. Clay crafts, especially resin clay and paper clay, are naturally vulnerable to moisture and water. Encapsulating the surface with a hard layer of resin makes it water-resistant and tough enough to withstand strong impacts without cracking easily.
The third benefit is preventing metal fittings and delicate parts from falling off. Wrapping screw eyes, hooks inserted into clay, or tiny rhinestones glued to the surface inside a layer of resin dramatically increases adhesion. Even with daily use as accessories, parts won't come off, instantly boosting the reliability of your products.
While the benefits sound great, don't rush into it! Unlike plastic or metal, clay is a porous material containing a lot of internal moisture and air.
If you drop resin liquid directly onto raw clay, the liquid gets sucked into the micro-pores of the clay. The absorbed areas turn darker, resulting in unsightly color bleed and spots compared to the unabsorbed parts.
Furthermore, if you seal clay with resin before its internal moisture has completely evaporated, the trapped moisture causes mold or cloudiness inside over time. In addition, shrinkage during resin curing can cause the resin film to lift away from the clay, leading to easy peeling.
In short, proper drying and prior sealing treatment are absolute necessities before applying resin to clay. Once you master these two conditions, you can prevent failures 100% of the time.
Though we simply say "clay," there are many different types used in handmade crafting. Because each type has entirely different material properties, compatibility with resin and key points to remember vary. Make sure to understand the characteristics of the clay you are using.
Resin clay, the most popular choice for handmade accessories and miniature crafting, has the absolute best compatibility with resin coating.
When dry, it hardens tightly, offers a degree of water resistance, and features a smooth surface that absorbs very little resin. Colors remain vibrant, and layering resin brings out an even deeper, more beautiful hue.
The main caution is surface oils and fingerprints. Resin clay contains ingredients to maintain flexibility, so sebum and oils from your hands easily transfer during sculpting. Gently wiping the surface with ethanol after drying before priming ensures perfect resin adhesion.
Stone powder clay, perfect for realistic figurines and sophisticated ceramic-style goods, transforms into a luxurious texture when coated with resin.
However, because stone powder clay consists of compressed fine stone powder, it is highly absorbent. If you pour resin liquid directly onto raw stone powder clay, it will soak up the resin like a sponge.
As a result, the surface becomes fuzzy, discolored, and wastes a lot of resin. When applying resin to stone powder clay, a sealing treatment using water-based acrylic varnish (explained below) is absolutely essential.
Lightweight clay, suitable for fake sweets like bread, cookies, or lightweight mascots, requires the most caution when resin-coating.
Lightweight clay contains countlessly small air bubbles inside, making it very soft and fluffy. If you coat it heavily with thick, heavy resin, the clay may not withstand the shrinkage during curing, risking warping the entire piece.
Avoid covering an entire lightweight clay piece in a thick layer of resin. It is best used partially—such as for syrup effects or fruit toppings on specific areas of the piece.
Readily available paper clay and natural-textured wood powder clay contain even more fibers and gaps than stone powder clay.
If you apply resin without priming with varnish, resin penetrates deep into the fibers, turning the work a dirty, darkened color. You must apply at least three thin layers of water-based acrylic varnish to build a complete waterproof barrier before placing resin on top.
Oven-bake polymer clay hardens into a plastic-like material, giving it high affinity with resin.
However, oils from the clay often rise to the surface immediately after baking. If resin is applied over these oils, it will cause the cured resin to peel off easily. Always let the piece cool completely after baking, and don't forget to wipe the surface oil with anhydrous ethanol or parts cleaner.
The reasons for failing a resin coating on clay crafts are almost 100% predictable. Here are three typical mistakes beginners fall into and the scientific reasons behind them. Knowing why they happen gives you the knowledge to prevent them with certainty.
The piece looked beautiful right after curing, but after a few days or weeks, the inside turns cloudy white or black mold appears inside.
The cause is 100% insufficient drying of the clay. Even if the surface of the clay feels dry, a large amount of moisture remains deep inside the core. Coating it with resin in that state seals the moisture inside with nowhere to escape.
The evaporated moisture inside the sealed space collects on the clay's surface, causing a cloudy white layer at the resin boundary. Humidity then allows bacteria to breed, resulting in mold growth. Compromising on drying time is the single most fatal mistake.
The moment resin liquid is applied, the color of the clay suddenly darkens or blotchy stain-like patterns spread across the piece.
The cause is insufficient sealing (sealer coat) treatment. This occurs when fluid resin liquid is applied directly to a clay surface that easily absorbs moisture and oil.
Once resin sinks inside the clay, light from the UV lamp cannot easily reach deep inside, posing a risk that the resin remains uncured and semi-raw. Besides color changes, this is very bad for the hygiene and safety of your work.
While applying resin, round gaps open up as the surface repels liquid, or after curing, the resin layer peels off like a sticker when scratched with a fingernail.
The cause is poor surface adhesion caused by oils or repulsion. Sebum on the clay surface, oil content from paints used for coloring, or silicone mold release agents strongly repel resin liquid.
Additionally, if resin liquid is too thick or too thin on a surface that is overly smooth, it cannot adhere properly. Without surface treatment matched to the underlying substrate, you will end up with a fragile, non-durable piece.
To coat clay crafts with resin and achieve a professional finish, proper priming before applying resin is the decisive difference between pros and beginners. Here are the three priming rules I always follow to guarantee zero failures.
Above all, prioritize drying your clay piece completely to the core. Never judge readiness by thinking, "It feels hard when I touch it, so it's fine."
Even small resin clay parts (about 1 to 2 cm) need at least 3 days to dry. For thicker pieces, stone powder clay, or paper clay, you need at least 5 days to a full week in a well-ventilated, shaded area.
Drying speeds change dramatically by season. Clay dries quickly in dry summer weather, but takes twice as long in winter or during the rainy season. Placing pieces directly in front of air conditioner drafts or quick-drying with a hairdryer causes cracking and is strictly forbidden.
Fully dried clay pieces shrink slightly and become noticeably lighter than when freshly sculpted. Measuring the weight with a kitchen scale until the weight stops changing for several days is a sure sign of complete drying.
Once the clay is completely dry, do not apply resin right away—always apply a coat of water-based acrylic varnish first. This is the crucial step called sealing.
Applying varnish seals invisible microscopic pores on the clay surface with a paint film. This perfectly blocks resin liquid from penetrating into the clay interior.
The best varnish to use is gloss water-based acrylic varnish. Matte varnishes contain fine particles that can sometimes weaken adhesion with resin, so stick to gloss varnish for the base layer.
Follow these steps to apply varnish:
Applying two thin coats instead of one thick coat prevents unevenness and creates a strong barrier layer.
When coloring clay, you must also pay attention to the types of paints or pens used.
The best paint for coloring clay is acrylic paint. Acrylic paint forms a water-insoluble film once dry, ensuring it won't bleed when layered with varnish or resin.
On the other hand, caution is required if you use watercolors, oil-based pens, or soft pastels. Applying varnish or resin directly over powdered pastels or water-soluble paints causes colors to smear under brush pressure.
When adding gradients with pastels, spray a light coat of fixative spray first to lock the color in place. Then layer water-based varnish, confirm it is completely dry, and proceed to resin coating. This is an absolute rule!
Once priming is complete, it's finally time for resin coating! Here is a step-by-step practical guide to achieving an even, bubble-free, glass-like shine.
Right before applying resin, thoroughly clean off any dust on the surface of your piece. Invisible dust in the air gathers on varnish after it dries. Curing resin over dust leaves tiny bumps on an otherwise smooth surface.
Blow it off with an air duster or gently tap the surface with low-tack masking tape to pick up debris. Working in a clean, settled environment without dust fluttering around is a basic habit of pros.
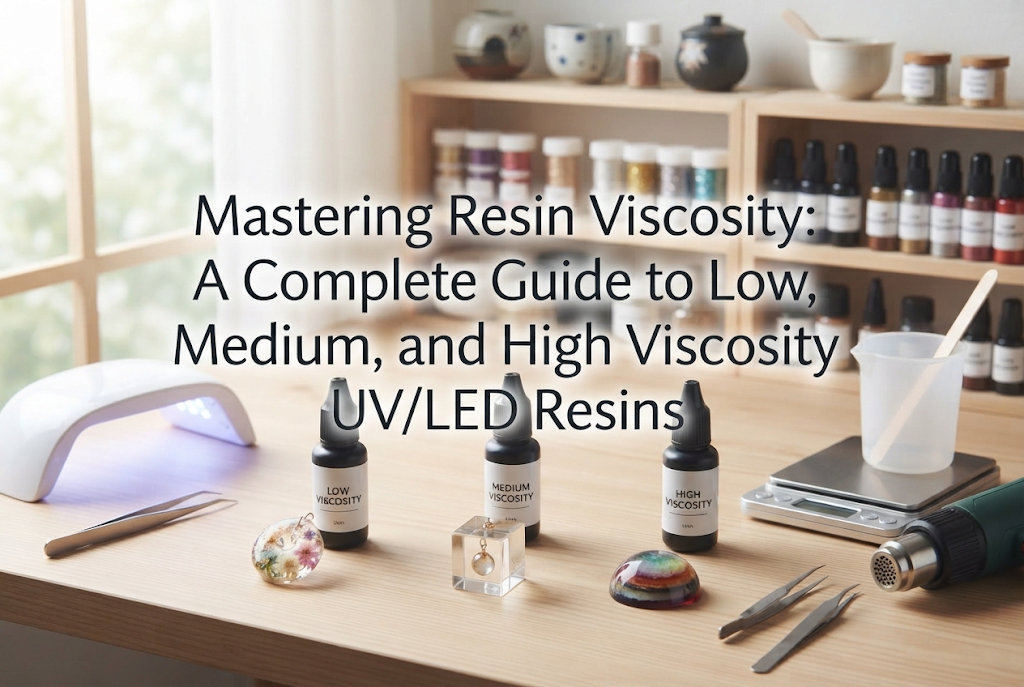
When coating clay, choose resin labeled specifically as "coating resin" or "ultra-low viscosity (runny)" rather than casting resin meant for silicone molds.
Using thick, high-viscosity resin causes brush marks and uneven thickness, destroying the crisp details of your clay sculpture. Thin, watery resin spreads smoothly and evenly across the surface, creating a super-thin protective layer.
Coating resins with brush-cap bottles (like nail polish bottles) are widely available. They make controlling fluid amount very easy, making them highly recommended for beginners.
When applying coating resin, do not push hard; glide the resin across using its surface tension.
If your brush holds too much resin, pooling or droplets will form at the bottom of the piece, distorting its shape. Conversely, if you use too little liquid, the resin will shrink and pull away from edges.
Drop an appropriate amount of resin onto the center of a wide area, then use the brush tip to gently spread it outward. Around corners or textured design areas where resin easily pools, gently dab away excess fluid with a dry brush tip after spreading.
After brushing on the resin, do not cure it under the light immediately! Curing right away locks in brush strokes and tiny bubbles.
After painting, cover the piece with a dust-proof container (like a clear plastic cup) and let it rest for about 1 to 2 minutes. This waiting time allows the self-leveling properties of the resin to work, smoothing away brush marks into a mirror-like finish.
If tiny air bubbles float to the surface, pop them with a toothpick or apply gentle warmth with an emboss heat tool. Once the surface looks completely smooth, proceed to curing.
Position your curing light so that light hits the entire piece evenly. For 3D clay objects, light from above alone leaves side, back, and shaded areas uncured.
First, cure the front surface for about 30 seconds to 1 minute to set it. Then turn the piece over or adjust its angle to cure thoroughly from all directions for a total of 2 to 3 minutes.
Resin generates heat as it cures (exothermic reaction). For small pieces this isn't an issue, but applying intense light all at once to larger clay items can cause trapped air inside the clay to expand from heat, leading to bursts or bubbles in the resin film. When using high-wattage lights, start at a slight distance or use a low-heat mode to cure slowly.
Now that you've mastered the basics, here are my personal favorite advanced techniques to add even more value to your handcrafted items!
Coating an entire clay craft in high gloss isn't always the best answer. Utilizing partial coating preserves raw textures while creating incredible realism and contrast.
For example, imagine making a miniature fruit tart out of clay. If you coat the crust or cookie base in glossy resin, it ends up looking cheap like a plastic toy.
Here is how I split my application:
Adopting a minimalist mindset—applying resin only where you want to highlight—instantly elevates your handmade crafts to a professional level.
Sometimes you want high durability and water resistance like resin, but prefer a sophisticated matte look without gloss—such as ceramic-style brooches or Scandinavian-style home decor.
In these cases, I use one of two approaches:
Pattern A: Apply matte water-based varnish after curing coating resin.First, seal the piece firmly with resin to ensure durability and water resistance. Once cured, apply 1 or 2 coats of matte acrylic varnish over the entire piece. This retains the toughness of resin while transforming the surface into a soft, ceramic-like texture.
Pattern B: Use dedicated matte coating resin.Specialized coating resins that cure into a frosted glass matte finish are available today. If you want to skip applying varnish afterward, using a dedicated matte coating resin is the easiest and most elegant solution.
When turning clay pieces into keychains or pendants, a common problem is screw eyes pulling out of the clay during use. Relying on glue alone risks fittings popping out over time due to clay shrinkage or aging.
Whenever I insert screw eyes into clay crafts, I always use resin for permanent reinforcement:
This chemically fuses the metal fitting and clay together through the resin. It creates a solid structure that won't pull out even when tugged hard—an essential technique for crafters selling accessories!
Today we thoroughly explored whether clay crafts can be resin-coated, covering both detailed theory and practical techniques.
Let's review the key takeaways:
Clay is a fantastic material that lets you shape ideas freely, and resin is its ultimate partner, bringing brilliant shine and durability to your sculptures.
By understanding the characteristics of both materials and taking the extra step to prime properly, your clay crafts will stay durable and shine beautifully for years to come.
If you were previously too afraid of failure to try resin coating, follow these priming rules with confidence and give it a try! I sincerely root for your success in creating enchanting, shiny masterpieces with your own hands.
If you found this article helpful, sharing it with friends on social media or chat apps would mean the world to me and keep me inspired! Thank you for reading, and see you in the next post! This was Yassy from Crafters!






For example, if you are looking for articles about mizuhiki, try searching for "mizuhiki"; if you are interested in tools, try keywords like "nippers" or "pliers."
