How to Choose and Use a Palette Knife: The Essential Multipurpose Tool for Clay, Resin, and Color Mixing
yassy
Crafters!

Hello, this is Yassy from Crafters! (・∀・)
Handmade soapmaking is so much fun and has incredible depth. Beyond crafting my own, I love admiring and purchasing exquisite soaps made by other talented artisans. I am completely hooked on the charm of soapcrafting!
If you have purchased a starter kit and mastered the basic steps for Cold Process (CP) soap or Melt & Pour (MP) soap, you are likely thinking, "I want to create even prettier soaps," or "I want to achieve a professional finish and luxurious feel."
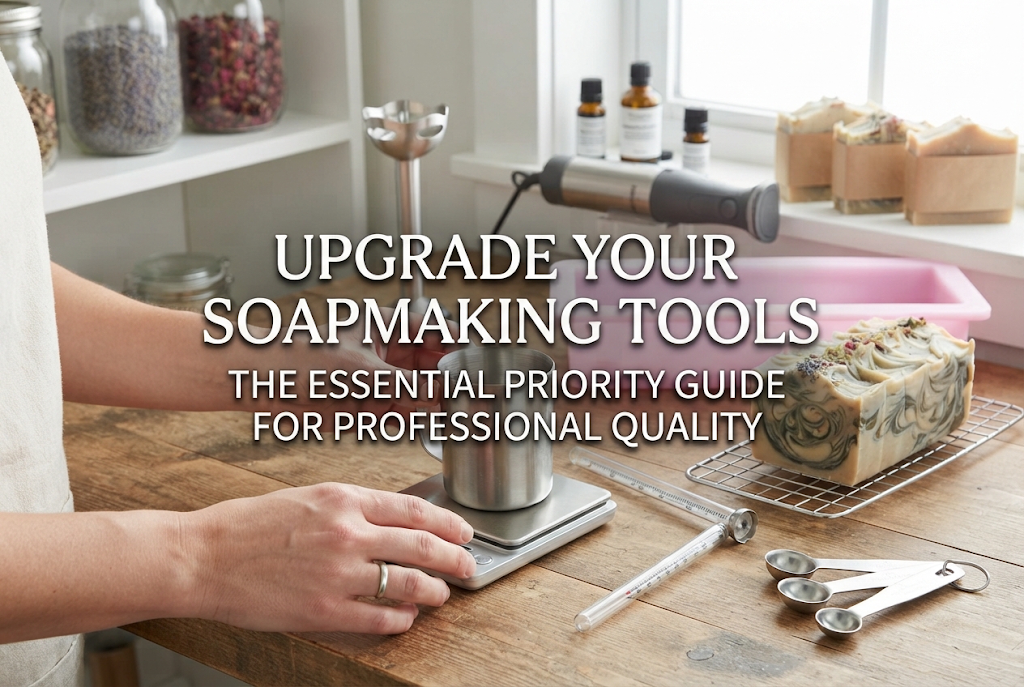
However, if you continue crafting using only the tools included in your starter kit, you will quickly hit a ceiling in terms of quality. Uneven swirl patterns, warped edges, white powdery surfaces (soda ash), or inconsistent batches are usually not caused by a lack of skill, but by the limited specs of your tools.
By graduating from basic kit items and upgrading to higher-quality tools that directly impact your results, the finished look and feel of your soaps will improve dramatically.
Drawing from my extensive trial and error across various handmade crafts, I will explain the absolute priority order for upgrading your soapmaking tools and the criteria for selecting the best equipment without making mistakes!
Starter kits are fantastic entry-level options designed to lower the barrier to entry and let you experience soapmaking firsthand. However, to keep costs low, kit tools provide only minimal functionality.
For instance, low-precision plastic scales, plastic mixing bowls with poor heat conduction, soft multi-purpose silicone molds that deform under weight, and cutting soap block with a kitchen knife all contribute to compromising your final result.
Soapmaking is a precise craft based on chemical reactions. The ratio of oils to lye water, temperature management, mixing intensity, and the accuracy of molding and slicing directly influence the beauty and quality of the finished product.
Upgrading your equipment in the correct sequence eliminates that unfinished "amateur" look. Slices become smooth and flat like mirrors, intricate designs stand out sharply, and the feel of the soap after curing becomes wonderfully consistent.
There is a clear set of priorities for what you should replace first. Starting with purely aesthetic tools is a mistake. Following an order that prevents failure, increases efficiency, and maximizes visual appeal is the fastest way to progress past the beginner stage.
When stepping up from a starter kit, the first items you should replace are the three core tools that directly affect consistency, safety, and reproducibility. Investing in expensive molds or decorative items before fixing these fundamentals will only result in more failed batches.
The very first item to introduce is a high-precision digital scale that measures in 0.1g increments. Standard kitchen scales that measure in 1g increments lack the accuracy needed for reliable soapmaking.
A variance of even 1 gram can be critical when measuring water, lye (sodium hydroxide), essential oils, colorants, or additive ingredients. Excess lye by just 1 gram can make the soap overly alkaline and unsafe, while too much excess oil can prevent proper saponification, leaving a soft, greasy bar.
Choose a scale with a maximum capacity of 2kg to 3kg and a display precision of 0.1g. Upgrading from a 1g scale to a 0.1g scale allows you to reliably achieve a beautiful trace (the thickening of the soap mixture) according to your exact recipe.
Digital scales with 0.1g precision can be purchased online via Amazon or Rakuten for around 2,000 to 4,000 yen. This modest investment safeguards your soap's safety and brings your failure rate close to zero.
The next essential item is an infrared non-contact digital thermometer (laser thermometer). It is time to step away from traditional glass stem thermometers often found in starter kits.
Glass thermometers respond slowly and require direct immersion into the caustic lye solution or oils, adding cleaning hassle and the risk of breakage. Accidental breakage of a glass thermometer inside a lye solution is one of the most frightening accidents for a beginner.
An infrared thermometer measures surface temperatures accurately within one second with the press of a button, without touching the liquid.
In Cold Process soapmaking, matching the temperature of the lye water solution and the oil mixture (typically around 40°C to 45°C / 104°F to 113°F) is an essential condition for creating a smooth soap batter. Significant temperature differences can trigger false trace or rapid acceleration, turning the batter clumpy and making design work impossible.
Using a non-contact thermometer gives you complete control over both temperatures, allowing you to create a smooth, glossy, high-quality soap batter every time.
The third high-priority tool is an electric stick blender (immersion blender). Stirring manually with a whisk for 20 to 30 minutes is not only time-consuming and strenuous on your wrist, but it also traps large amounts of air, creating unwanted bubbles in your soap.
Used correctly, a stick blender reduces a 30-minute manual stirring process to just a few minutes.
However, not just any blender will work well. The ideal stick blender for soapmaking must have vent holes in the blade guard to let air escape and feature a low-speed setting or variable speed control.
Using a high-powered blender designed for soups without speed control can cause trace to advance too fast, leaving the batter too thick to pour, while whipping in countless tiny air bubbles that ruin the cut surface.
A quality blender that allows careful air removal at low speeds yields a silk-smooth soap batter completely free of air pockets.
Once your measuring and mixing tools are established, the next area for investment is the tools that determine the physical appearance of your work: molding and cutting equipment.
Avoid using flimsy, soft silicone molds or milk cartons. Soft molds bulge outward under the weight of liquid soap batter, resulting in bowed, distorted bars instead of neat rectangles.
To produce crisp, store-quality rectangular bars, choose either a rigid silicone mold with a sturdy wooden frame or an acrylic soap mold with a push-out plate. Acrylic molds, in particular, deliver outstanding results.
The primary advantage of an acrylic mold is that its sides never bow. This ensures sharp, perfectly square edges and clean release. Because acrylic is transparent, you can easily inspect swirl patterns and check for trapped air bubbles from the outside.
Using an acrylic push-out mold—where you push the bottom plate upward using a vertical rod—removes all the stress of unmolding. Extracting a perfectly sharp soap block with undamaged corners builds immense confidence in your craft.
When slicing a cured block of soap, using a standard kitchen knife squeezes the soap down due to blade thickness, causing slanted cuts or knife drag marks across the surface.
To elevate your work to professional quality, using a dedicated wire soap cutter paired with a slotted cutter guide box is essential.
A thin stainless steel wire glides cleanly through the soap block without applying excess pressure, creating a straight, smooth slice. That sleek, silky cut surface without blade marks can only be achieved with a wire cutter.
Furthermore, using a cutting guide that fixes your slice thickness (such as 2.5 cm increments) lets you produce uniformly sized bars every time. Consistent sizing is a critical quality standard when selling handmade soaps or giving them as gifts.
Freshly cut soap bars have sharp 90-degree edges. If left untrimmed, those edges tend to crumble during early use and feel rough in the hand.
This is where a soap edger (beveling tool) comes in.
By sliding the edger gently along the edges at a 45-degree angle, you create smooth, beveled corners. This extra step instantly boosts the professional appearance of your bars by tenfold.
Dedicated wooden or acrylic beveling tools can be purchased online for around 1,500 to 3,000 yen. The shaved curls produced during beveling can be gathered and reused as confetti or embeds in future soap designs, ensuring zero waste.
With molding tools sorted, the next focus is enhancing your design capabilities. Crafting delicate swirls, clean layers, or subtle gradients requires specialized small accessories.
Selecting appropriate materials for your containers is vital for both design success and workplace safety.
When mixing strongly alkaline lye solutions, always use heavy-duty heat-resistant glass beakers (laboratory grade) or sturdy polypropylene (PP) plastic containers. Standard plastics can warp or crack under the intense dissolution heat (which can approach 80°C to 90°C / 176°F to 194°F).
For the main mixing bowl where oils and lye solution combine, or for secondary color-mixing containers, high-quality stainless steel bowls or stainless measuring pitchers with handles are ideal.
Stainless steel conducts heat efficiently, making it simple to adjust temperatures using hot or cold water baths. Understanding material properties and using the correct containers speeds up your workflow and prevents batch failures caused by sudden temperature shifts.
When creating design soaps, pouring batter directly from a wide, round mixing bowl makes it hard to control the flow. Batter can drip down the sides or fall in thick streams, preventing delicate lines.
To pour thin streams or tight swirls, equip yourself with several small stainless steel milk pitchers or measuring cups that feature narrow, pointed pour spouts (pelican spouts).
Having 3 to 4 small spouted cups (250ml to 500ml capacity) allows you to pour colored batters into precise spots within the mold. Because the batter flows in a fine thread, drop swirls and intricate swirl patterns become easy to execute.
Stainless steel containers are easy to wash cleanly once the leftover soap solidifies, preventing color crossover between batches.
When adding micas, clays, or pigments like ultramarine to soap batter, clumps can leave unsightly color spots—a common issue for beginners.
Two tools eliminate pigment clumping entirely: a battery-operated mini milk frother and small silicone spatulas.
Pre-mixing your pigment with a small amount of oil using a mini frother for a few seconds thoroughly disperses the color particles, creating a smooth, uniform color liquid. Adding this liquid to your main soap batter ensures brilliant, spot-free coloration.
Additionally, keeping flexible, heat-resistant silicone spatulas in various sizes allows you to scrape every last drop of colored batter from your mixing bowls cleanly and efficiently.
Soap is not finished right after pouring and cutting. Cold Process soap requires a drying and curing period of roughly 4 to 6 weeks after cutting to transform into a mild, safe, and long-lasting bar. Investing in tools for this final phase ensures stable, high-quality results.
The 24 to 48 hours following pouring are the most critical insulation phase while saponification takes place. Failing to control temperature during this window can lead to heavy white powdery deposits (soda ash), overheating in the center (volcanoing), or under-insulation that prevents proper gel phase, resulting in a dull, crumbly texture.
Prepare a dedicated insulated styrofoam box or a thick wooden insulation box.
Simply wrapping molds in towels or blankets, as often suggested in starter kits, leaves the soap vulnerable to room temperature swings. Placing a digital thermometer/hygrometer inside a sealed styrofoam box lets you monitor the internal temperature continuously.
During winter, placing a small warm water bottle or heating pad inside the box helps maintain an ideal temperature around 30°C to 35°C (86°F to 95°F). This minimizes soda ash formation and encourages a smooth, translucent gel phase.
Where you cure your cut soap bars for 4 weeks is equally important. Placing bars flat on solid plastic trays traps moisture underneath, softening the bottoms and accelerating oil oxidation (dreaded orange spots).
The best approach for curing is using well-ventilated bamboo trays or wooden wire-mesh racks (similar to cake cooling racks).
Arrange bars at least 1 cm apart to allow air to circulate freely around all sides. This helps moisture evaporate evenly, producing hard, durable bars that resist mushiness.
Set up a dehumidifier and a temp/humidity gauge in your curing space, aiming to keep humidity below 50% in a cool, well-ventilated, shaded area. Thorough curing environment control is the final step in crafting long-lasting, rich-lathering soaps.
Here are three common tool selection mistakes made by beginners stepping up their equipment, along with how to avoid them:
1. Using Aluminum EquipmentLye is extremely alkaline. When it contacts aluminum, iron, or galvanized metals, it causes a severe chemical reaction that releases dangerous hydrogen gas while corroding the metal. Every metal tool used in soapmaking—bowls, spoons, molds, or whisks—must be made strictly from stainless steel (18-8 / SUS304 or higher), heat-resistant glass, or polypropylene (PP). This is an absolute rule.
2. Relying Entirely on Budget Dollar-Store Baking ToolsInexpensive silicone molds or plastic bowls from dollar stores are often thin, deform easily under heat, and may lack chemical or heat resistance. They cause misshapen soap bars and interfere with accurate measuring and temperature control. Essential tools related to measurement, molding, and cutting should be sourced from reliable manufacturers or specialty suppliers.
3. Using Oversized Food Processors or JuicersPouring lye solution and oils into a standard food processor or kitchen blender can cause the batter to trace instantly and harden inside the unit, ruining the appliance. Always use a hand-held immersion stick blender so you can control the mixing manually in short pulses.
If you recently finished working with a starter kit and asked me how to upgrade your tools efficiently within a budget, here is the exact schedule I would recommend:
Securing these three items brings your batch failure rate close to zero and resolves mysterious recipe failures immediately.
At this stage, your finished bars will transform from rustic homemade slices into sleek, refined soaps suitable for high-end shops.
With these items, you can comfortably create complex swirl patterns or layered designs while protecting your curing batches from environmental flaws.
You do not need to acquire everything at once. Upgrading step-by-step starting from Priority Order 1 allows you to appreciate each tool's benefits as your crafting skills grow!
In handmade soapmaking, tool selection is about more than just convenience. The precision and quality of your tools directly determine the safety, lather, and visual beauty of your finished bars.
Graduating from a basic starter kit and deliberately choosing high-quality equipment is clear evidence of your growth as a skilled craftsperson.
By following this priority order, your handmade soaps will consistently achieve a higher standard of craftsmanship. Once you experience crisp corners, mirror-smooth cuts, and perfectly executed color swirls, you will never look back!
Take up your new tools with confidence and enjoy crafting your very own exquisite soaps!
If you found this guide helpful, please share it with your fellow crafting friends on social media. See you in the next article! This was Yassy from Crafters!





For example, if you are looking for articles about mizuhiki, try searching for "mizuhiki"; if you are interested in tools, try keywords like "nippers" or "pliers."
