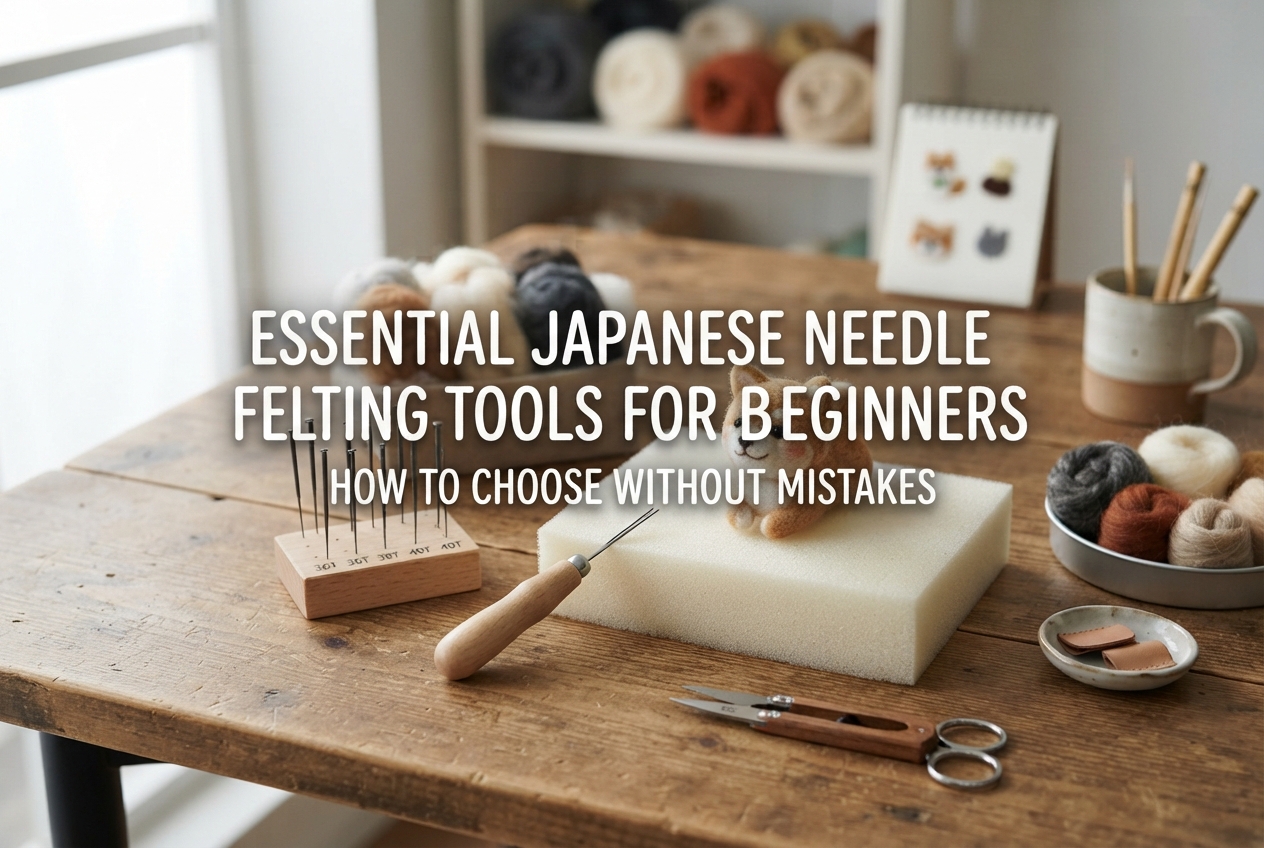
Essential Japanese Needle Felting Tools for Beginners: How to Choose Without Mistakes
yassy
Crafters!


Hello, everyone! This is Yassy from Crafters! (・∀・)
Have you ever made a cute round ball or animal motif with needle felting, only to find it squished flat after a while, or noticed its head or legs tilting out of shape while on display? Because we spend so much time and heartfelt effort creating these pieces, we naturally want to preserve that rounded, adorable 3D form forever. I love making, viewing, and buying craft works, so it breaks my heart whenever a precious needle-felted creation loses its shape over time.
However, the deformation of needle-felted items is not caused by random chance—it happens due to clear physical reasons. Once you understand the proper techniques and principles, you can consistently create sturdy, beautiful pieces that will never warp or flatten.
In this article, I will dive deep into the fundamental causes of why needle felted items lose their shape and explain the absolute rules to prevent deformation that crafters of all levels can put into practice right away.
The main reason needle-felted creations sag or warp is that the underlying internal core is drastically under-felted.
Even if the surface looks neat and finished at a glance, shallow stabbing with your felting needle leaves the wool fibers inside loose and fluffy. I call this state the "hollow core state."
When the interior remains soft, it cannot withstand the weight of the piece itself or external pressure when touched. Over time, the soft internal core naturally collapses under gravity, causing the entire work to warp, flatten, or bend.
Felting needles have tiny, microscopic barbs near their tips. These barbs catch the wool fibers and interlock them through repeated stabbing, turning loose wool into firm felt.
A common mistake beginners make is lightly poking only the surface with the tip of the needle. This felts only the top few millimeters, leaving the core soft and spongy.
During the initial shaping stage, push your felting needle deep into the wool, almost up to the base of the needle. Deep stabbing builds a dense, firm core at the center of your piece. Imagining that you are creating a solid inner skeleton is your first step toward deformation-free felting.
Felting needles come in various gauges, such as heavy/coarse, medium/regular, and fine/extra-fine. If you try to firm up a piece using only fine needles from the start, each stab catches very few fibers, requiring an immense amount of time to harden the interior. As a result, crafters often compromise on firmness, leaving the piece vulnerable to sagging.
As a rule of thumb, use a heavy needle or regular/medium needle during the early to middle stages of shaping to catch plenty of fibers at once. Once the overall shape is firm and well-formed, switch to an extra-fine needle to smooth out surface needle marks or add delicate patterns. Proper needle selection drastically reduces crafting time while achieving perfect structural firmness.
Even before stabbing with a needle, uneven density when rolling or wrapping your initial wool bundle can cause structural distortion.
If you place wool down loosely and start stabbing randomly, areas of high density and low density will form across the piece. Low-density areas remain soft and sink inward as you stab, resulting in an asymmetrical, lopsided shape.
To create clean spheres or balanced 3D forms, wrap your wool tightly and firmly into shape before you begin felting.
Using smooth, high-quality colored wool for the inner core is not only expensive, but it can also cause shape instability. Colored finishing wool has aligned fibers, which take longer to interlock firmly inside.
Instead, use dedicated base wool (known as core wool or needle foam wool in Japan, such as needle wata). This material has curly, coarse fibers that interlock quickly and harden in a short time. It is readily available at craft stores, online, and 100-yen shops in Japan.
Dedicated core wool felts surprisingly fast when wrapped tightly. Building a dense, rock-hard inner core with base wool and covering it with a very thin outer layer of colored wool is the most warp-resistant and efficient workflow in needle felting.
Gripping your wool piece tightly while stabbing causes hand pressure to flatten or warp the shape into an unwanted oval or uneven block.
When concentrating hard, it is easy to unconsciously squeeze the piece with your non-dominant holding hand. Felting the wool while squeezing it fixes it permanently into that squished shape.
Hold the piece gently, as if resting it lightly in your hand. Continuously rotate the piece with your fingertips while stabbing evenly from all directions. Stabbing repeatedly in just one spot creates a dent, so focus on gradually shrinking the entire piece in a balanced, uniform manner.
Knowing when a piece is truly finished is a common dilemma for needle felters. Here are three objective criteria to evaluate firmness beyond mere intuition.
The ideal firmness for a needle-felted object should feel like a hard tennis ball or a solid rubber eraser. Aim for a firmness where pressing hard with your fingers produces almost no indent.
A properly felted piece will depress only a few millimeters when squeezed firmly between your thumb and index finger, immediately snapping back into shape the moment you release your grip.
If your fingers sink deep into the piece or leave permanent indentations, the interior is under-felted. Left as is, it will definitely lose its shape over time. Stabbing until it feels almost "a bit too hard" is essential for long-lasting quality.
You can judge the felting density by the resistance felt in your hand and the sound made while stabbing.
In the soft early stage, the needle moves easily with a light, airy sound ("saku-saku" or "sa-sa"). This indicates low internal density.
As felting progresses, resistance increases significantly, and the sound changes to a heavier, solid thud ("zaku-zaku" or "gosu-gosu"). When stabbing requires a firm push, it is proof that the interior has felted thoroughly.
Wool condenses continuously as it is felted. As a rule, a fluffy rolled bundle of wool needs to shrink by 30% to over 50% in height and width to become fully felted.
Even if a piece looks large at first, firm felting will shrink it down to nearly half its original volume. Stopping halfway out of fear of making the piece too small leaves it soft and prone to collapsing. If you want to make a larger creation, plan ahead by starting with more wool and condensing it down firmly to your desired target size.
For simple spheres or thick shapes, wool alone provides plenty of structural strength. However, for slender animal limbs, tails, long necks, or creations over 15 cm (6 inches) tall, wool alone cannot support its own weight and will bend or sag over time.
For these shapes and sizes, building an internal wire armature is essential. An armature allows your piece to stand independently and completely prevents bending or drooping over time.
Choose your wire material based on the size and structure of your project:
Wrapping wool directly onto bare wire often causes it to spin freely, making needle felting impossible. Here is the trick to securing it:
First, apply a thin coat of craft glue (multipurpose craft adhesive) onto the wire surface. Take a stretched, thin strip of wool and wrap it tightly around the wire at a 45-degree angle without leaving gaps.
Wrapping tightly before the glue dries bonds the wool firmly to the wire. Stabbing diagonally over the wrapped wool with a needle creates a rock-solid component that won't slide off, even when bent.
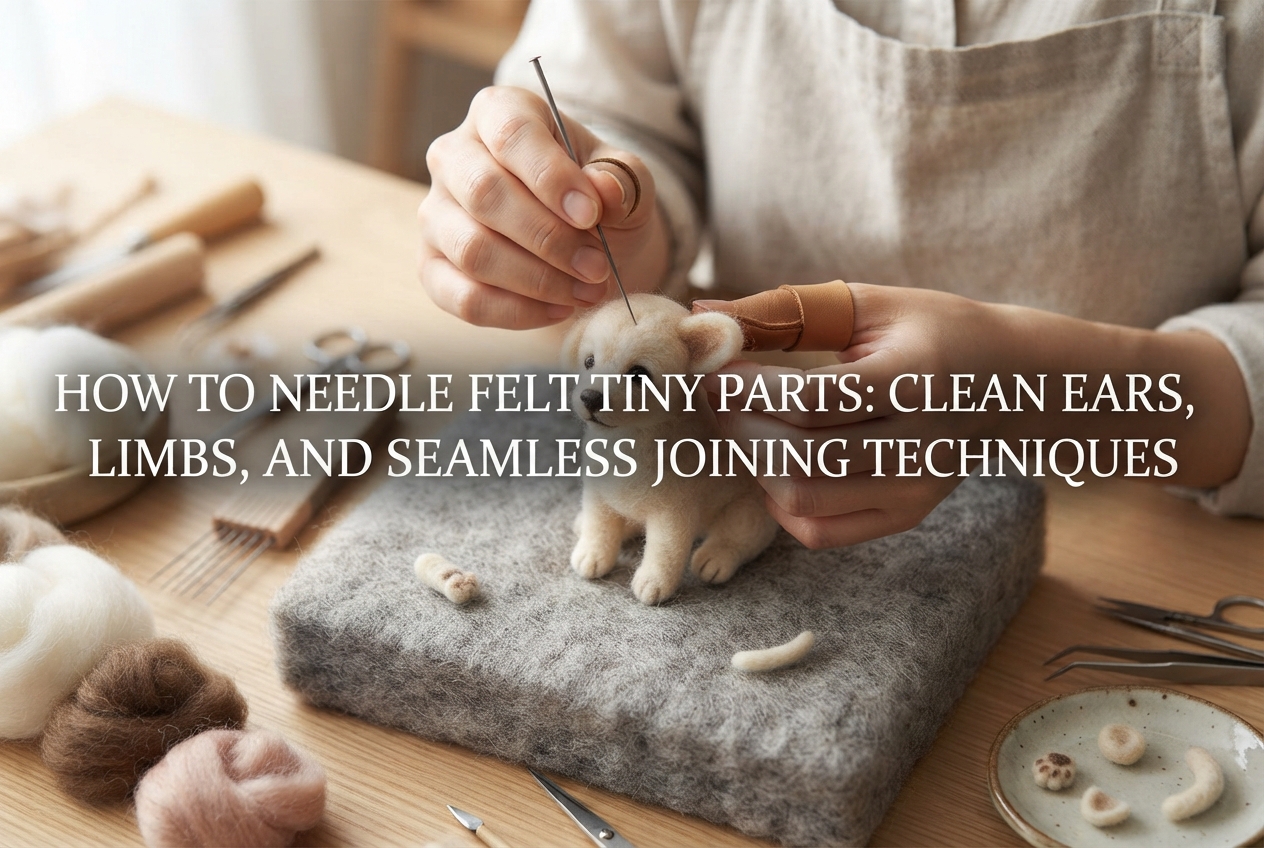
When joining separately created parts—such as attaching a head to a body, or adding ears and legs—flaws in technique can cause parts to tilt or wobble.
Unstable connection points lead to heads drooping under their own weight or legs collapsing over time. Follow these essential steps to secure joints firmly.
If you felt a component into a hard shape all the way to its edges, needles cannot easily penetrate the connection point, leaving the parts attached only at the surface. This results in very weak structural strength.
When making parts to be attached (like the underside of a head or the top of a leg), deliberately leave the wool loose and fluffy at the joint area. This un-felted wool is called "loose wool" or "leave-over fiber" (nokoshi-ke in Japanese craft terminology).
Spread this loose wool smoothly against the receiving part, then stab your needle diagonally and deeply through the loose fibers into the target body. This interlocks the fibers of both components, creating a firm bond that won't loosen even when shaken.
After initial joining, a visible seam or gap often remains between the parts. This seam acts as a structural weak point where bending can occur.
To fix this, wrap a thin strip of colored wool around the joint seam and stab across the boundary repeatedly with your needle.
Felt carefully until the seam disappears entirely and the parts blend together smoothly into a single solid unit. This extra step dramatically improves structural durability.
Unlike decorative display pieces, practical needle-felted items like keychains, bag charms, and straps are exposed to daily friction and pressure.
For items intended for daily use, felt them to 1.5 times the firmness of display objects. Aim for a density so firm that tapping it with a fingernail produces a solid clicking sound.
Simply gluing an eye pin or strap finding into the surface of a wool piece means it can easily pull out inside a bag, ruining your work.
When attaching metal hardware, bend the tip of your eye pin or screw eye into an "L-shape" or loop using pliers. Pierce a deep hole into the piece with an awl, pour in craft glue, and push the bent wire inside.
Then, stab the wool firmly around the entry point with your needle. The bent end interlocks with the interior wool fibers, creating an anchor structure that cannot be pulled out easily.
Portable felt items can lose shape due to surface fuzzing caused by moisture, skin oils, and friction. Applying a protective finish guards against these elements.
Once your work is complete, lightly spray the entire piece from a slight distance using a fabric water-repellent spray or a craft felt fixing spray (hard-hold hairspray also works well).
This coating locks the surface fibers in place, physically protecting your creation against fuzzing and moisture-induced softening.
If you have an old needle-felted creation that has flattened or a purchased item that got squished, don't throw it away! Wool felt is a versatile material that can be reshaped and reinforced at any time.
Here are two techniques to restore deformed items back to original beauty and firmness.
For flattened or dented areas, you can rebuild volume by adding fresh wool:
This "flesh-up" technique completely restores lost 3D volume. Felting the added section firmly makes the repaired area even stronger than before.
If legs, ears, or limbs have bent out of shape, use heat and steam moisture to realign them:
Hold a steam iron slightly away from the warped area to warm the wool with steam (do not press the iron directly onto the piece!). Once the wool absorbs heat and softens, use your fingers to gently bend it back into the correct shape.
Hold the shape in place until the wool cools down completely; wool naturally sets as it cools. Finally, stab deeply into the joint area with a felting needle to increase fiber density and lock in the corrected shape.
Even a rock-solid felt creation can warp slowly over time if stored under poor environmental conditions. Here is how to keep your creations looking beautiful for years:
Deformation and warping in needle felting are caused by clear physical factors: insufficient internal felting, uneven density, and a lack of structural frameworks.
By putting these principles into practice, even beginners can make firm, beautifully finished needle-felted works that rival store-bought creations:
Needle felting is a rewarding craft that responds directly to the time and care you put into every stab. Equipped with proper technique and knowledge, you can create delightful, round wool creations that retain their charm for years to come!
If you enjoyed this guide, please share it with your fellow craft lovers on social media! See you in the next article! This was Yassy from Crafters!




For example, if you are looking for articles about mizuhiki, try searching for "mizuhiki"; if you are interested in tools, try keywords like "nippers" or "pliers."
