How to Fix Sticky Resin: 7 Causes of Uncured Resin and Pro Solutions
yassy
Crafters!

Hello, everyone! This is Yassy from Crafters! (・∀・)
Whenever I spot lovely handmade resin pieces at a craft store, I can't help but pick them up, admire them closely, and think, "Wow, this is so cute!" As a true craft lover, I create various pieces myself and constantly catch myself buying adorable charms and findings from online shops.
One of the most common questions I get from beginners who are just starting out with resin craft is: "When I go to buy resin liquid, there are so many viscosity options—like thin, watery, thick, or syrupy—that I have no idea which one to choose!"
If you think, "Well, as long as it cures, isn't it all the same?" and just grab any bottle randomly, you might end up with severe failures: your piece could be filled with stubborn air bubbles, heavy inclusions might sink straight to the bottom, or resin might spill everywhere when you try to create a lovely domed finish.
In fact, it is no exaggeration to say that 80% of your finished resin piece's beauty and ease of crafting is determined by the viscosity of the resin liquid you choose.
In this guide, I'll break down the differences between resin viscosities based on my experience crafting, observing, and buying handmade goods, and share a logic-based guide on how to choose the perfect viscosity for every project! Let's master these characteristics so you can bring your creative vision to life effortlessly.
In simple terms, resin "viscosity" refers to the thickness or stickiness of the liquid.
Depending on the manufacturer and product line, resin liquids range from very runny (like water) to thick and gooey (like honey).
Beginners often focus solely on the clarity or cured hardness of the resin. However, during the actual crafting process, viscosity is without a doubt the single most crucial factor that directly impacts your final result.
If you choose the wrong viscosity, even the most expensive high-end resin liquid will fail to yield a beautiful result.
Viscosity impacts your workability and final finish in three major ways:
When I first started resin crafting, I didn't understand viscosity at all and tried to make a rounded, domed keychain using a low-viscosity, thin resin liquid. The result was predictable: the liquid overflowed right past the bezel edges, ruining the project and making a mess on my workbench. To avoid these mistakes, it's essential to understand the three main viscosity types and their characteristics.
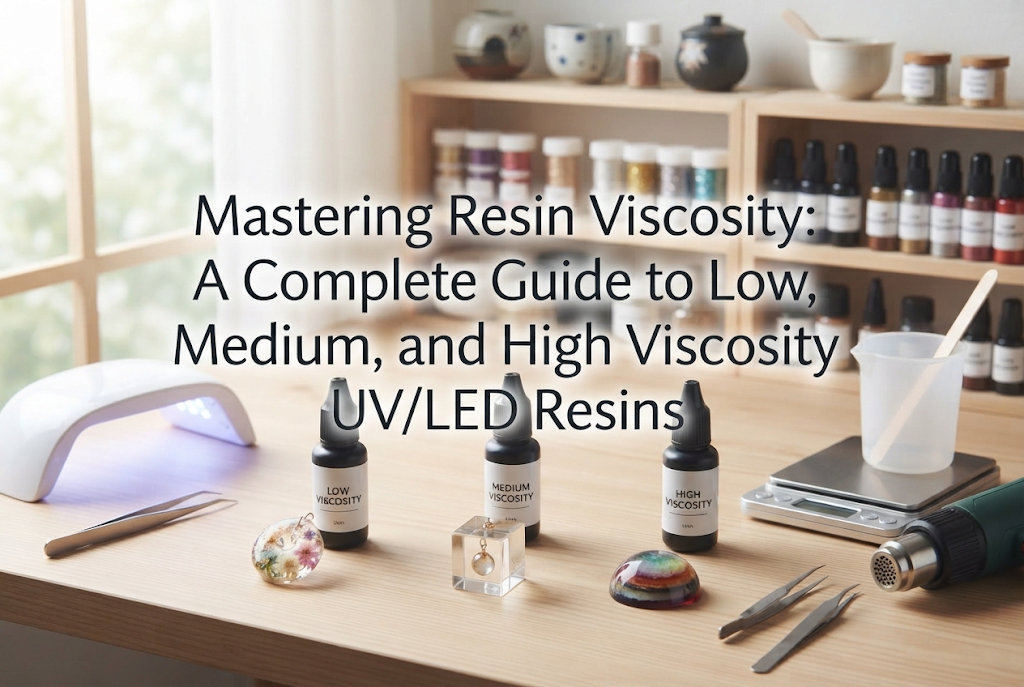
Commercially available resin liquids generally fall into three categories: Low Viscosity, Medium Viscosity, and High Viscosity. Let's look at their physical traits, strengths, and weaknesses.
Low-viscosity resin has a watery texture similar to light syrup.
For molds with intricate textures or tiny tips where fingers can't reach, low-viscosity resin is your only real choice. Using thick resin here will leave trapped air at the tips, resulting in chipped or incomplete molded pieces.
Medium-viscosity resin offers an ideal balance, feeling somewhat like syrup mixed with juice.
If you're a beginner looking to buy a single versatile bottle to try out various projects, medium viscosity is the best starting point.
High-viscosity resin has a thick, sticky pull similar to honey or malt syrup.
The type of project you want to create dictates the resin viscosity you should use. Following a logical choice rather than guesswork is the secret to success!
When working with 3D animal molds, detailed flower petal molds, or intricate geometric patterns, choose low-viscosity resin. Its high fluidity allows it to fill delicate tips simply by tilting or gently tapping the mold.
Low viscosity is also ideal for creating the initial base layer in open metal bezels (frames without a back). It adheres seamlessly to masking tape or base sheets, sealing tiny gaps along thin metal borders perfectly.
For botanical jewelry containing real dried flowers or embedded glitter and foil, opt for medium or high viscosity. Low-viscosity resin causes dried flowers to float awkwardly to the top or heavy charms to sink to the back.
My favorite professional technique is a two-step approach: create the base layer and arrange your charms using medium-viscosity resin, then finish with a top layer of high-viscosity resin for a plump, glossy dome. This keeps inclusions securely positioned while adding impressive depth.
If you want to create a glass-like domed surface over brooches or hair ties, or attach earring posts and screw eyes securely to the back of a piece, high-viscosity resin is essential.
Its strong surface tension lets you pile liquid up to the very edge without overflow. Furthermore, for joining metal findings, runny resin simply flows away, but thick resin stays right in place between gaps, forming a strong bond upon curing.
Many beginners fall into these common traps without realizing it:
Did you know you can adjust resin viscosity on the spot? Here are three handy techniques to expand your crafting capabilities:
UV/LED resin becomes thinner when warmed and thickens back up as it cools. If you only have high-viscosity resin on hand but need to release bubbles or pour into a mold, simply warm it up! Use an embossing heater for a few seconds over a silicone mixing cup, or place the sealed bottle in a warm water bath (around 40°C / 104°F). The thick resin will instantly turn thin and fluid, allowing bubbles to escape before it cools back down.
If medium resin feels a bit too runny but high viscosity is too stiff, mix them together! Blending low and high viscosity resins from the same brand at a 1:1 ratio creates your ideal custom blend. I often mix viscosities on my palette when I want inclusions suspended at a precise depth.
Resin reacts directly to climate. In summer, room heat lowers resin viscosity, making high-viscosity resin runnier than usual. In winter, cold temperatures thicken resin, making low-viscosity resin act like thick resin and trapping air bubbles easily. Keep your room warm in winter or warm your resin bottle before use!
Here is how I personally rotate viscosities step-by-step in my daily work:
Understanding resin viscosity transforms your craft from guesswork into a precise, enjoyable process. Once you know how liquid thickness behaves, issues like stubborn bubbles, sinking charms, overflow messes, or chipped mold corners disappear.
Take a look at the resin bottle on your desk today to identify its viscosity, and consider adding another type to match your upcoming projects. Have fun crafting clear, beautiful resin creations!
If you found this guide helpful, please share it with your fellow crafter friends on social media! Until next time, this was Yassy from Crafters! See you in the next article!

For example, if you are looking for articles about mizuhiki, try searching for "mizuhiki"; if you are interested in tools, try keywords like "nippers" or "pliers."
