Japanese Craft Packaging Secrets: How to Ship Fragile Handmade Items with Zero Damage
yassy
Crafters!

Hello, craft lovers! This is Yassy from Crafters! (・∀・)
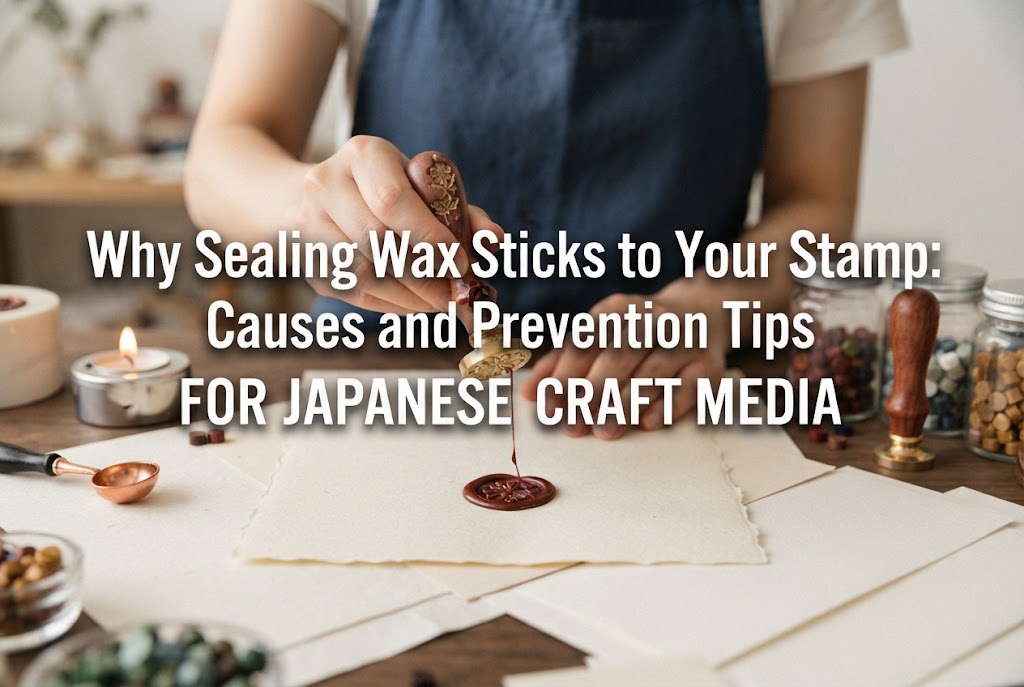
Wax seals are incredibly popular for adding a charming touch to letters, gift packaging, and handmade projects. However, have you ever run into frustrating issues like the wax sticking to the stamp head and refusing to come off, or finding wax residue stubborn stuck inside the fine lines of the engraving after peeling it away?
It can be so disappointing when you excitedly press a stamp into beautifully melted wax, only for the wax to tear, get pulled up by the stamp, or end up with an uneven surface. When I first started crafting, I often found myself scratching my head over brass stamp heads stuck completely solid with wax.
To put it simply, sealing wax sticking to your stamp isn't a matter of bad luck or random variation—there are clear physical and thermal causes behind it. Once you understand these root causes and take the right precautions, anyone can create crisp, smooth wax seals with a perfect release 100% of the time.
In this article, I'll break down why sealing wax sticks to stamp heads, share actionable prevention tips, and explain safe methods to remove wax that has already gotten stuck.
There are four main reasons why sealing wax adheres to metal stamps, such as those made of brass. Take a moment to think about your usual crafting environment and process to see which of these might apply to you.
The most common cause is getting the wax too hot while melting it in a spoon. Overheated wax becomes an extremely thin liquid and carries high thermal energy.
When you press a cold metal stamp onto scorching-hot wax, a sudden temperature shift occurs at the contact surface. The runny wax penetrates deep into the microscopic textures of the metal before hardening. This triggers a strong "anchor effect" (mechanical interlocking), causing the wax to bind tightly to the stamp head.
If you see smoke rising from your melting spoon or large bubbles boiling up in the wax, it is definitely overheated. Stamping in this state will almost certainly result in wax getting caught in the stamp.
Have you ever noticed that your first seal turns out cleanly, but subsequent ones become progressively harder to peel off? This happens because the temperature of the stamp head itself rises with continuous use.
Brass, the metal commonly used for wax stamp heads, has very high thermal conductivity. Every time it touches warm wax, the stamp absorbs heat.
Once the stamp head warms up, it can no longer fulfill its main role: drawing heat away from the wax to cool it down. Because both the stamp and wax remain warm for an extended period, the wax fails to harden quickly and becomes a tacky, semi-soft mass that stretches and clings to the metal surface.
How long do you wait after pressing the stamp into the wax before lifting it? Wanting to see the finished result right away is understandable, but trying to remove the stamp after just a few seconds is a major cause of failure.
Sealing wax naturally releases from metal only when it cools and hardens completely from the surface down to its core. If you force the stamp up while the center is still warm and soft, the internal structure of the wax ruptures.
As a result, soft wax tears away and stays trapped inside the stamp's engraving, leaving your finished piece with a ruined, rough surface.
It's also important to pay attention when using brand-new stamps or those that haven't been cleaned in a while. Oils from your hands, dust, or microscopic residue from previous uses left in the grooves can act like an adhesive.
An invisible film of oil or dirt on the metal surface interacts with the hot wax, severely hindering a clean release.
Additionally, some budget-friendly stamp heads may have rough engravings with tiny metal burrs or imperfections. Wax can easily catch on these rough edges, making it impossible to pull away cleanly.
Once you know the causes, preventing the problem is simple! With just a few quick preparation steps, you'll get effortless releases every time. Here are the reliable preventive methods I use regularly in my own craft space.
The most effective technique—and one used consistently by experienced crafters—is to thoroughly chill the stamp head before use.
Keep an ice pack wrapped in a thin cloth or paper towel (or a small container of ice water) right next to your workspace. Rest your stamp head on the ice pack until the moment you are ready to stamp.
When the metal is chilled, the surface of the hot wax hardens instantly upon contact. This stops liquid wax from creeping into the metal's microscopic crevices and creates a crisp, shiny finish with sharp edges.
Note: If you use ice water, never let water droplets remain on the stamp when pressing into wax. Water will cause the hot wax to sputter and form bubbles. Always wipe off any moisture completely with a dry tissue before stamping.
If you are using a stamp with an intricate design or are new to wax sealing, applying a light coating of oil is a foolproof solution.
Applying a tiny amount of oil to the engraved surface before stamping creates an invisible barrier that allows the stamp to pop off effortlessly.
Everyday household oils work great for this:
The key is to apply an extremely thin layer. Dab a small amount of oil onto a makeup sponge or cotton swab, work it into the fine details of the stamp, and then lightly dab the surface with a dry tissue to absorb any excess.
If liquid oil pools inside the fine details, the wax impression will look blurry and shallow. Creating a microscopic oil film that you can barely see is the secret to success.
Learning proper heat control will keep you from overheating your wax. When melting wax in a spoon, avoid holding it directly over the candle flame. Instead, hold the spoon 2 to 3 centimeters (about an inch) above the tip of the flame to heat it gently.
Once the wax beads are about half melted, remove the spoon from the flame and let the residual heat melt the rest while stirring gently.
The ideal consistency is not runny like water, but thick and smooth—similar to honey or condensed milk. Aim for a viscosity where the wax flows smoothly and slowly when you tilt the spoon.
If you see bubbles popping, it's too hot! Let the spoon cool while swirling it gently over your workspace for 10 to 20 seconds until it thickens before pouring it onto your paper or silicone mat.
Once you place the stamp onto the wax pool, do not push down hard or wiggle it. The natural weight of the stamp will spread the wax evenly. Simply let go and wait patiently.
As a rule of thumb, wait at least 20 to 30 seconds, depending on room temperature. In a cold room during winter, 15 seconds might be enough, but in hot summer weather, it may take 40 seconds or more.
Gently touch the outer lip of the wax with your fingertip. If the surface feels completely firm and cool to the touch, it's ready.
To remove the stamp, don't pull straight up. Tilt the handle slightly to let air slip underneath the edge, and the stamp will pop off smoothly.
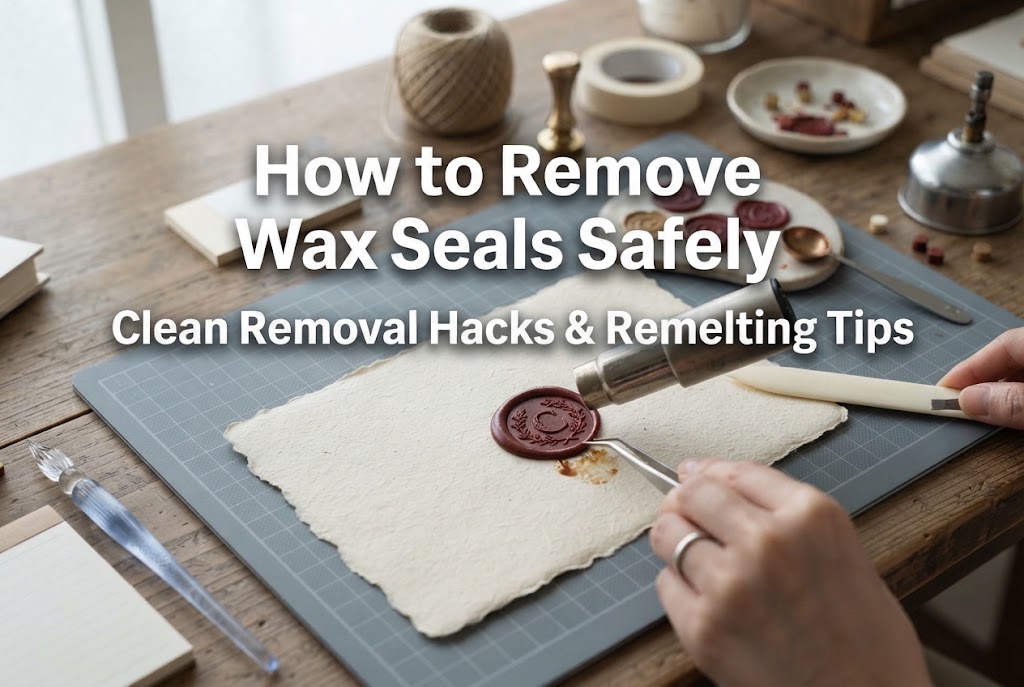
Even with careful preparation, accidents happen—like stamping when the wax is too hot and leaving stubborn wax stuck in the fine details. If this happens, never attempt to scrape it out with sharp metal tools like utility knives, needles, or metal awls.
Brass is a relatively soft metal, and metal tools will easily scratch the surface. Once scratched, wax will catch on those marks every single time, permanently ruining the performance of your stamp.
Here are 3 safe and effective ways to clean your stamp head:
Use materials softer than brass to scrape out the trapped wax.
Grab a wooden toothpick, bamboo skewer, or wooden craft pick. Wait until the stamp is completely cool, then gently scrape at the trapped wax with the tip of the toothpick to pop it out.
Wood and bamboo will not scratch the brass surface. You'll be surprised at how easily larger chunks of wax pop right out with this simple method.
For thin layers of wax stuck deep inside fine details, applying gentle heat is the best approach.
Use an embossing heat tool or a hairdryer to blow warm air onto the stamp head until the residue melts (a heat gun works fastest if you have one).
Once the wax liquifies, immediately wipe it away firmly using a thick paper towel or a clean cotton rag. Avoid facial tissues, as loose paper fibers will stick to the warm metal details. Lint-free kitchen paper towel or 100% cotton fabric works best.
Safety Tip: The metal head will get very hot! Wear heat-resistant craft gloves or hold the stamp securely by its wooden handle to avoid burns.
If there is a large amount of wax buildup that won't come off, boiling or soaking in hot water is extremely effective.
Unscrew and remove the wooden handle, then place the metal stamp head in a heat-safe container or small pot of hot water. The resins and paraffin in sealing wax soften and float free around 80°C to 90°C (175°F–195°F).
Once the wax softens in the hot water, scrub the engraved grooves with an old toothbrush. Finish by washing with standard dish soap to remove any remaining oil residue, restoring the brass to a clean, like-new condition.
Here is my step-by-step routine for making multiple wax seals without a single failure. Following this exact flow guarantees you won't run into sticking issues!
Gather all your tools before starting. If you have to hunt for tools mid-process, your wax will cool down or overheat while you're distracted.
Place your stamp head on the ice pack for about 1 minute to cool it down thoroughly.
Pick up the chilled stamp and wipe off any surface condensation completely with a dry tissue. Then, lightly dab the engraved face with your oil-moistened sponge and gently wipe away excess oil with a fresh tissue.
This double method of "chilling + thin oil coating" is my secret formula for a 100% success rate!
Add wax beads to your spoon and place it over the warmer. Let them melt slowly, and remove the spoon from the heat once smooth.
Wipe the bottom of the spoon with a tissue (to remove any candle soot), and swirl the spoon gently a few times to let the temperature drop slightly.
Pour the wax slowly onto your silicone mat, keeping the spoon vertical to form a neat, round pool.
Aim for the center of the poured wax and gently place your chilled stamp on top. Do not push down hard; the weight of the stamp will spread the wax evenly. Let go of the handle and wait 30 seconds.
While waiting, you can add fresh wax beads to your spoon and set it on the warmer to prepare for your next seal, keeping your workflow efficient!
After 30 seconds, touch the edge of the wax to confirm it is rock hard. If it is firm and cool, gently tilt the stamp handle to break the seal.
With a satisfying little click, the stamp will detach cleanly without any resistance, leaving behind a glossy, beautifully detailed wax seal!
If you're making another seal right away, place the stamp head back onto the ice pack to release the absorbed heat before starting again. Incorporating this cooling cycle ensures perfect results no matter how many seals you make.
Not all sealing waxes and stamp heads behave the same way. Here are extra precautions for specialized items that require slightly different handling:
Waxes mixed with glitter or gold foil tend to adhere more strongly to metal surfaces because particles can catch inside the small grooves of the engraving.
When using glitter wax, apply your oil release agent a bit more thoroughly. Also, if the wax is too hot, the glitter will sink to the bottom and touch the stamp directly. Let the wax cool to a thicker consistency before pressing.
Stamps featuring delicate script lettering or detailed botanical patterns have deep, narrow grooves where wax can easily get trapped.
When working with intricate stamp designs, extend your cooling wait time by 1.5 times (around 45 seconds to 1 minute). Trying to pull the stamp off early will snap the thin wax bridges caught in the grooves. Letting the wax cool completely to the core is essential.
Wax sticks used in low-temp glue guns contain flexible resins designed not to break when mailed. These formulations are inherently stickier than traditional wax beads.
Because glue gun wax is tacky, a warm stamp head will stick to it instantly. Never skip the step of chilling your stamp on an ice pack when using glue gun wax! Keeping the stamp icy cold overrides the adhesive nature of the wax, giving you a clean release.
Proper maintenance after crafting ensures your stamp heads stay in top condition for years to come.
When you finish a sealing session, wipe the stamp surface with a soft dry cloth or paper towel while the metal is still slightly warm. If you used oil during your session, wipe the head with a paper towel dampened with a bit of rubbing alcohol to remove old oil residue and keep the brass surface clean.
To store your stamp heads, keep them in individual small bags or a partitioned storage box to prevent brass surfaces from scratching against each other.
Brass naturally oxidizes when exposed to air, developing a rich antique patina over time. This aging process does not affect performance, but if you prefer to keep the metal shiny, store your stamp heads in an airtight container with a small desiccant packet.
As long as the metal surface remains smooth and well-maintained, your wax will release effortlessly every time you craft!
Understanding why sealing wax sticks to stamps makes troubleshooting effortless!
Here is a quick recap of the key points to prevent wax sticking:
Once you master temperature control and basic setup, wax sealing is a joyful and stress-free craft. Experiencing that smooth, effortless pop as the stamp lifts away cleanly is deeply satisfying!
I hope these tips help you enjoy smooth, hassle-free wax sealing in your creative space. If you found this guide helpful, please share it with your craft friends on social media or messaging apps! Until next time, happy crafting from Yassy!



For example, if you are looking for articles about mizuhiki, try searching for "mizuhiki"; if you are interested in tools, try keywords like "nippers" or "pliers."
