Japanese Resin Crafting Guide: How to Deburr and Smooth Sharp Edges for a Flawless Finish
yassy
Crafters!

Hello, everyone! This is Yassy from Crafters! (・∀・)
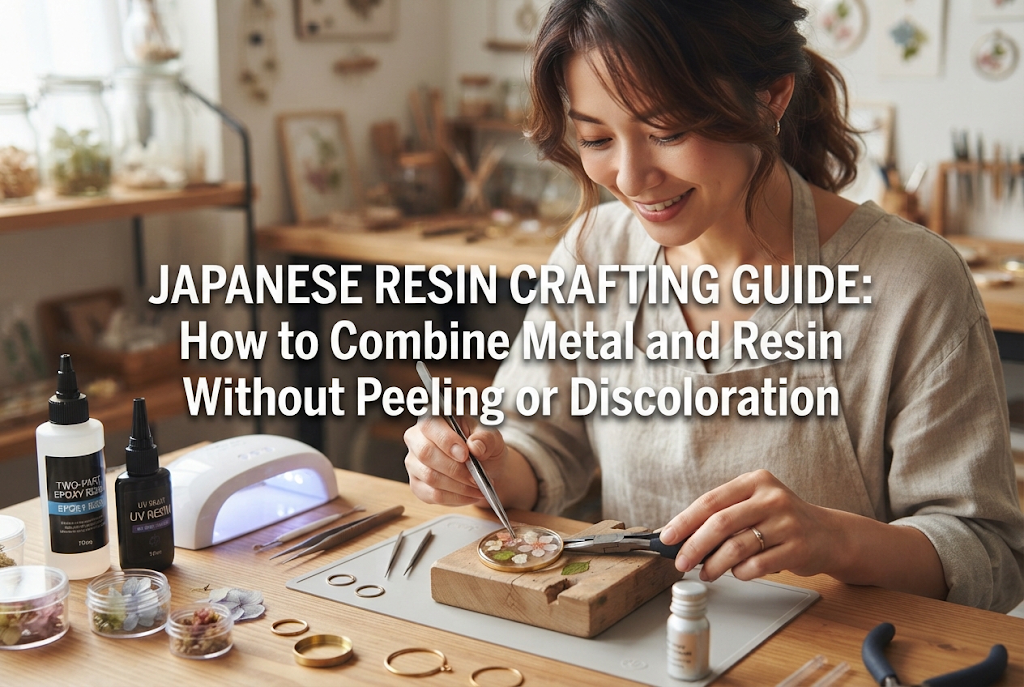
The combination of sparkling metal components and crystal-clear resin creates handcrafted pieces with an elegant, high-end feel and delicate beauty. As someone who loves making, viewing, and collecting handmade crafts, I am constantly captivated by jewelry and accessories that seamlessly fuse metal and resin together.
However, metal and resin are materials with completely different physical and chemical properties. If you simply pour resin over metal charms or embed raw metal inside resin without proper preparation, you will eventually face frustrating issues: the resin popping off the metal surface, or the metal corroding and turning dark over time.
In this article, I will share professional prep steps and techniques for combining metal and resin strongly and beautifully. We will tackle the root causes of common failures so you can create durable, long-lasting pieces. These practical tips are easy for beginners to start using today, so read on and try them in your next craft project!
In resin crafting, combining metal and resin generally falls into two distinct styles. Understanding which style your project belongs to is the first step toward choosing the right technique.
1. Pouring Resin into Metal Frames or BezelsThis style uses metal bezels (bezel cups or setting bases) and open frames (hollow resin frames). You fill the metal structure with liquid resin, allowing the metal to act as a design framework that enhances the overall strength of the piece.
2. Embedding Metal Components Inside ResinIn this style, metal charms, wires, metallic foils, or gears are embedded directly inside clear resin poured into silicone molds. This creates a dimensional design where the weight and shine of the metal intersect with the transparency of the resin.
Whichever style you choose, you must solve two major challenges: securing maximum adhesion and preventing metal discoloration. Let's look at the step-by-step prep work to master both.
Even if a newly cured piece looks perfectly intact, resin separating from the metal surface during daily use is one of the most common mistakes beginners encounter. Why does resin peel off smooth metal so easily? The answer lies in the surface condition of the metal.
Although metal surfaces look clean to the naked eye, they are covered with manufacturing residues, skin oils, and microscopic oxidation layers. Furthermore, unlike glass or resin-to-resin bonds, metal does not naturally form chemical bonds with resin. Without preparation, resin will detach due to shrinkage stress during curing.
To prevent peeling completely, you must perform these three essential surface preparation steps before pouring resin. In my own workshop, I never skip these steps when assembling pieces.
The first step is removing oils and dust from the metal surface. Human hands carry natural sebum, so touching metal parts with bare fingers leaves oil behind. Unremoved oil becomes the starting point for delamination.
Using lint-free wipes (such as Kimwipes) or cotton swabs saturated with rubbing alcohol (sanitizing ethanol) or parts cleaner, thoroughly wipe down every surface and crevice of the metal part. Once degreased, never touch the bonding surfaces with bare hands—always handle the parts with craft tweezers.
For bezel bases or flat metal parts with a wide contact area, creating micro-scratches on the surface—known as "keying" or creating an anchor effect—is extraordinarily effective. Scratches allow liquid resin to flow into tiny grooves, interlocking mechanical anchorage as it hardens.
Use 400- to 600-grit sandpaper or a sponge sanding sheet. Rub the interior base of the metal bezel in light, even circular motions to create fine scratches. After sanding, wipe away all metal dust with ethanol. This small effort dramatically increases bond strength.
For delicate open frames where sanding is difficult, or for important showcase pieces, apply a specialized metal/resin multi-primer. Primers act as a chemical bridge between metal and resin.
Apply a very thin coat of primer onto the degreased metal surface using a brush, then let it dry completely according to product instructions. The primer bonds tightly to the metal while chemically pulling the resin coat toward it, providing strong adhesion even where physical sanding isn't possible.
Craft metal findings come in various alloys and finishes. Combining them with resin without understanding their material characteristics can lead to immediate darkening during curing or the gradual buildup of green rust (verdigris) over time. Here is a breakdown of common metals and how to work with them safely.
Popular for vintage-style designs and heavy accents, brass is highly prone to oxidation. Chemical components in resin, heat generated by UV/LED lamps, and microscopic chemical reactions during curing can turn brass dark or generate green verdigris rust.
When embedding or filling brass parts with resin, it is essential to seal the entire metal piece with a clear metal varnish or metal coating agent beforehand. Creating an airtight protective layer prevents resin and ambient air from contacting the brass directly, preserving its warm shine indefinitely.
Plated components are affordable and accessible for beginners, but the plating layer is extremely thin and delicate. Using strong solvent-based cleaners risks stripping the plating and exposing the base metal beneath.
Never sand plated metal parts. Sanding will rub away the plating. For plated findings, stick strictly to gentle degreasing with ethanol and applying a water-based or specialized metal primer. Handle them gently without aggressive scrubbing.
Surgical stainless steel and related alloys resist rust and reduce allergic reactions because of their hardness and chemical stability. However, this same stability makes it notoriously difficult for resin to adhere to them.
When combining stainless steel with resin, combining physical sanding with a strong metal primer is mandatory. Make sure to rough up the inner surfaces thoroughly; otherwise, the cured resin inlay may pop out cleanly as a single piece later on.
When working with metal frames and settings, following clear practical steps will ensure a flawless finish. Here is how to avoid typical mistakes like leaks and bubbles.
Because open resin frames lack a bottom, you must back them with tape to hold liquid resin. However, standard clear tape or painter's masking tape can transfer adhesive residue to the resin, leaving a sticky or wrinkled texture on the back.
Instead, use dedicated silicone adhesive craft tape or heat-resistant silicone masking tape. Place the tape flat on your work surface, position the metal frame on top, and press firmly along all edges with your fingertip to eliminate gaps.
Pay extra attention to corners and joint seams on metal frames where microscopic gaps often lurk. Get into the habit of inspecting the frame from the side under good light to confirm there are no air gaps. This preparation prevents underside leaks completely.
When you pour resin into a metal frame, air bubbles tend to get trapped along the inside rim. Because metal is opaque, trapped bubbles beneath or along the edges can block light, leading to incomplete curing and weak spots.
Avoid pouring a heavy layer of resin all at once. Start by placing a tiny drop of clear resin—less than 1 mm thick—at the center. Use a mixing stick or toothpick to spread this base resin thinly along the inside edges of the frame.
Once the metal edges are coated, warm the piece lightly with an embossing heat tool to float trapped air, pop any visible bubbles, and flash-cure under your lamp for 10 to 20 seconds. This initial thin "seal coat" guarantees resin adheres seamlessly around the perimeter without trapping air.
To highlight the beauty of a metal bezel, aim for a sleek, domed surface where resin rises slightly above the rim.
After completing your background color layers and embedded elements, finish with a top coat of high-viscosity resin. Deposit liquid resin in the center of the frame and use your stick tip to gently draw the resin toward the metal borders.
Because metal rims can repel resin, use the tip of your tool to guide the liquid up to the top edge of the metal frame. Allow the surface tension to create a rounded dome, then cover the piece to block dust and let it sit for about one minute. Allowing the resin to self-level before turning on your UV/LED lamp yields a smooth, distortion-free gloss.
Creating resin pieces inside silicone molds with embedded metal charms, wire motifs, or gears is another lovely technique. However, because metal is dense, parts sink easily and trap air bubbles. Here is how to master embedding.
Three-dimensional charms and detailed filigree components (like gear wheels or intricate metal stampings) carry tiny pockets of air under their rims and inside hollows. Placing them dry into a mold traps large air bubbles inside your work.
To prevent this, perform a pre-dip by coating the metal piece in clear liquid resin before embedding it.
Pour a small pool of clear resin onto a silicone mat or palette, hold the metal part with tweezers, and submerge it completely. Use a toothpick to work liquid resin into every back cavity and crevice, coaxing out trapped air. Once fully coated and bubble-free, gently transfer the charm into your mold resin.
Metal has a much higher density than liquid resin, meaning it will sink straight to the bottom of a filled mold. If you want a charm suspended in the middle or near the surface, you cannot place it in a single deep pour.
To suspend metal parts at exact depths, use a layered step-curing process:
This step-by-step technique lets you create floating layouts where metal charms appear suspended in space inside clear resin.
Beyond embedding, crafters often need to attach metal findings—such as earring posts, clip-on bases, or pendant bails—to finished resin components.
Never use liquid cyanoacrylate superglue. Superglue causes severe whitening (blooming) on clear resin and metal, and its brittle bond snaps easily under impact. Instead, use these reliable attachment methods:
For ultimate mechanical strength, two-part epoxy glue is the most reliable choice. Equal parts of Resin A and Hardener B are mixed to trigger a chemical cure that sets rock hard.
Once cured, epoxy glue resists water and physical shock while bonding metal to resin securely. Lightly sand both contact surfaces, apply the mixed epoxy, press the parts together, and allow 24 hours for a full cure. This achieves professional-grade durability.
If you prefer a clear, invisible joint or want to complete assembly quickly, you can use UV/LED resin itself as an adhesive agent.
However, simply sandwiching liquid resin between metal and resin will block light from reaching beneath the metal, causing uncured resin traps. Instead, build a smooth dome of resin over the base of the metal finding, making sure resin wraps around its edges so light can penetrate from the sides. Encapsulating the metal base in a clear resin anchor secures it physically so it cannot pull free.
Once you master basic attachment and embedding methods, try these creative variations that showcase the synergy of metal and resin. Here are a few elevated ideas that always delight craft lovers:
Bend artistic craft wire into outlines like flower petals, animals, or geometric shapes. Dip or stretch high-viscosity resin across the wire loops to form thin films, then fill them with transparent tinted resin before curing.
The wire lines form delicate metallic outlines, producing a stained-glass effect that glows vibrantly when light passes through. Thoroughly degreasing the wire before applying resin is key to keeping the resin film intact.
In addition to solid charms, combining liquid resin with imitation gold leaf, silver foil, or metallic mica powders produces breathtaking depth.
Tear tiny bits of gold leaf into liquid resin and gently tease the flakes apart with a bamboo skewer to create luxurious mineral textures. Metallic particles catch light from different angles inside clear resin, changing expression with every movement.
Gather an assortment of tiny brass clock gears, mini keys, and small metal screws, then pair them with resin colored in deep smoky amber or transparent black.
By layering cured resin, you can arrange gears at varying depths to build a three-dimensional mechanical world inside your piece. The contrast between heavy metal shapes and glowing resin glass results in impressive art jewelry.
Even carefully constructed pieces require proper care to maintain their beauty over time. Keep these handling and storage practices in mind:
Combining metal and resin brings high elegance, depth, and structural appeal to handmade crafts.
While working with these two distinct materials may seem tricky at first, sticking to a few fundamental rules guarantees success:
Understanding material characteristics and dedicating attention to surface preparation is the true secret to turning homemade projects into professional-quality art. Use these insights in your craft workspace to design your own stunning metal and resin creations!
If you enjoyed this guide, please share it with your craft friends on social media or messaging apps! Thank you for reading, and see you in the next article! This was Yassy from Crafters!







For example, if you are looking for articles about mizuhiki, try searching for "mizuhiki"; if you are interested in tools, try keywords like "nippers" or "pliers."
