20 Chic Halloween Resin Project Ideas: Elegant Autumn Crafting Ideas for Adults
yassy
Crafters!

Hello, crafters! This is Yassy from Crafters! (・∀・)
I am a true handmade enthusiast through and through. I love making my own accessories, but I also adore discovering, admiring, and collecting stunning pieces made by other creators. Whenever I browse online craft supply shops and spot cute findings or bottles of resin, I inevitably end up filling my virtual cart to the brim.
When you are shopping for resin supplies, do you ever catch yourself thinking, "Aren't all clear liquid resins basically the same?"
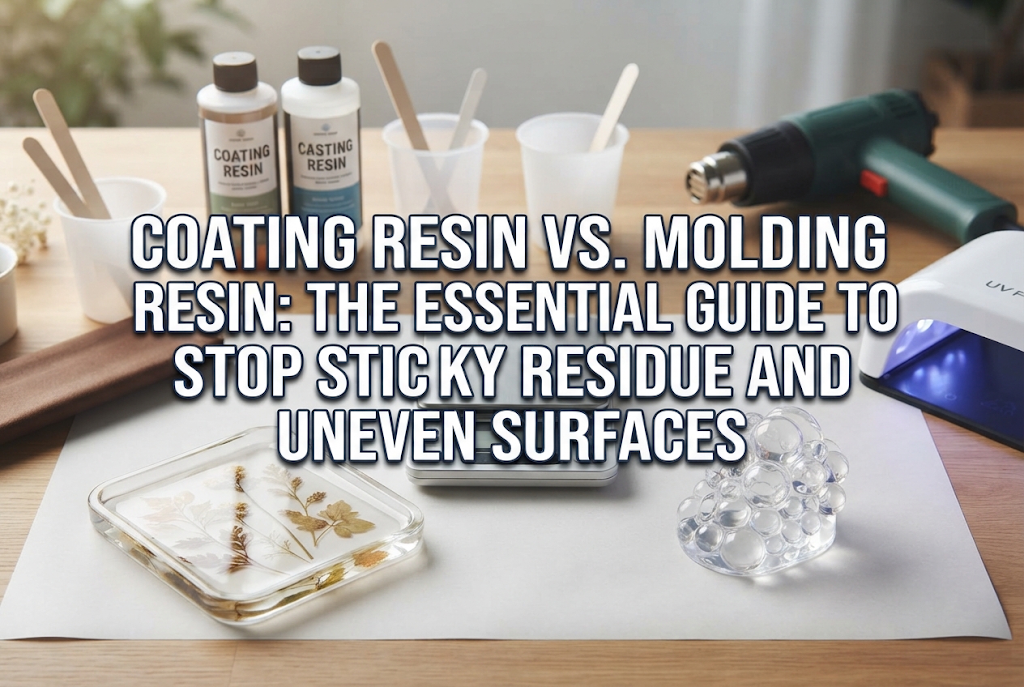
If you've ever had that thought, let's put it aside right now! In the world of resin crafting, clear resins fall primarily into two distinct categories: molding resin (used for casting molds, deep pours, and creating domed shapes) and coating resin (used for topcoats and surface finishing). If you use them without understanding how they differ, you can end up with tacky surfaces, wavy textures, or even ruined projects.
Have you ever encountered issues like these?
If you are struggling with these issues, don't worry—it is not a lack of crafting skill. You are simply using the wrong type of resin for the job.
In this guide, I will break down the essential differences between coating resin and molding resin, detail their pros and cons, and share the golden rules of resin selection to instantly elevate your finished pieces.
You might think, "Both are transparent liquids that harden under a UV-LED light, right?" While that is true on the surface, their formulations, viscosities, and post-cure physical properties are completely different.
Here are the three decisive differences you need to know.
The most noticeable contrast lies in viscosity—how easily the liquid flows.
Molding resin is formulated with a medium to high viscosity. When you pour it into silicone molds, its balanced body helps prevent it from spilling over easily. When applied onto metal bezels or flat pieces, this thickness allows you to build up a cute, rounded domed surface (what Japanese crafters call pukkuri).
On the other hand, coating resin features an ultra-low, watery viscosity. It behaves almost like water or a lightweight oil. It is engineered to spread effortlessly into an ultra-thin, uniform layer without leaving brush marks behind.
This difference in viscosity directly affects how easy the resin is to work with and determines your final finish.
The second major distinction is how hard and glossy the resin becomes once cured.
Molding resin is designed to achieve solid structural strength when poured at a reasonable thickness. While it is very durable in bulk, if you spread it out thinly, it lacks adequate surface hardness, leaving it prone to scratches or subtle flex.
Conversely, coating resin is specially compounded to cure into a rock-hard, glass-like finish even when spread into a microscopic film. Applying a swift coat of coating resin over a frosted, sanded piece instantly restores pristine transparency and a high-end, mirror-like gloss.
The biggest nemesis of curing resin is oxygen in the air. When resin cures, exposure to atmospheric oxygen can disrupt the chemical polymerization reaction on the surface. This phenomenon, known as oxygen inhibition, leaves behind an uncured, tacky film.
Because molding resin is primarily intended to sit inside silicone molds with minimal air exposure, its surface formulation is relatively vulnerable to oxygen inhibition when brushed out exposed to the air.
Coating resin, however, is created specifically to cure while exposed to the open air. It contains specialized additives that resist oxygen inhibition, curing rapidly into a bone-dry, ultra-smooth surface under the light without a hint of tackiness.
Let's take a closer look at molding resin, the workhorse for creating the core shapes of your projects.
Molding resin is essential whenever you build a form from scratch, such as keychains, pendant cabochons, and dimensional geometric pieces.
Within the molding resin category, low-to-medium viscosity types are ideal for pouring into silicone molds.
When embedding tiny charms, metallic flakes, or delicate dried flowers into a mold, the resin needs to penetrate into every intricate crevice. A well-balanced molding resin flows smoothly into deep corners without trapping air pockets. Furthermore, molding resins are formulated so that bubbles can rise smoothly to the surface when gently warmed with an embossing heat tool.
When you want to dome the surface of metal bezel cups (known as miru-zara in Japan), washi paper collages, or flat resin bases, high-viscosity molding resin is indispensable.
If you attempt to dome a piece using a runny coating resin, its low surface tension cannot hold the liquid back, causing it to spill over the sides immediately. A high-viscosity molding resin holds its shape right up to the outermost edge, preserving a gorgeous, smooth, domed contour.
The single most common mistake beginners make is attempting to gloss up a demolded piece by brushing on the same molding resin they used to cast it.
Please avoid doing this!
Because molding resin has high viscosity, brushing it on will leave visible, permanent brush strokes and uneven ridges. Worse, when spread thinly and cured in open air, it often remains tacky due to oxygen inhibition. Whenever you need to gloss, smooth, or finish a piece, always switch to coating resin.
Next, let's explore coating resin, which provides ultimate clarity, scratch protection, and shine.
Coating resin is available either in standard pour bottles or in convenient nail-polish-style bottles equipped with an integrated applicator brush. Both contain an ultra-low viscosity liquid built specifically for surface treatment.
The greatest advantage of coating resin is its outstanding self-leveling capability. Even if you apply it with rough brush strokes, waiting just a few seconds allows the resin to smooth out seamlessly, erasing any brush lines on its own.
For tiny, intricate pieces, you can also use the "dip coat" method: gently submerge the entire cured piece into coating resin and lift it out. Allow the excess resin to drip off, and cure it under your UV-LED lamp. This gives you a flawless, bubble-free coat over spheres and complex shapes.
Have you ever brushed resin onto a piece only to see it pull away like oil on water, leaving tiny bare patches or craters? In crafting, this is known as cissing or cratering.
It occurs when the surface has residual fingerprints, natural skin oils, mold release residue transferred from the silicone mold, or fine dust from sanding.
Here is how to prevent cratering every single time:
Following these simple prep steps will completely eliminate cratering.
Coating resin is engineered for rapid reactivity under UV-LED wavelengths. The polymerization on the surface begins instantly when the light hits it, completing the cure before oxygen has a chance to interfere. When you pull your work out of the lamp, it feels slick, dry, and glass-like—saving you from the frustration of repeated curing sessions.
When starting out, it is completely natural to wonder: "Craft supplies add up fast. Can't I just buy one versatile bottle of resin for everything?"
I completely understand that urge! When I first started working with resin years ago, I tried to save money by using a single bottle for casting, doming, and brushing. It resulted in constant frustration and wasted materials.
Here is my honest verdict: You cannot replace one with the other. You really need both a molding resin and a coating resin.
Some tools in handmade crafting are multifunctional, but resin is not one of them. Molding resin and coating resin serve diametrically opposed roles.
If you try to brush molding resin onto a surface, you will encounter these three issues:
Rather than wasting time and materials on failed pieces, investing in a dedicated coating resin from the beginning is far more economical.
Here is the most practical, budget-conscious setup I recommend for anyone stocking their craft bench:
With these two bottles, you can handle casting molds, embedding dried botanicals, doming bezels, and applying a mirror-like topcoat. Because coating resin is applied thinly, even a small 8g–15g bottle will last through dozens of projects.
Here are a few finishing methods I use in my own studio that make a world of difference.
When you trim seam lines, sand rough sprues, or smooth imperfections on demolded pieces, the sanded area turns opaque white and frosty. Polishing that frosted surface back to high gloss using progressively finer micro-mesh grits and polishing compounds takes hours.
With coating resin, you can bypass 90% of that sanding effort:
The white frost disappears instantly beneath the resin, leaving behind a crystal-clear, glossy finish with minimal elbow grease!
Jewelry made with real dried botanicals or delicate shrink plastic can be fragile. A thin coat of coating resin provides structural reinforcement without bulk.
Gently brush coating resin over both sides of the petals or plastic piece, curing between each application. Because the resin is thin and rigid, it seals and protects delicate organic textures without drowning out fine details.
If you use a flat art brush rather than a bottle with an integrated brush cap, you must protect your brush from stray UV light. Leaving a resin-coated brush sitting on your desk will cause it to cure stiff from ambient daylight or room lighting.
Follow these brush care rules:
Important: Never wash a resin brush with water, as resin is water-repellent and will not dissolve. If you need a deep clean, use 90%+ isopropyl alcohol, ethanol, or a dedicated resin brush cleaner.
In resin crafting, the fastest way to achieve professional results is simply matching your materials to their intended purpose. No matter how creative your design is, sticky surfaces or uneven brush marks will detract from the overall piece.
Keep this simple rule in mind:
By using both types where they shine, your handmade pieces will boast the crisp, high-gloss clarity of boutique-quality jewelry. Choose your supplies with intention and enjoy a stress-free crafting journey! (・∀・)
Until next time, happy crafting from Yassy!



For example, if you are looking for articles about mizuhiki, try searching for "mizuhiki"; if you are interested in tools, try keywords like "nippers" or "pliers."
