Iron-On Transfers vs. Fabric Ink: The Complete Guide to Choosing the Right Craft Method
yassy
Crafters!

Hello, Yassy here from Crafters! (・∀・)
Have you ever had the heartbreaking experience of making handmade jewelry or home decor, carefully applying glue, letting it dry, only to have a component pop off when it reached a customer? Or maybe you touched a part and felt it shift slightly out of place?
I love making crafts, looking at them in shops, and using handmade items every day. But among all handmade craft troubles, the most common issue by far is glued parts peeling off or detaching completely.
In reality, the main cause of glue failure is rarely choosing the wrong adhesive. It almost always stems from not understanding the critical difference between "set time" (curing time) and "full cure."
When you see "Set time: 5 minutes" on a glue package, do you assume your piece is completely finished after 5 minutes, moving it around or packing it up for shipping? That is a huge mistake!
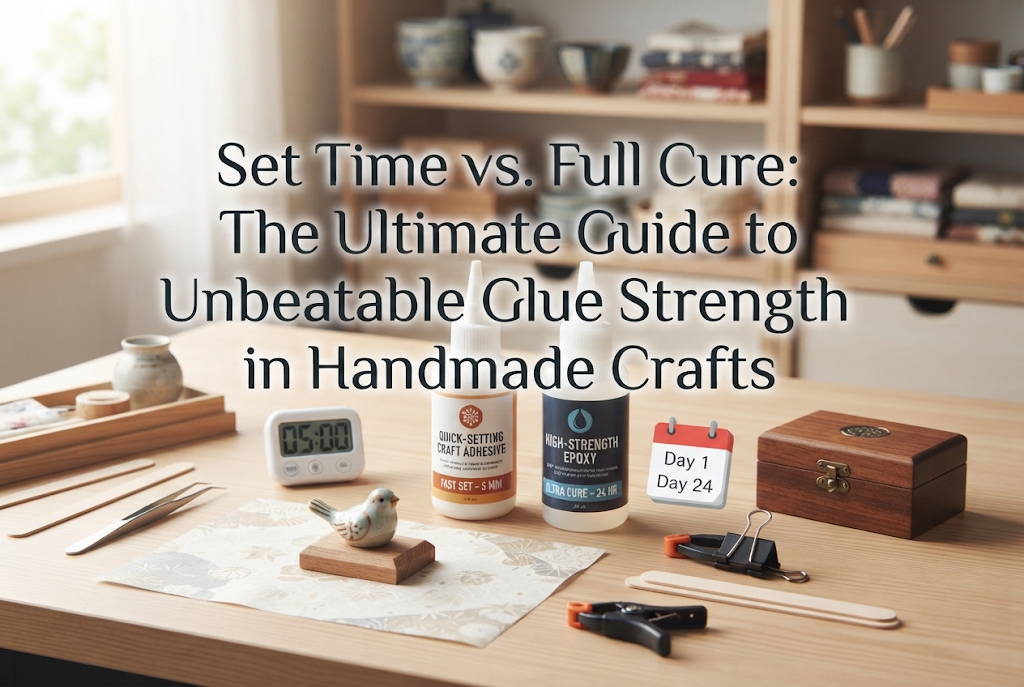
In this article, I will explain the clear differences between set time and full cure that every beginner crafter must know, compare the drying processes of various adhesive types, and share professional curing techniques to ensure your glued parts never come off!
How do you interpret the curing times listed on adhesive packaging? If you misunderstand these numbers, even the strongest glue will fail to reach its intended strength.
First, let's look at the two vastly different states indicated by these terms from a chemical perspective.
Terms on glue packaging like "Set time: 5 minutes" or "Handling time: 15 minutes" refer to the practical cure time—the point at which the item can maintain its shape as long as it is not disturbed.
At this stage, the chemical reaction or moisture evaporation is only about halfway complete. The surface has hardened enough to act as a temporary hold, preventing parts from sliding off when you remove your hands so you can gently move on to the next step.
If strong external force or impact is applied during this window, the uncured inner core will tear easily. Once this bond is broken, it will never reform.
Please remember: reaching the "set time" is by no means the completion of your piece. Consider it merely the stage where parts are less likely to shift if lightly touched.
"Full cure" refers to the state where all chemical reactions or moisture evaporation inside the adhesive are 100% complete, allowing the glue to reach the maximum bonding strength specified by the manufacturer.
This marks the point where molecules have fully bonded, creating a rigid mesh structure or solid resin film. Only in this state can the adhesive withstand pulling forces, drops, and friction during daily use.
If you subject your work to impact or mechanical stress before it reaches a full cure, even an adhesive rated for 10 kg of tensile strength can fail under a load of just a few hundred grams, causing cabochons or metal fittings to drop off.
Allowing the adhesive to reach full cure is an absolute prerequisite before selling your work or using it yourself.
Adhesives naturally harden from the outside surface inward, where they contact external air. This holds true for both water-evaporation glues and moisture-curing types.
When a thin skin forms over the surface, it feels smooth and fully set to the touch. However, deep under the part or at the center of the glued surface, the adhesive remains in a liquid state.
If you shake or wear an item while the core is still wet, the liquid inside will slide, tearing the thin outer skin and causing the part to detach. Relying solely on surface texture is extremely risky.
Adhesives commonly used in handmade crafts are categorized by how they dry. There is a vast gap between set time and full cure time across these different types.
Make sure to memorize the guidelines below for the type of glue you use:
Liquid cyanoacrylate reacts instantly with trace amounts of moisture in the air or on the surface of materials to harden.
It is easy to assume that because it hardens in seconds, it is immediately finished, but that is a major misconception. What you get in a few seconds is merely enough holding power to keep the part aligned.
To develop resistance against shock and reach complete bond strength, it requires a minimum of 12 hours—or ideally 24 hours—of undisturbed curing. Never wear jewelry immediately after gluing it back together.
This type cures via a chemical reaction triggered by mixing equal parts of Resin (A) and Hardener (B). It is the most reliable adhesive for heavy-duty bonding in crafts.
With a 5-minute epoxy, the mixture thickens and stops moving after 5 minutes. However, it takes a full 24 hours for the chemical reaction to finish completely and reach a glass-like hardness.
If applied thickly or used in cold weather, full curing can take up to 48 hours.
This type hardens as the water content inside the adhesive is absorbed by the material or evaporates into the air. It is widely used for bonding fabric, wood, and paper.
Even if it turns transparent and seems immobile, trace moisture remains inside. Do not apply tensile or bending stress until 24 hours have passed and all moisture has evaporated.
A viscous, flexible adhesive widely used for securing rhinestones, metal components, and resin parts.
This adhesive retains rubber-like flexibility even after full cure to absorb impacts. However, because it cures relatively slowly toward the center, it requires at least a full day to cure completely. Heavy applications often take up to 48 hours.
The curing times on product labels are theoretical values tested by manufacturers in standard environments (e.g., 23°C / 73°F and 50% humidity). Curing speed changes drastically depending on your workspace environment.
Understand how these four elements impact your process and prepare your workspace accordingly:
Chemical reactions in adhesives speed up at higher temperatures and slow down significantly at lower temperatures.
When working in a cold room (below 15°C / 59°F) in winter, the full cure time for epoxy and multi-purpose glues can more than double. Something that cures in 24 hours during summer may take over 48 hours in winter.
If crafting in winter, let your pieces cure in a room maintained around 20°C (68°F) using indoor heating.
Humidity affects different glues in completely opposite ways.
Super glues and certain polyurethane adhesives absorb moisture from the air to cure, so extremely dry winter conditions can slow their curing speed.
Conversely, water-based glues and multi-purpose adhesives struggle to release water or solvents when humidity is high, greatly delaying full cure times. Be cautious during rainy seasons.
Thinking "more glue equals a stronger bond" and applying a thick layer is the most common mistake made by beginners.
When the glue layer is too thick, air and moisture cannot penetrate the core. Solvents and water become trapped inside, causing an incomplete cure where the center remains permanently soft and tacky.
The golden rule for adhesives is that a thin, uniform layer across the entire joint cures the fastest and forms the strongest bond.
Extra care is needed when bonding non-porous materials that block air and moisture, such as metal to metal, glass to glass, or plastic to plastic.
If you use a water-based glue that relies on moisture evaporation on non-porous materials, the water cannot escape, and the glue will remain wet even after days.
Identify whether your materials are porous (fabric, leather, wood, paper) or non-porous (metal, glass, resin) and select an adhesive with an appropriate curing mechanism.
When crafting, it is easy to get impatient or accidentally damage your work by trying to help it dry faster.
Having made these mistakes many times in my own early crafting days, I can say with certainty: the following five actions will ruin your bond strength!
Do not open or close metal fittings, flex your work, or pull firmly on parts to test strength just because the glue feels dry a few minutes after application.
Applying force to delicate, forming bonds before full cure causes microscopic tears within the adhesive. As a result, the final bond strength drops to a fraction of its potential, leaving you with a fragile item unfit for sale or use.
Using hot air from a hair dryer to speed up drying is strictly off-limits.
Rapid heating causes trapped solvents to vaporize abruptly, generating numerous internal bubbles. Furthermore, the wind pressure can shift parts by millimeters, and high heat can warp resin or plastic components.
Notice an offset a few minutes after attaching a part and nudging it back into place? Never do this!
Moving adhesive that has already begun to cure snaps the forming polymer chains. Once broken, these chemical bonds will not re-form on their own. If a part shifts, remove it completely, wipe away all glue, and start over from scratch.
Mounding adhesive so high that it oozes out around parts actually weakens the bond rather than strengthening it.
Thickly applied glue forms a hard outer shell while leaving the center liquid and gooey. Even if it looks secure, a light impact will break the outer crust and cause the part to fall off.
Placing a part on top of glue and simply leaving it to dry is another mistake.
Adhesives undergo minor volume changes during curing or can tilt due to gravity. If gaps form between surfaces, air enters, reducing the total contact area and severely compromising strength. You must maintain continuous pressure between surfaces until the glue sets.
To ensure handmade items can be enjoyed for years and delivered safely to customers, here is my complete step-by-step gluing and securing routine!
By following these steps, you can reduce part detachment issues in daily use to zero.
Before applying glue, sand the contact surface of metal or resin parts.
Creating micro-scratches with a metal file or sanding sponge creates an mechanical interlocking action called the "anchor effect," which dramatically increases bond strength. After sanding, wipe away all dust and oil using ethanol.
Using a toothpick or similar tool, spread the minimum required amount of glue evenly across the entire contact area.
When using multi-purpose or solvent-based adhesives, do not press parts together immediately after applying glue.
Allow an "open time" of 1 to 3 minutes for the applied glue to flash off excess solvent in the air. Joining parts when the glue becomes slightly tacky boosts initial tack dramatically and prevents parts from slipping.
Once joined, press the parts firmly together with your fingers for a few seconds to squeeze out air bubbles.
Next, physically secure the parts so they cannot move at all until set time is reached. I use different securing tools depending on the item's shape:
If parts cure at a tilt, the actual contact area shrinks, making them peel easily. Keeping parts perfectly horizontal using sponges or adhesive putty is a key professional technique.
After securing your piece, place it inside a covered box or drawer to protect it from dust.
Maintain a room temperature between 20°C and 25°C (68°F–77°F). If your room is cold in winter, place the curing box in a warm space or run room heating. (Remember: direct hot air blowers or placing items right next to heaters is strictly prohibited!)
Once secured, use a timer or calendar to track your hands-off curing period.
Even if the package states a "5-minute set time," I strictly enforce a full 24-hour curing period for my work. Pieces glued at 6:00 PM are left untouched until 6:00 PM the following day. Final packaging and hardware testing are only conducted after this 24-hour full cure.
This patience and willingness to wait is the ultimate secret to maximizing the quality and reliability of handmade crafts.
Even with careful attention, parts can tilt or excess glue can squeeze out. Stay calm and use these recovery techniques:
If you notice a alignment issue while the set time is still progressing, do not force the part back into position.
While the glue is not yet fully hardened, saturate a cotton swab with rubbing alcohol (ethanol) or specialized adhesive remover, applying it gently along the bond line.
Slowly detach the part and carefully clean off the soft glue residue from the surface using a toothpick or sanding tool. Once restored to a clean state, reapply fresh adhesive and start over.
If a part breaks off after curing completely, a film of old adhesive remains on the material surface.
Applying fresh glue over old adhesive is ineffective because the new layer will simply peel off along with the old film underneath.
Use a craft blade or sander to scrape away the old glue scab completely until the bare substrate is exposed. Sand the surface again, degrease with ethanol, and re-glue from scratch. Taking time for this preparation is essential to prevent repeat failures.
Understanding the difference between set time and full cure—and applying proper curing techniques—is essential for every serious crafter.
Let’s review the key takeaways:
In handmade crafting, applying glue takes only a few seconds or minutes. But the most important step is the patient waiting time that follows.
By respecting the full cure process, the durability and reputation of your handmade work will improve dramatically!
Master these gluing techniques to create wonderful, long-lasting pieces that your customers and gift recipients can treasure with confidence. I’m cheering you on!
If you found this article helpful, please share it with your fellow crafting friends on social media or messaging apps! See you in the next article! This was Yassy from Crafters!


For example, if you are looking for articles about mizuhiki, try searching for "mizuhiki"; if you are interested in tools, try keywords like "nippers" or "pliers."
