Types of Japanese Needle Felting Wool: A Complete Material Guide to Elevate Your Craft
yassy
Crafters!

Hello, it's Yassy from Crafters! (・∀・)
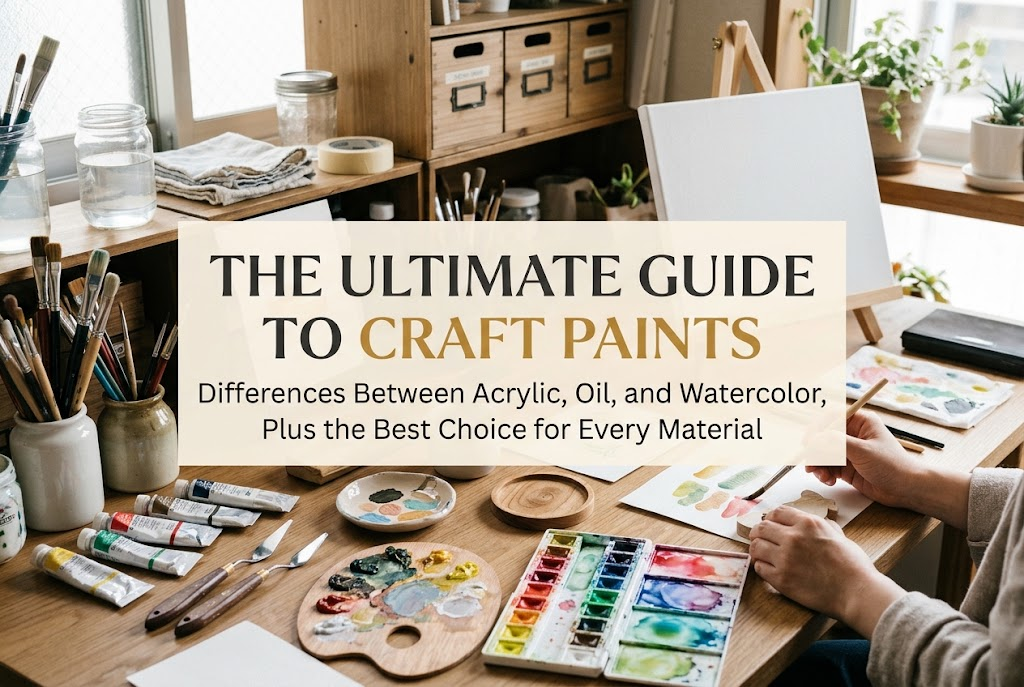
When creating handmade crafts, paint is an indispensable tool for finishing touches and coloring work. Over the years, I have enjoyed a wide variety of craft genres—from clay work and woodcrafts to fabric items and miniatures. Whenever I visit the paint section of a craft store, standing before rows of colorful paint tubes fills me with excitement. I love buying and looking at paints, and whenever I spot a new type, I instantly want to try it out.
However, one of the most common issues I hear from craft beginners is: "There are so many types of paint that I don't know which one to choose," "I painted my craft with the watercolors I had at home, but the color washed off after drying," or "When I applied paint to a smooth surface, it just repelled and bubbled up."
Not all paints are created equal. Each type of paint has distinct curing methods, post-drying characteristics, and ideal base materials. If you select a paint that is incompatible with your material, even the most meticulously crafted piece can end up ruined over time—with paint peeling off in sheets or turning sticky and attracting dust.
In this guide, I will thoroughly explain the main paint types used in handmade crafts, their unique characteristics, how to select the best option for each material, and pro painting techniques to prevent failures. By reading this guide, you will know exactly which paint suits your project best, dramatically elevating your finished work's quality. Let's dive in!
In the world of crafts, paint is far more than a simple coloring tool. It is one of the most critical elements determining your project's texture, durability, and overall quality.
The most common trap beginners fall into is assuming, "I still have watercolor paints from elementary school, so I'll just use those." This line of thinking is where many craft projects go wrong.
Standard school watercolor paints are designed specifically for use on paper. Consequently, even after they dry, they easily dissolve upon contact with moisture. If you paint a clay piece or woodcraft with watercolors, moisture or sweat from your hands can cause the color to bleed, or applying a varnish topcoat can instantly wash away your hard work in a muddy mess.
When choosing paint for a project, always evaluate these three key points:
Choosing paint without considering these three criteria often leads to frustration mid-project. To keep your handmade creations looking beautiful for years to come, understanding material and paint compatibility is essential. Let's build a solid foundation of paint knowledge together.
Several primary types of paint are used in handmade crafts. Below is a detailed look at their features, strengths, and weaknesses.
Acrylic paint is the most frequently used and essential paint to have in your craft stash. If you are ever unsure of what to choose, acrylic paint is almost always a safe bet.
Acrylic paint uses acrylic resin as a binder (the component that holds pigments together). Its greatest advantage is that it thins with water during application, yet becomes completely water-resistant once dry. Upon drying, it forms a hard, plastic-like film that will not dissolve even if exposed to water.
Additionally, acrylic paints offer vivid color payoff and fast drying times, significantly speeding up your workflow.
Acrylic paints generally fall into two main categories: Standard Acrylic Paint (glossy to semi-gloss, semi-transparent) and Acrylic Gouache (matte finish, high opacity).
Standard acrylic paint allows underlying colors to show through slightly when layered, making it perfect for soft gradients and translucent expressions. On the other hand, acrylic gouache dries to a flat matte finish with exceptional coverage that completely hides the layer beneath. Acrylic gouache is ideal when you want to paint solid, even areas like an illustration or completely cover up a base color.
In addition, acrylic paints vary in viscosity: Heavy Body comes in tubes with a thick texture for dimensional brushwork, while Soft Body flows smoothly for flat, seamless coverage over larger areas.
Watercolor paints use gum arabic as a binder. While their use in general crafting is specific, they excel at unique, delicate expressions.
Watercolors are divided into transparent watercolors and opaque watercolors (such as poster colors). Transparent watercolors create soft, ethereal gradients when mixed with plenty of water. They are effective for papercrafts, miniature paper backgrounds, and adding subtle color tones to paper quilling.
However, their main drawback is that they remain water-soluble even after drying. Because moisture will smudge the paint, protecting the finished piece with a waterproof clear seal spray is mandatory.
Watercolors are also repelled by smooth plastics, metals, and resin clay surfaces. As a rule, limit watercolor use to paper or unglazed ceramic materials that absorb water.
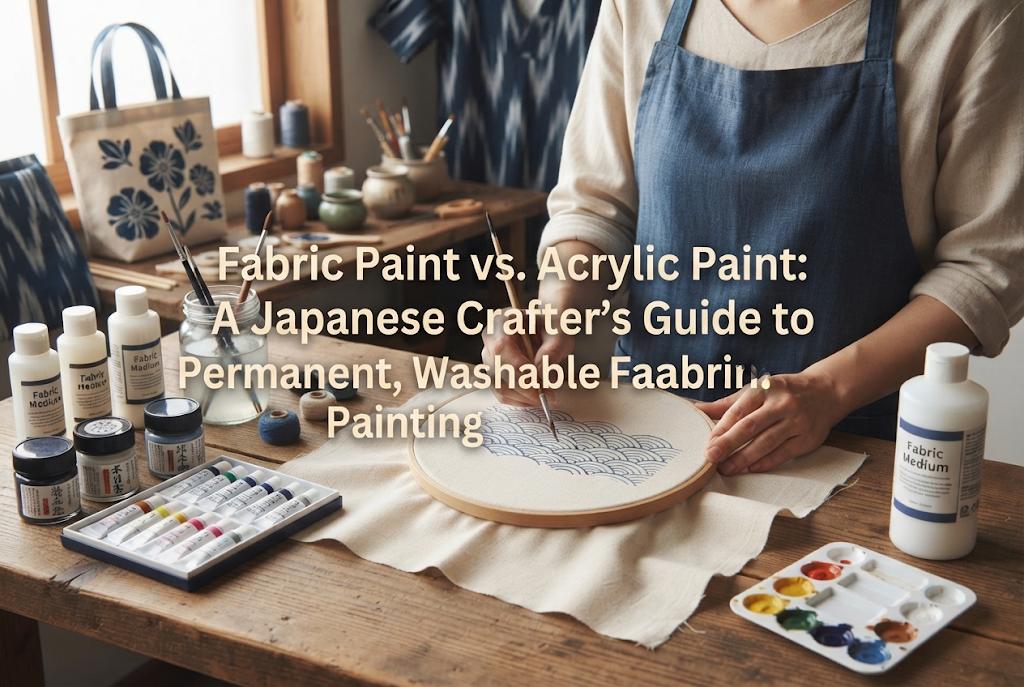
When adding color to fabric items such as tote bags, T-shirts, or pouches, always use dedicated fabric paints.
While regular acrylic paint can be applied to fabric, it dries rigid. As a result, folding the fabric causes the paint film to crack, and washing the item will cause the paint to flake off.
Fabric paints contain specialized elastic additives within the acrylic resin. Once dry, the paint layer remains soft and stretches with the fabric's movement. It resists washing without fading and keeps the fabric feeling soft rather than stiff.
To set fabric paint, let it dry completely on the cloth, then heat-set it by ironing over a pressing cloth. Heat bonds the fixative deep into the fibers for exceptional durability.
If you want to paint patterns on glass bottles, tumblers, or ceramic tableware, use glass and ceramic paints.
Because glass and ceramic surfaces are non-porous and smooth, standard paint can easily scratch off with a fingernail. Glass paints utilize specialized resins designed to adhere tightly to slick surfaces.
These paints come in two varieties: air-dry types that cure at room temperature, and oven-bake types cured in a household oven. For decorative items or accessories, air-dry options work well. However, if you plan to use and wash the item as functional tableware, choose oven-bake paint. Heat-baking bonds the paint firmly, making it durable enough for dishwasher cleaning.
These paints also offer beautiful, stained-glass-like transparency that lets light shine through.
Oil paint consists of pigment ground with drying oils like linseed oil. Although it takes days or weeks to dry, it delivers unmatched richness and depth of tone.
In crafts, oil paint is rarely used to cover entire surfaces; instead, it shines in aging techniques (antique distressing) and tinting clay from within.
For example, dabbing a tiny bit of oil paint into the grooves of a woodcraft or leather piece and wiping away the excess instantly creates an aged, vintage patina. Here, slow drying becomes an advantage, giving you plenty of time to blend and wipe until you achieve the desired look.
Similarly, scraping oil pastels into a fine powder and rubbing it onto clay surfaces with a finger or sponge easily creates realistic baked crust effects on clay bread miniatures or a soft blush on sweets deco creations.
Now that we have covered paint characteristics, let's examine which paint pairs best with specific craft materials.
Coloring clay can be done in two ways: kneading color into the raw clay, or painting the surface after it dries.
For kneading color in, use acrylic paint or oil paint. Kneading a small amount of oil paint into resin clay slows its drying time slightly while preserving translucency and yielding rich color. Avoid kneading watercolors into clay, as their high water content makes the clay sticky and unworkable.
For surface painting, acrylic gouache is ideal due to its fast drying time and solid opacity. It works wonderfully for fine details on miniature food and sweets deco fruits.
Wood naturally absorbs liquid paint. Your paint choice depends on whether you want to completely cover the wood grain or highlight its natural texture.
To obscure the grain for a vibrant, uniform look, select acrylic gouache. Its high opacity cleanly covers variations in the wood grain.
If you prefer to showcase the natural warmth of the wood grain, dilute standard acrylic paint with water or use a dedicated wood stain. Thinning acrylic paint allows it to soak into the wood fibers, creating a soft, rustic finish.
Smooth plastic surfaces like shrink plastic repel wet paint due to surface tension.
The secret to painting shrink plastic is to lightly sand the surface with fine sandpaper before applying acrylic gouache.
Gently scuffing the surface with #400 to #800 grit sandpaper creates micro-grooves. These tiny scratches give the paint something to grip onto, allowing it to adhere smoothly without bubbling. For vivid colors, paint acrylic gouache on the backside of translucent plastic to give the front a polished, deep appearance.
Even with the right paint, poor application can compromise your work. Here are professional painting techniques to drastically boost the finish and durability of your pieces.
Before applying color to your project, get to know gesso. Gesso is a primer made of acrylic resin mixed with white pigment and fine particles. Applying it fills tiny surface imperfections and dramatically improves paint adhesion.
When painting dark wood, plastic, metal, or plaster surfaces, avoid applying your main paint directly. Instead, apply a thin coat of white or clear gesso, let it dry, and then layer your paint on top.
This simple prep step makes paint colors appear vibrant and ensures the paint layer won't flake off over time. I always use gesso when I want a top-quality finish.
A common beginner mistake is applying thick paint directly from the tube to get full coverage in one stroke. Thick paint dries on the surface while remaining wet underneath, leading to cracking and peeling later.
The golden rule for a smooth finish is to dilute paint slightly with water and apply thin, multiple layers.
Apply the first layer thin enough that the background shows through slightly, and let it dry completely. Then apply a second and third thin layer, alternating your brushstroke direction (e.g., vertical strokes for the first layer, horizontal for the second). This approach eliminates brushmarks and results in a smooth, factory-quality finish.
Once the paint has dried completely, seal your creation with a finishing varnish (topcoat).
Even water-resistant acrylic paint can scratch under friction. Applying a clear varnish layer protects your piece against color fading, skin oils, and scratch marks.
Varnishes come in gloss and matte finishes:
Matching the varnish finish to your project's concept elevates its visual appeal.
Here are proven solutions to three common painting issues crafters encounter:
Cause: The paint is too thick, or your brush bristles are too stiff.
Solution: Mix a little more water into your paint. This helps the paint level itself out naturally across the surface. Also, switch from stiff bristle brushes to soft synthetic nylon flat brushes. Glide the brush lightly over the surface without applying heavy pressure.
Cause: The material surface is too smooth for the paint to grip.
Solution: Sand the surface lightly with fine sandpaper before painting, or spray a multi-primer (adhesion promoter) designed for plastic and metal. Primers act as a strong bridge between the material and the paint.
Cause: The base paint layer wasn't completely dry before varnishing, or the paint and varnish are incompatible.
Solution: While acrylic paint may feel dry to the touch within minutes, moisture trapped inside takes several hours to a full day to evaporate completely. Applying varnish over damp paint traps moisture and solvents, resulting in tackiness. Allow paint to dry for at least 12 to 24 hours before applying varnish. For best results, use a water-based acrylic varnish over water-based acrylic paint.
Taking care of your tools ensures your brushes and palettes last a long time.
Because acrylic paint dries quickly, leaving used brushes unattended will cause paint to harden at the base of the bristles, ruining the brush. While working, keep unused brushes submerged in a water container.
When you finish your crafting session, wash your brushes thoroughly using lukewarm water and mild soap, gently massaging paint out from the base of the bristles. Reshape the brush tips and lay them flat or hang them tip-down to dry.
For palettes, disposable paper palettes are convenient. You can simply peel off and discard the top sheet, avoiding the risk of clogging sink drains with hardened acrylic paint.
Selecting the right paint is a key step toward craft success. Let's recap the main takeaways:
Once you understand how paints interact with different materials, you can craft confidently without worrying about peeling or fading paint. Finding the perfect paint brings your creations to life and makes crafting even more rewarding!
If you found this guide helpful, please share it with your craft friends on social media! See you in the next article—this was Yassy from Crafters!



For example, if you are looking for articles about mizuhiki, try searching for "mizuhiki"; if you are interested in tools, try keywords like "nippers" or "pliers."
