Why Bath Bomb Colors Bleed: Causes and Techniques for Clean Multicolor Designs
yassy
Crafters!

Hello everyone, Yassy from Crafters here! (•∀•)
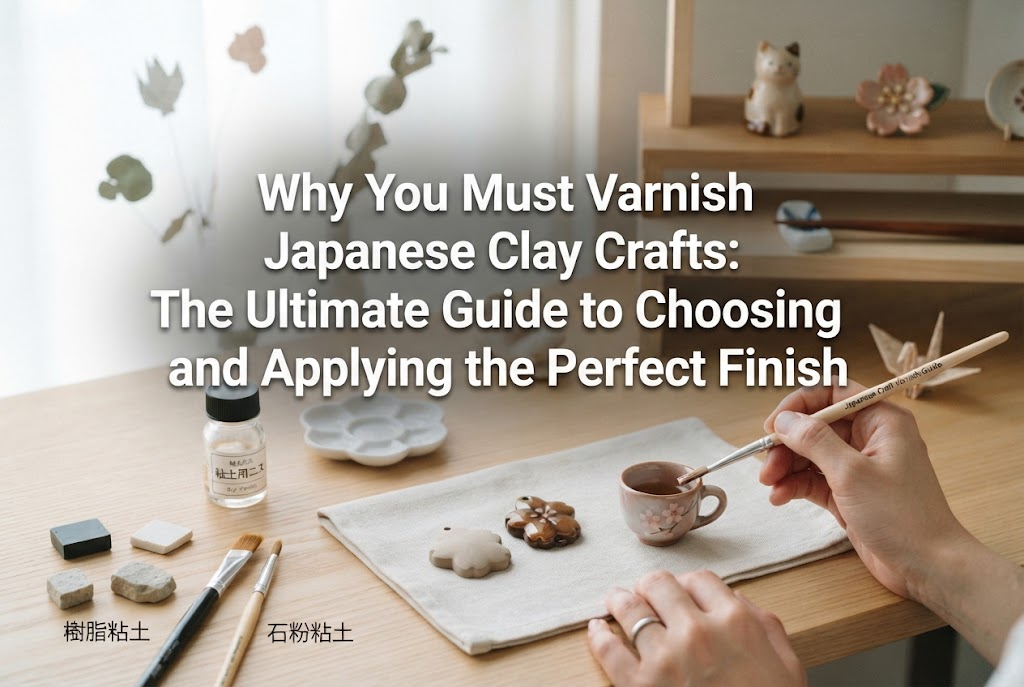
When making handmade clay items, after you shape and paint your piece to your satisfaction, there is one crucial step that often brings hesitation: applying the final varnish coat.
Many crafters ask themselves, "Since I painted this so nicely, do I really need to apply varnish?" or "What if varnish ruins my hard work?" As a result, many people skip varnishing altogether.
However, let me be very clear: in clay craft, varnishing is not just an optional extra step. It is an essential finishing process that breathes life into your piece, elevates its finish to a professional level, and preserves its beautiful condition for years to come.
Having made countless clay pieces myself and examined or purchased works from many clay artists, I am completely convinced of one fact: knowing how to choose and apply varnish correctly creates a night-and-day difference in both the quality and durability of your work.
In this guide, I will share all of my experience and knowledge—covering the absolute reasons why you must varnish clay crafts, how to choose the right varnish according to the type of clay, techniques for gloss and matte finishes, and golden rules to eliminate common beginner mistakes. By reading to the end, you will never hesitate when selecting or applying varnish again!
If you ever wonder why you should spend extra time coating a clay piece you worked hard to build, here are four definitive reasons. Once you understand them, skipping varnish will no longer be an option!
Clay hardens as it dries, but its surface remains delicate. Keychains, bag charms, and decorative home items are constantly exposed to skin oils, dust, and humidity in daily life.
Applying varnish creates a strong, transparent protective layer over the surface. This barrier repels water drops and prevents oils from your hands from sticking. Even if water accidentally splashes on your work or you handle it frequently, the underlying clay remains completely protected from damage.
Clay pieces painted with acrylics, pastels, or watercolors can peel due to surface friction or fade under exposure to light and ultraviolet rays over time. It is heartbreaking to watch delicate gradations or hand-drawn patterns wear away.
Coating your piece with a varnish that offers UV protection or weather resistance seals the paint layer entirely. This protects the painted surface from external friction and shields it from sun damage, keeping the colors as vivid and beautiful as the day you finished them.
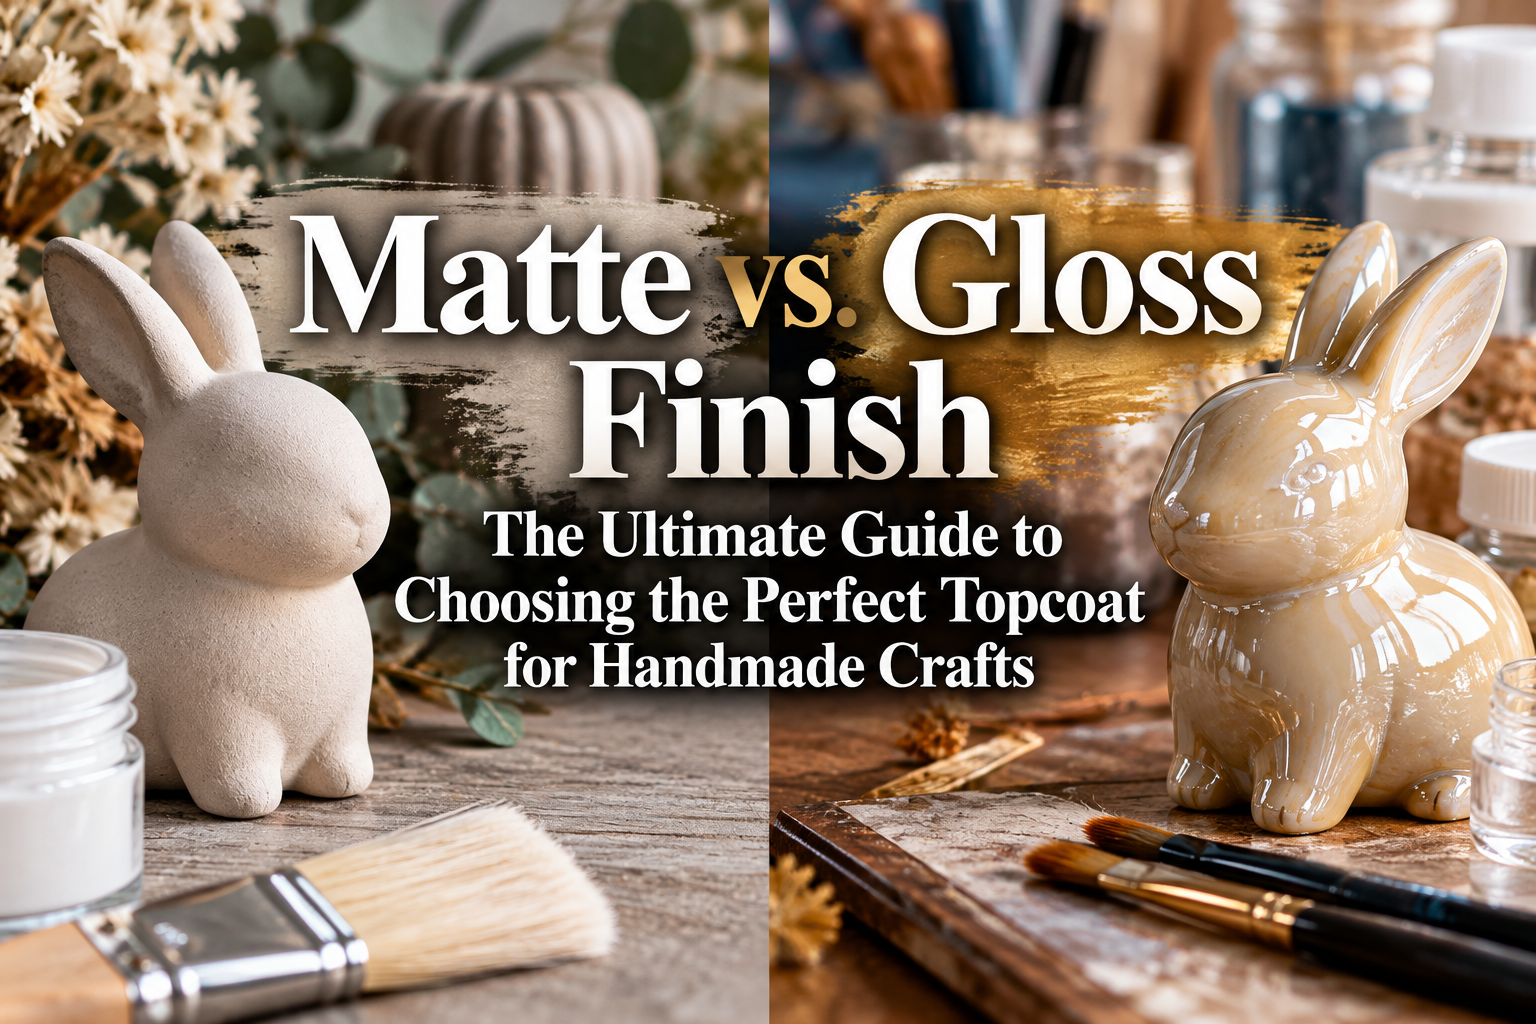
Varnish is not merely a protective tool; it is a powerful medium for expressing texture tailored to your design.
For instance, applying a gloss varnish to miniature sweets or fruit crafts creates a juicy, syrup-like sheen that looks completely real. Conversely, applying a matte varnish to miniature bread, cookies, or ceramic-style home decor recreates the fresh-baked texture or an elegant, non-reflective ceramic feel. Switching varnishes intentionally boosts both realism and sophistication.
A common issue when working with materials like resin clay is that the dried surface can retain a slight stickiness that attracts fine dust from the air. Once dust embeds into the clay surface, it becomes almost impossible to remove, making the piece look old quickly.
Allowing a coat of varnish to cure completely hardens the surface and cures any residual tackiness. The surface transforms into a smooth or velvety texture, making it easy to blow or wipe away any dust light as a feather.
Handmade crafts utilize various types of clay. Because clay properties differ, varnish compatibility and application techniques vary as well. Here is what you need to know for each material.
Resin clay dries into a smooth texture with good flexibility and durability, making it the most popular choice for miniature food and accessory components.
Although resin clay is sturdy, its surface tends to remain slightly moist or tacky after drying, which easily attracts dust. Because of this, varnishing resin clay pieces is absolute necessary. Applying varnish removes surface stickiness and greatly enhances water resistance. Water-based acrylic and water-based polyurethane varnishes pair exceptionally well with resin clay, giving a stunning result.
Lightweight clay is soft, fluffy, and easy to handle, but its biggest weakness is extreme sensitivity to moisture. Even a few drops of water can cause the surface to melt or lose its shape.
To make lightweight clay crafts last, coating them with a highly water-resistant varnish is an absolute requirement. However, because lightweight clay readily absorbs liquid, the first coat of varnish may soak into the clay and alter its surface texture slightly. The key to success is applying a very thin initial layer, letting it dry completely, and building up two or three thin layers to form a robust shield.
Stone powder clay dries rock-hard and is widely used for brooches, sculpted figures, and ceramic-style decor. It excels at carving and sanding, but its porous nature means it absorbs moisture and dirt very easily.
If you paint stone powder clay and leave it unvarnished, dirt and hand oils will soak deep into the material and become impossible to clean. Additionally, edges can chip upon impact. Coating it in varnish solidifies the surface. Stone powder clay looks fantastic with either a deep matte finish or a glossy porcelain-like sheen.
Paper clay is accessible and lightweight, but its fibrous nature leaves it susceptible to absorbing ambient humidity after drying, which can cause it to soften or crumble at the surface over time.
Varnishing paper clay is essentially a structural reinforcement process. Allowing the varnish to soak in and form a top layer hardens the outer shell, shielding the piece completely from daily moisture changes.
When searching craft stores or online shops, you will encounter many varnish options. Here is how to select the right one without fail.
Varnishes fall into water-based and oil-based categories. For handmade clay crafts, there is practically no need to use oil-based varnishes. Oil-based products emit strong odors, require solvents to wash brushes, and carry a high risk of yellowing over time.
Your two best choices are Water-Based Acrylic Varnish or Water-Based Polyurethane Varnish.
Varnish comes in liquid bottles for brush application or spray cans. Understanding their features helps you match them to your craft shape.
Check the product label to match the aesthetic you want to achieve.
Applying varnish without proper technique can lead to common pitfalls. Here are four frequent mistakes beginners face and how to avoid them completely.
The varnish feels dry to the touch but remains tacky, or a white, cloudy haze forms over the surface. This is almost always caused by applying varnish too thickly or insufficient drying time.
When thick varnish is applied in one heavy layer, the top surface dries first and creates a film, trapping moisture inside. This trapped moisture causes stickiness and cloudiness.
Prevention Tip: Always apply varnish in thin, even coats. Never try to finish in one attempt. Apply a thin layer, let it dry completely, then add a second or third thin coat.
Applying varnish over acrylics, watercolors, or marker details causes the paint to bleed or smudge, ruining fine linework.
This occurs when the underlying paint layer has not cured completely before varnishing, or when the brush is rubbed repeatedly over the same spot. Water-soluble paint layers can re-dissolve under liquid varnish.
Prevention Tip: Allow painted pieces to dry for at least 24 hours before varnishing. When applying varnish, load the brush generously and glide it gently over the surface in single strokes. Avoid brushing back and forth over the same spot.
Grooves and brush marks remain visible on the dry surface, creating an uneven finish. This is caused by using stiff brushes or repeatedly touching varnish as it starts setting.
Prevention Tip: Always use a flat brush with soft synthetic (nylon) bristles. Because varnish dries quickly, never re-brush an area that has started to dry. If the varnish feels too thick, dilute water-based varnish with a tiny amount of water (under 5% of total volume) to make it glide smoothly.
After some time, the varnish film begins to flake or peel away from the clay. This happens when the underlying clay was not 100% dry before varnishing; moisture escaping from inside pushes the varnish film off. Residual oils or dust on the surface can also prevent proper adhesion.
Prevention Tip: Let your sculpted and painted clay pieces dry completely. Even if the exterior feels dry, the core may still hold moisture. Allow 3 days to a full week of drying time in a well-ventilated space before applying varnish. Clean off any surface dust with a soft brush prior to coating.
Here is my personal step-by-step process for achieving a flawless finish every time.
Ensure your sculpted and painted clay piece is entirely dry to its core. If the piece feels cool to the touch or heavy, moisture remains inside. Wait until it reaches room temperature and feels lightweight before proceeding.
Dust in the air is the biggest enemy during varnishing. Clean your workspace a few hours in advance so dust settles. Line your table with newspaper or parchment paper. Gently sweep fine dust off your craft using a clean, soft brush or air blower. Wash your hands to remove any lotion or oils that might repel varnish.
Tilt and gently swirl the varnish bottle to mix settled ingredients. Never shake the bottle vigorously, as shaking introduces tiny air bubbles that will transfer onto your piece. Pour a small amount into a palette or dish. Load a soft nylon flat brush and wipe excess varnish on the container rim. Glide the brush smoothly in one direction from top to bottom across the craft. Work efficiently without repeating strokes on the same spot.
Elevate your piece while drying (for example, resting it on toothpicks or craft drying sponge). Covering it with an inverted cardboard box or plastic container protects it from airborne dust. Once completely dry to the touch and smooth, apply the second coat. Move your brush perpendicular (at a right angle) to the direction of your first coat to ensure an even layer. Add a third layer if extra protection is needed.
Let the piece cure for 12 to 24 hours. Hold the finished piece up to the light to inspect it. If you see a smooth, uniform protective layer with no missed spots, your professional-quality varnish application is complete!
Once you master basic application, try these advanced techniques to elevate your crafts further.
You do not need to use the same varnish finish across an entire piece. Combining finishes creates incredible realism.
For example, when making a miniature strawberry tart: coat the pastry base with a matte varnish to give it a realistic, baked biscuit look. Then, use a small brush to apply a thick layer of gloss varnish specifically over the strawberries and fruit sauce. Combining matte and gloss finishes within a single creation produces stunning contrast and depth.
Matte varnish contains microscopic flattening agents that settle at the bottom of the bottle. While thorough mixing is required before use, shaking creates persistent air bubbles.
When using matte varnish, insert a stirring stick or wooden skewer into the bottle and gently stir from the bottom up. This disperses the matting agent smoothly without creating bubbles, yielding a flawless, velvety matte finish.
A: For practice pieces or personal indoor decorations, budget water-based varnishes work fine. However, if you plan to sell your work or make practical items like keychains, use specialized varnishes from reputable craft manufacturers. Professional craft varnishes offer superior water resistance, adhesion, UV stability (anti-yellowing), and durability over long-term use.
A: UV/LED or epoxy resins form a thick, hard plastic layer that provides high strength and a domed, glassy finish. Varnish, on the other hand, forms a thin, uniform protective film that preserves the original sculpted lines and fine surface details of the clay. Use resin when you want a thick, glossy casing, and use varnish when you want to preserve the clay's delicate natural texture or create a matte finish.
A: Once water-based acrylic or polyurethane varnish dries completely on brush bristles, it cannot be dissolved with water. Wash your brushes within minutes of finishing using lukewarm water and mild soap, working down to the base of the bristles. If varnish hardens, brush cleaner solvent can help soften it, but preventing it by washing immediately is always best!
Varnishing is the single most important final step in completing your clay crafts. Even if it felt intimidating before, following these correct steps guarantees great results every time!
Let's review the key takeaways:
Rolling clay, painting details, and applying that perfect final clear coat is one of the most satisfying parts of craft making. Once you master varnishing, your handmade clay pieces will look gorgeous and stay durable for years to come!
If you enjoyed this article, please share it with your craft friends! See you in the next guide—this was Yassy from Crafters!


For example, if you are looking for articles about mizuhiki, try searching for "mizuhiki"; if you are interested in tools, try keywords like "nippers" or "pliers."
