Japanese Glass Art Upgrade Guide: 4 Essential Tools to Replace After Your Starter Kit
yassy
Crafters!

Hello, crafters! It's Yassy from Crafters! (・∀・)
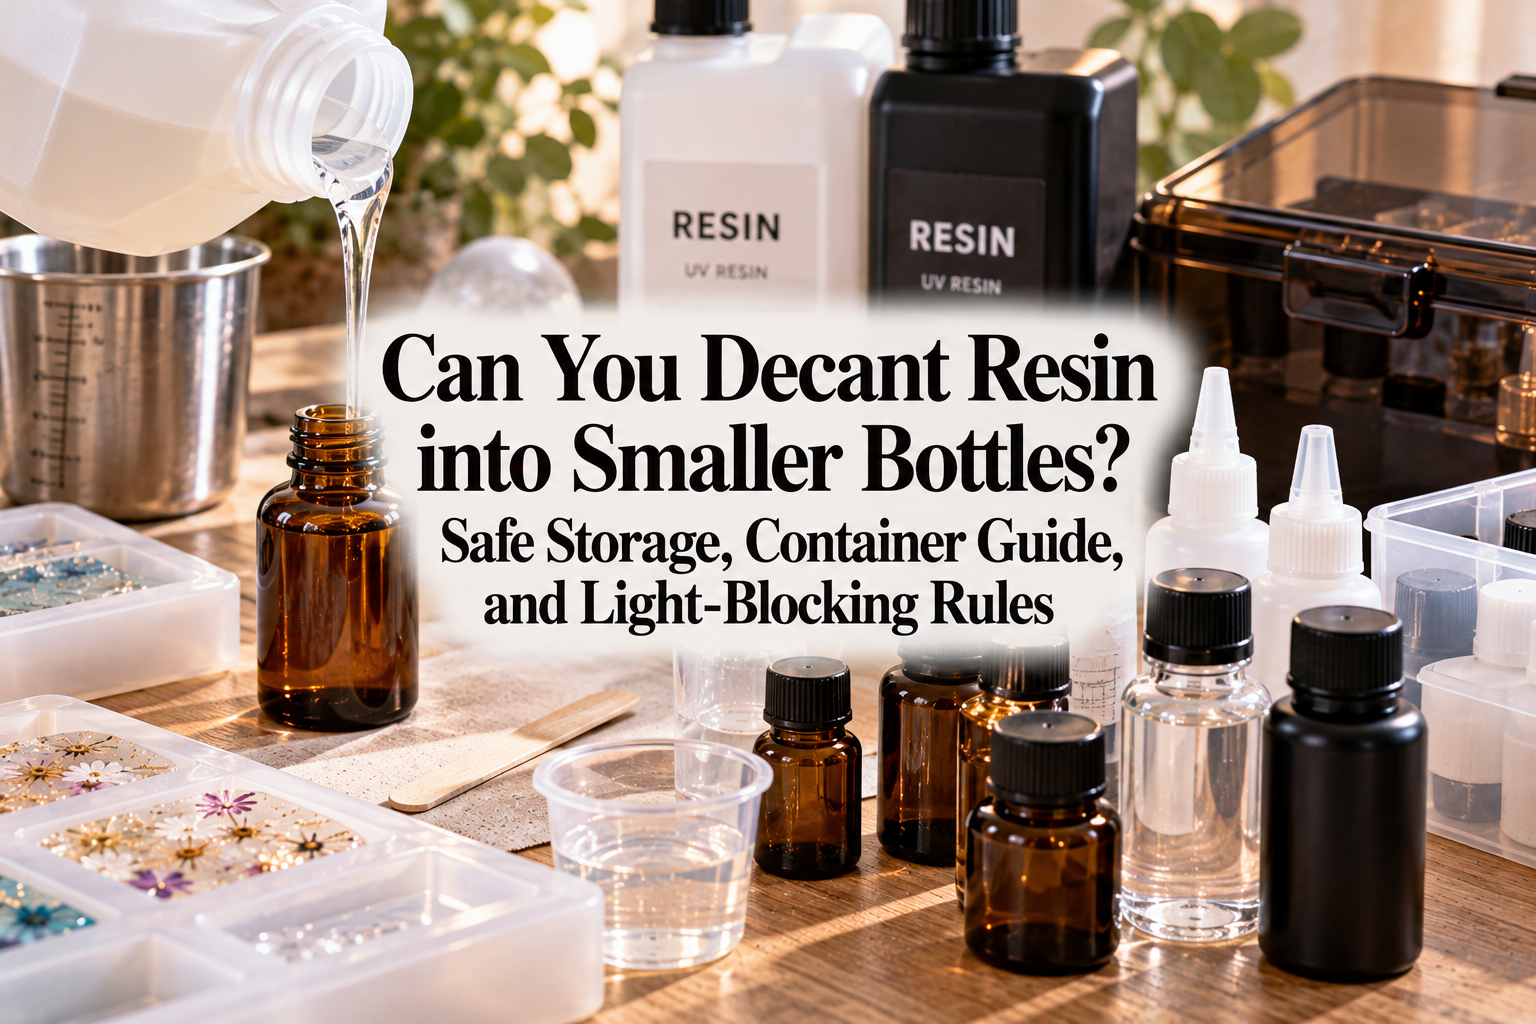
Whenever you purchase large-capacity resin bottles—like 500g or 1kg—from craft supply stores or online shops, you've likely wondered if you can transfer it into smaller, more manageable bottles. Buying in bulk is cost-effective because the price per gram is much lower, but working directly from a bulky, heavy bottle on your crafting desk makes fine dispensing and precise control quite difficult.
I personally love making resin art, admiring creations by other talented crafters, and collecting adorable craft supplies. Because of that, I am particularly passionate about managing materials properly and maintaining our tools to maximize workflow efficiency.
To answer the big question right away: Yes, you can definitely decant and store resin liquid into smaller bottles! However, doing so requires meeting two strict, non-negotiable conditions: choosing the right container material and completely blocking out light and air.
If you overlook even one of these conditions and use whatever container you have lying around, the resin will either cure inside the bottle, melt the plastic container itself, or degrade into a defective liquid that refuses to cure properly. In this guide, I will thoroughly explain the essential rules of decanting resin and share foolproof storage techniques to prevent common beginner mistakes!
Transferring resin from a large bottle into an easy-to-use small squeeze bottle dramatically improves handling. With a small bottle, you can accurately direct resin into tiny mold crevices while drastically reducing wrist fatigue.
However, uncured resin is a delicate chemical substance. Unlike simple water or acrylic paints, it reacts directly to environmental factors. To succeed in decanting resin, you must maintain complete control over two elements: the container material and light exposure.
If you skip understanding these two factors and simply think, "I'll just put it in a cute condiment squeeze bottle or travel lotion container from the 100-yen shop," you will almost certainly ruin your resin. First, let's clarify how UV/LED resin and epoxy resin differ when it comes to decanting.
While we refer to both as "craft resin," the two main types used in handmade crafting—UV/LED resin and epoxy (two-part) resin—follow completely different rules for decanting.
The single most common mistake when transferring resin is picking the wrong container material. In its liquid state, uncured resin behaves much like a harsh organic solvent. Not just any plastic will do.
If you pour resin into an incompatible material, the resin will dissolve the plastic, causing the container to deform and leak. Worse, the dissolved plastic components will contaminate the resin, resulting in permanent curing failure. Always check the recycling code or material label on the bottom of the bottle or on its packaging before buying.
There are three primary materials that can safely store resin liquid over time. Always ensure your containers are made from one of the following:
Most commercial resin bottles from major brands are made of PE or PP. When shopping for decanting bottles, checking for "PE" or "PP" markings is your first mandatory checkpoint.
Many readily available plastic containers will lead to disaster if filled with resin. Avoid the following materials at all costs:
Never pick a container just because it looks cute or comes in a cheap multi-pack without verifying the material. A melted bottle leaking resin across your workbench or floor creates an enormous cleanup headache and wastes your precious supplies.
Once you have confirmed a safe material, check the nozzle design. The tip of the bottle dictates your working precision.
If the nozzle opening is too wide, you will not be able to dispense resin drop by drop, causing overflows in small silicone molds. Choose bottles featuring a fine precision tip or a dropper cap.
Verify that the nozzle and cap are also made of PE or PP. A secure, screw-on cap that protects the tip is ideal. Snap-on flip caps have a high risk of popping open under pressure or if knocked over, so stick to threaded screw caps.
Acquiring the right container material is only half the battle. Next, you must completely block out light and air (oxygen and ambient humidity).
UV/LED resin is far more sensitive to light than many crafters realize. Simply keeping it away from direct sunlight is not enough. Fluorescent bulbs, indoor LED fixtures, ambient sunlight filtered through window curtains, and even screens from laptops or smartphones emit faint amounts of UV or reactive light wavelengths. If stored in a clear or translucent PE/PP bottle in an open room, invisible reactions begin, turning your resin into a thick jelly or a solid block within days.
Most PE and PP bottles sold for general use are translucent or transparent. You cannot use them as-is for storing UV/LED resin without adding complete light-blocking measures.
The simplest and most effective method is wrapping aluminum foil tightly around the bottle from the base all the way up the sides. Because aluminum foil is metallic, it blocks 100% of all light wavelengths. Wrap it securely and fix it in place with black vinyl tape or masking tape so it does not peel off.
The nozzle and cap can also let light in. When not in use, place the entire bottle inside a black light-blocking zipper pouch (aluminum foil pouch). Thick foil zip pouches—readily available at craft shops, discount stores, or online—not only shut out light, but also act as a protective barrier in case of accidental leaks.
Alternatively, you can buy commercially manufactured opaque black PE bottles. However, some cheap black plastic bottles can still let faint light pass through, so even with black bottles, keeping them tucked away in a dark drawer or cabinet is the safest practice.
Alongside light, oxygen and humidity are major culprits in resin degradation. Prolonged exposure to air causes resin to absorb moisture, turning cloudy or remaining persistently tacky after curing.
When transferring resin, avoid leaving excessive empty headspace inside the bottle. If you pour only 10ml of resin into a 50ml bottle, the large volume of trapped air will accelerate oxidation.
The ideal target is filling the bottle to roughly 80% to 90% capacity, keeping air space minimal before tightening the cap securely. If the cap is loose, capillary action can cause resin to creep up the screw threads, creating a sticky mess around the rim. Always clean any resin residue off the bottle threads with a lint-free wipe before sealing tightly.
Many crafters like to mix custom colored resin or blend glitters and holograms in larger batches to save time and ensure consistent coloring across multiple pieces.
My verdict on pre-mixing batches: It is acceptable for short-term use (finishing within one month), but strictly unsuitable for long-term storage.
Clear, pure resin liquid behaves very differently from resin mixed with colorants. Additives introduce physical and chemical shifts during storage.
When tinted resin sits idle, separation and sedimentation inevitably occur depending on the medium used:
To remix settled pigments, you would have to shake the bottle vigorously or stir it with a stick. Shaking a narrow squeeze bottle introduces millions of microscopic bubbles into the resin. Removing micro-bubbles from a small dispenser bottle is extremely difficult and will leave your finished pieces riddled with unwanted air pockets.
The moment you stir colorants or glitter into resin, its countdown to expiration begins. Certain chemical elements in colorants can interact with the photoinitiators, gradually thickening the liquid even in total darkness.
The recommended storage limit for custom-tinted resin is one month at most. Beyond one month, you may notice fatal signs of degradation:
Once resin reaches this stage, it cannot be salvaged. To avoid wasting hours of careful crafting, only pre-mix amounts you know you will exhaust within the current month.
Here are five frequent pitfalls crafters encounter when first attempting to decant resin, along with direct solutions to avoid them.
Cause: Grabbing disposable condiment bottles or cheap craft containers without checking the material. Many are made of polystyrene (PS), which dissolves rapidly in contact with resin.Solution: Always verify the material label. Only purchase bottles explicitly marked as PE (polyethylene) or PP (polypropylene). Never use bottles without clear material markings.
Cause: While the bottle body was opaque, the tip cap was loose or made of thin, translucent plastic, allowing ambient room light to cure the resin trapped inside the nozzle.Solution: Use bottles with opaque caps or wrap the nozzle cap in aluminum foil. Always store the bottle inside an opaque aluminum zip pouch for double protection.
Cause: Pouring resin too quickly from high above the small bottle opening, churning air into the viscous fluid.Solution: Pour slowly and deliberately. Rest the mouth of the bulk bottle (or funnel) against the inside wall of the target bottle so the liquid glides down smoothly without splashing.
Cause: Transferring resin into an unlabelled bottle and forgetting whether it was high-viscosity, low-viscosity, or which brand was used.Solution: The moment you finish decanting, write the brand name, product line, viscosity type, and date on masking tape with a permanent marker, and stick it firmly onto the bottle.
Cause: Screwing the cap back on while wet resin remains on the bottle threads. The resin seeps outward, catches room light, semi-cures, and creates a permanently sticky coating.Solution: Always wipe down the nozzle and screw threads with a lint-free wipe (such as a Kimwipe) soaked in ethanol before sealing.
Here is my personal step-by-step process for transferring resin smoothly without trapping air bubbles or degrading the liquid:
Gather your supplies:
Work away from windows with curtains drawn. Never decant near an active UV lamp. If you use a bright desktop task light, turn it off temporarily or point it away from your pouring area.
Even brand-new bottles can contain microscopic plastic dust. Rinse the inside with a small amount of ethanol and let it dry completely. Even a single droplet of moisture or residual ethanol will turn your resin milky and disrupt curing. Never pour resin into a damp bottle.
Wrap the exterior of the bottle in aluminum foil before filling it. If you try wrapping foil after pouring, rolling the full bottle around on your desk will generate bubbles inside the liquid. Cover the sides and bottom seamlessly, securing the foil with tape.
Set a small PE, PP, or stainless steel funnel into the bottle neck (or pour directly if you have a steady hand). Tilt your large bulk bottle gently and let the resin glide down along the inner wall of the funnel or bottle neck. Minimizing the drop height prevents air from getting trapped.
Fill to approximately 80% capacity. Filling it completely to the brim will cause overflow when inserting the nozzle plug. Eighty percent leaves the ideal minimal headspace.
Remove the funnel and immediately clean the bottle neck with an ethanol-dampened lint-free wipe. Press the nozzle component firmly into place and screw the cap down tight.
On a strip of masking tape, write down the details clearly with a permanent marker:
Adhere the label over the foil wrap. Slip the bottle into your black aluminum zip pouch, seal it, and place it in a cool, dark drawer or cabinet at room temperature (around 15°C to 25°C / 59°F to 77°F).
Even under ideal storage conditions, decanted resin does not last forever. While an unopened original factory bottle may stay fresh for 1 to 2 years, decanted resin has unavoidably been exposed to air and light during transfer.
Plan to use up decanted clear resin within 3 to 6 months. Leaving it longer may cause the viscosity to rise gradually due to ambient room temperatures and micro-exposure, diminishing its original performance.
To ensure your resin remains fresh and performs consistently, adopt a strict rotation rule: keep only 1 or 2 small bottles active at any time. Avoid the temptation to fill five small bottles all at once just because you have a large 1kg jug. Decanting starts the aging clock, so only decant what you need in the near future (30ml to 50ml).
Once an active bottle is empty, clean it or grab a fresh one and refill it from your main stock. This rotation ensures you are always working with fresh, crystal-clear resin.
Let's review the key rules for decanting resin liquid safely:
Bulk resin bottles are wonderful for saving money while keeping your creative passion thriving. Decanting bulk resin into ergonomic squeeze bottles makes your detailed crafting lighter, cleaner, and far more enjoyable. Follow these simple material and light-blocking rules, and you'll enjoy pristine, bubble-free results every time! (・∀・)
If you found this guide helpful, please share it with your fellow crafters. See you in our next crafting guide—this was Yassy from Crafters!





For example, if you are looking for articles about mizuhiki, try searching for "mizuhiki"; if you are interested in tools, try keywords like "nippers" or "pliers."
