Zero Ripples: Why Resin Surfaces Distortion Happens & How to Achieve a Glass-Like Finish
yassy
Crafters!

Hello, this is Yassy from Crafters!
Creating handmade items is a truly wonderful experience, and it is easy to feel a deep affection for every piece crafted with love. As a craft maker myself, I love not only creating my own work but also admiring and purchasing the amazing creations of other artists.
However, there is one moment that causes the most fear for beginner sellers: packing and shipping fragile handmade items.
"Will it reach the customer safely?""What if delicate resin, glass, or ceramic pieces break along the way?""What if dried flowers or paper crafts get crushed?"
Anxious thoughts like these cause many makers stomachaches every single time they dispatch a package.
Let me state the conclusion clearly: damage during transit is not a matter of good or bad luck. It is 100% caused by a lack of packaging knowledge and weak packaging design.
In the real world of shipping, packages are stacked on top of each other, carried through automated sorting machines, and exposed to prolonged vibrations in trucks or on motorcycles. Blaming the courier by saying "the delivery company handled it roughly" is wrong for a professional seller.
Creating packaging that ensures the item never breaks—no matter how intense the impact or pressure might be—is the absolute responsibility of anyone who sells handmade crafts.
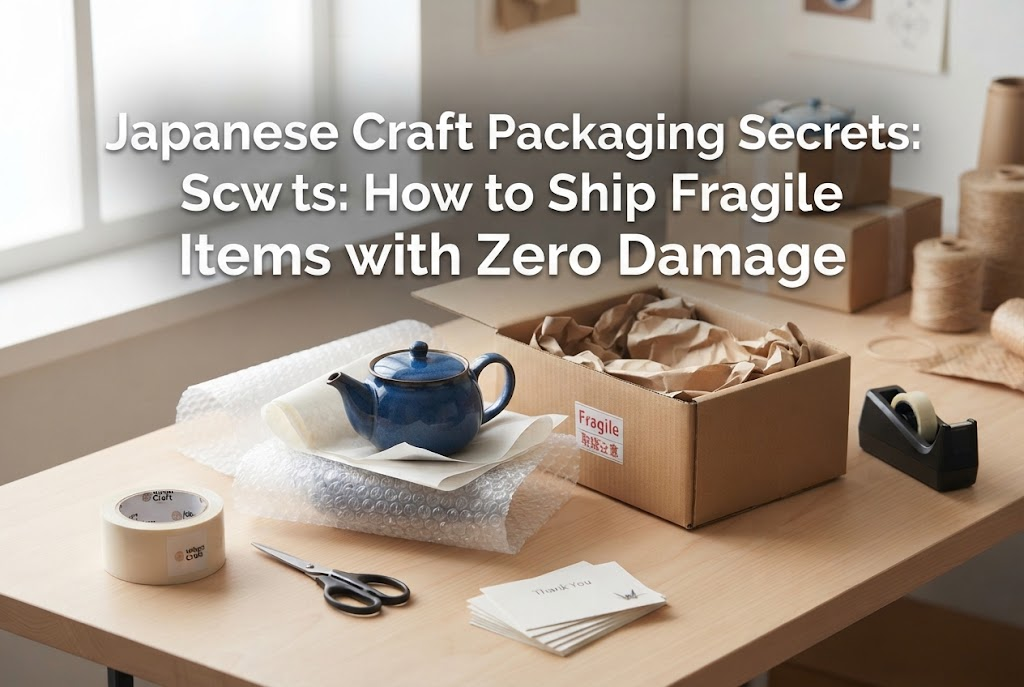
In this guide, I will thoroughly explain packaging and shipping techniques to deliver fragile items to your customers with absolute safety. These rules for zero damage are derived from my own extensive experience sending and receiving countless handmade items over the years.
By reading this article to the end, you will never have to fear shipping damage again. Master these reliable packaging techniques and ship your creations with total confidence.
The most common packaging mistake is assuming that wrapping an item in bubble wrap and placing it in a padded envelope is enough. Shipping fragile creations this way is practically inviting a shipping accident.
First, let us properly understand the fundamental reasons why the "bubble wrap plus envelope" method leads to breakage. Once you understand the causes, the solutions become obvious.
Along shipping routes, small envelopes and thin boxes are placed in environments where multiple heavy cardboard boxes are stacked on top of them. Envelopes designed for letters or thin booklets possess no structural strength to withstand pressure from above.
While bubble wrap can cushion point impacts, it does not form a structural shell capable of supporting kilograms of pressure applied over a flat area. The moment an envelope is compressed, direct weight hits the item inside, leading to crushing, bending, or shattering.
External pressure is the single biggest cause of damage to delicate 3D works, paper crafts, clay creations, and dried flowers.
Sometimes items break even when shipped in a box. In 90% of those cases, the cause is that the item shifted around inside the box.
Delivery trucks and motorbikes vibrate constantly. If there are empty gaps inside the box, the item will slam against the interior walls thousands of times during transit.
Even if the outer box is sturdy, the item destroys itself internally. Accessories combining metal fittings and glass parts are especially prone to cracked glass or surface scratches caused by these internal collisions.
At logistics facilities, thousands of packages are processed at high speeds every day. Even without negative intent, drops from conveyor belts and impacts during sorting are impossible to avoid entirely.
Placing "Handle with Care" or "Fragile" stickers on the package is important, but stickers do not make a box invincible. They serve as a reminder to delivery personnel, not as a physical barrier.
Your goal must be to build packaging that keeps the contents completely unharmed even if dropped onto the floor from a height of one meter. Unless you aim for that level of protection, fragile items cannot be shipped safely.
To protect your work 100% from shipping accidents, you need to think of packaging as a structure rather than a single layer. The absolute rule I practice is the 3-Layer Defense Structure.
When built correctly, external impacts and pressure never reach the item inside. Here is how to assemble packaging by defining the clear role of each layer.
The innermost layer directly protects the surface of the item. Its purpose is to prevent scratches, hold delicate components in place, and protect against moisture.
Use thin OPP (clear plastic) bags, soft tissue paper, or smooth protective film. Wrapping textured bubble wrap directly around an item can leave circular impressions on resin pieces or catch on delicate parts, causing breakage.
First, wrap the item gently in a non-scratching material and seal it completely to guard against water.
The middle layer absorbs vibration and drop impacts during transport. This is where thick bubble wrap, cotton, cushioning foam, or paper packing materials come into play.
The primary goal of this layer is impact absorption and securing the item so it cannot move. Position cushioning material gently yet snugly around the piece.
The ideal state inside the box is a "suspension state," as if the item is floating in mid-air. Place sufficient cushioning on the bottom, sides, and top of the box.
The outermost layer is a tough shell that repels heavy pressure from above and guards against external punctures. For fragile items, envelopes are strictly prohibited. Always use a rigid cardboard box or a hard plastic case.
Even for small, thin cardboard boxes, the box structure turns its corners into supporting pillars, dramatically increasing resistance against top loads.
Protect the surface in Layer 1, deaden impacts in Layer 2, and repel pressure in Layer 3. Only when this 3-layer structure is complete can it be called professional safety packaging.
Handmade creations come in various materials and shapes, each with distinct vulnerabilities. Below are specific procedures tailored to different craft genres and how I approach each one.
These are heavy items that are extremely vulnerable to shock. A slight bump on a corner or the shock of a drop can cause cracking.
When sending ceramics or glass, I shake the box firmly in all directions. If I hear even a faint rustle or feel the center of gravity shift, it fails the test. Re-stuff with paper until there is no sound and the contents feel completely unified with the box.
These delicate items can lose petals or get permanently crushed under slight pressure. External pressure and friction are their greatest enemies, rather than sudden shocks.
For dried flowers and tsumami zaiku fabric crafts, shift your mindset from "wrapping" to "securing the space." Fixing the item in mid-air inside the box so that nothing touches the delicate flower sections is the safest method.
Dainty wirework, long chains, and thin earring posts are prone to bending or tangling.
Never place accessories attached only to a card directly into an envelope. When passing through mail slots or sorting machinery, pressure from above will easily bend earring posts. Using a dedicated small cardboard box for accessory shipping is an absolute requirement.
Compromising on packaging materials creates safety flaws no matter how hard you try. Here are the materials I rely on for outstanding durability and how to use them.
While many supplies can be found at 100-yen shops, I strongly recommend buying professional-grade materials in bulk online when shipping fragile items.
These compact cardboard boxes are designed for small postal and courier services. Their folded construction offers high rigidity, preventing them from crushing even under firm hand pressure.
They are the essential outer shell for shipping delicate small items. Purchasing in bulk keeps the cost low per box, making it an investment you should never skip.
These high-density sponge sheets line the bottom or top of a box. They take up less volume than bubble wrap while absorbing shock evenly across their surface.
Cutting out a custom inset shape with a utility knife to match your craft combines high-end presentation with top-tier protection. It is an excellent choice for jewelry and small glass items.
Minafoam is a smooth, white polyethylene sheet that is thinner than bubble wrap. It is similar to the smooth wrapping sheets used for tableware.
It is excellent as Layer 1 surface protection when you want to avoid surface scratches and prevent bubble wrap impressions entirely.
This paper is designed specifically for filling gaps inside boxes. Unlike newspaper, there is zero risk of ink transfer. Crumpling it into the corners, top, and bottom of the box provides excellent cushioning and stability.
Unlike plastic air pillows, it generates no static electricity, preventing dust from clinging to your work.
Even if your packaging is flawless, picking the wrong shipping method leaves room for risk. Choosing a shipping option solely because it is cheap is dangerous.
Keep the following breakdown in mind based on item price, fragility, and size:
Standard postal mail is an economical option, but basic untracked services lack both tracking numbers and damage compensation.
Decision Criterion: I strongly advise against sending fragile items via basic untracked mail without insurance. If a package gets lost or arrives crushed, you will have to cover full refunds or remaking costs out of pocket. If you must use postal mail, always add options like Registered Mail or tracking services that include damage coverage.
These services offer nationwide flat rates, tracking, and suitability for small cardboard boxes up to 3 cm thick. Online label printing makes dispatch efficient.
Decision Criterion: Tracking prevents non-delivery disputes. However, these services often do not include damage compensation upon acceptance. Therefore, restrict their use to lower-priced items where you can afford to remake or replace the item if an accident occurs.
Couriers deliver packages directly to the recipient's hands. These services include tracking, scheduled delivery, strict fragile handling, and coverage for damage or loss.
Decision Criterion: High-value items, irreplaceable one-of-a-kind pieces, and delicate glass, ceramics, or large dried flower arrangements should 100% be shipped via full-service couriers. Hand delivery provides customers with immense peace of mind. Prioritize delivery certainty over saving on postage.
Over-armoring a package so that it looks messy or becomes impossible to open can ruin the customer's excitement. Professional makers aim for packaging that is exceptionally safe yet delightful to open.
Fold the end of the tape used on bubble wrap or OPP bags inward by a few millimeters. This small tab allows customers to peel the tape off easily with their fingers.
Unboxing without scissors or utility knives prevents secondary damage caused by blades accidentally scratching the item inside. This small step shows great care for your customer.
Cute masking tape is convenient, but it must not be used where holding strength is needed. Its adhesive is weak and peels easily under vibration or temperature changes.
For sealing outer boxes or securing primary packaging, always use clear OPP tape or strong adhesive tape. Reserve masking tape strictly for decorative inner wrapping.
Include a small card inside the box alongside your thank-you note that explains how to unbox the item safely.
Example: "This item is very delicate. When removing it from the box, please hold the center backing card gently and lift straight up."
Customers sometimes accidentally damage items while pulling them out of the box. Guiding them through safe removal completes your customer care.
Even with perfect packaging and insured shipping, zero accident risk is impossible. If a customer contacts you saying their item arrived broken, follow these calm, professional steps:
Receiving such news is shocking, but never react emotionally. Avoid making excuses such as "I packed it perfectly, so this is strange."
Empathize with the customer's disappointment and respond promptly:
"I am so sorry that your item arrived damaged after you were looking forward to receiving it."
Begin with a sincere apology first.
Photos are necessary for courier insurance claims and future packaging improvements. Ask politely so as not to burden the customer:
"To assist with the courier compensation claim and help us improve our packaging, could you please provide a few photos showing the damaged area and the condition of the outer box?"
Check if the outer box shows dents or crushing. A damaged box serves as clear evidence of a transport accident.
Put investigations and courier negotiations on hold initially. Your immediate priority is customer care.
Unless the item is one-of-a-kind, remake and ship a new item as quickly as possible. For one-of-a-kind pieces, process a full refund promptly along with your apologies.
Negotiate compensation with the carrier separately without involving the customer. When using insured shipping methods, losses are minimized as the courier covers the item value and shipping fees.
Here is a checklist of common packaging mistakes beginners make with good intentions. Ensure none of these are present in your process:
Each of these habits directly causes shipping damage. If you use any of them, update your materials and steps right away.
We have explored how to pack and ship fragile handmade creations safely. Let us review the key points:
Packaging is not just prep work—it is the final step of craft creation, ensuring the item you spent passion and time making reaches its owner safely.
When your packaging is solid, shipping anxiety vanishes. You can send off every parcel with complete confidence that it will arrive intact.
That professionalism will reach your customers, leading to repeat visits and glowing reviews. Apply these rules to your next shipment and share your wonderful creations with buyers everywhere!
If you found this guide helpful, please share it with your fellow crafters. See you in the next article—this was Yassy from Crafters!


For example, if you are looking for articles about mizuhiki, try searching for "mizuhiki"; if you are interested in tools, try keywords like "nippers" or "pliers."
