What Are Plaster and Jesmonite? A Complete Guide to Modern Japanese Decor Crafts, Difficulty, Workspace, and Costs
yassy
Crafters!
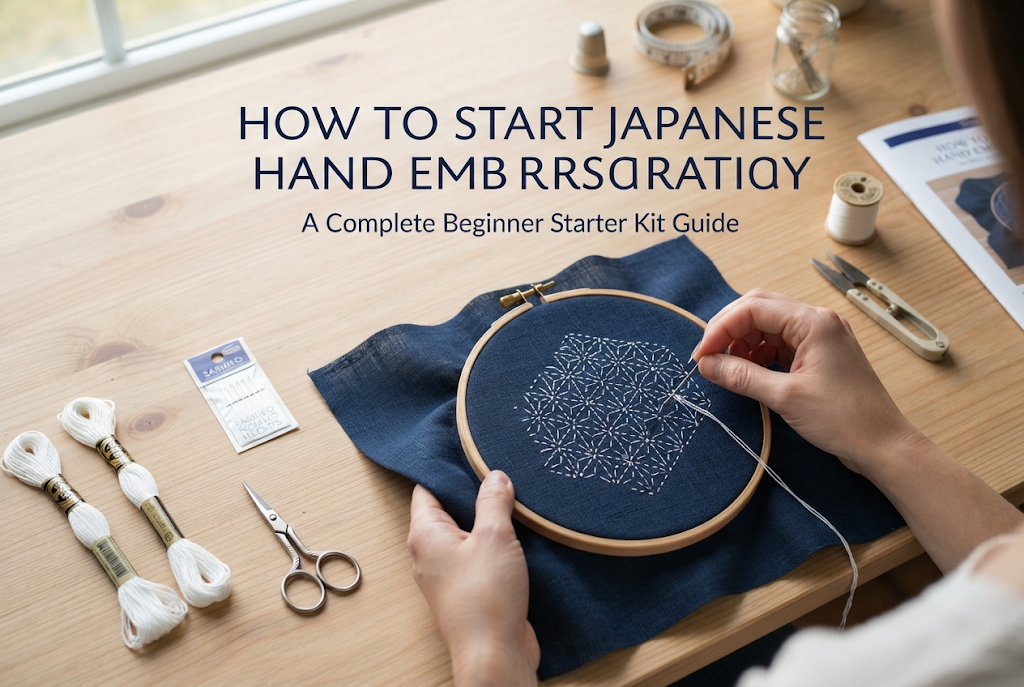

Hello everyone, this is Yassy from Crafters! (・∀・)
Hand embroidery is a wonderful craft where a whole world of creativity opens up with just piece of fabric, some thread, and a single needle! I personally love creating all kinds of handmade crafts, admiring amazing works by different artisans, and collecting lovely craft supplies. Among all of these hobbies, hand embroidery holds a very special place in my heart.
Watching a single strand of thread turn into a 3D pattern on cloth—blossoming into cute flowers, cute animals, or stylish English lettering—is exciting just to look at. Plus, spending time stitching with your own hands offers an irreplaceable sense of relaxation and healing.
However, beginner crafters who want to start hand embroidery often hit a wall right at the beginning with questions like:
Let me give you the direct answer right away: The fastest and most foolproof way to start hand embroidery is to buy a beginner starter kit on online shops like Amazon or Rakuten and start stitching right now!
There's no need to overcomplicate things. Getting a kit with all the necessary tools and pre-printed patterns is the absolute shortest path to enjoying embroidery today.
In this article, I’ll share all my knowledge and experience—from basic embroidery knowledge and essential tool selection to step-by-step prep, essential stitches you should learn first, and how to avoid common beginner traps. By the time you finish reading this, all your embroidery anxieties will vanish, and you'll be eager to pick up a needle!
While we simply say "embroidery," there are actually many different types, including cross-stitch, Sashiko, bead embroidery, and ribbon embroidery. If you are wondering where to begin, the choice is clear.
Beginners should definitely start with Free Stitching (French Embroidery)!
French embroidery (commonly referred to as free stitching in Japan) is the most popular form of hand embroidery, where you freely fill in lines and shapes along a pattern drawn on fabric using various stitches. Here are three clear reasons why French embroidery is ideal for beginners:
French embroidery allows you to create straight lines, curves, dots, and filled shapes completely freely. By simply moving your needle along the pattern, you can draw illustrations on fabric with thread. There’s no need for complex counting, making it intuitively enjoyable.
You don't need large specialized machinery or dangerous chemicals. All you need are five basic items: a needle, thread, fabric, an embroidery hoop, and scissors. It has one of the lowest initial costs among handmade crafts and takes up very little space.
Once you master French embroidery techniques, your creative possibilities become endless—from adding accent embroidery to handkerchiefs, T-shirts, and pouches, to creating covered button accessories or decorative framed hoop art.
Even if you find grid-counting in cross-stitch tedious, French embroidery feels just like drawing a picture. That’s why French embroidery is hands-down the best choice to start with!
Let's look at the basic tools needed for hand embroidery. Compromising on tool quality can dramatically affect your ease of work, the beauty of the finished product, and even your likelihood of giving up. Here are the criteria for tools I personally use and trust:
Do not use standard sewing needles for embroidery. Always use dedicated embroidery needles. Standard sewing needles have small eyes that fray thick embroidery floss as it passes through. Embroidery needles feature elongated eyes designed for easy threading and smooth passage through fabric.
For beginners, an assortment pack containing sizes 3 to 9 is recommended. You change needle thickness based on the number of thread strands used (e.g., 2 strands or 3 strands). Sizes 7 and 8 are the most frequently used sizes.
Among various thread types, you should use Size 25 embroidery floss. It consists of six thin strands bundled together, allowing you to pull out the exact number of strands needed (e.g., 2-strand or 3-strand) depending on your project.
While thread is available at 100-yen shops in Japan, if you want high-quality results, choose threads from major manufacturers (such as DMC, Olympus, or Cosmo). Their sheen, smoothness, durability, and colorfastness when washed are noticeably superior.
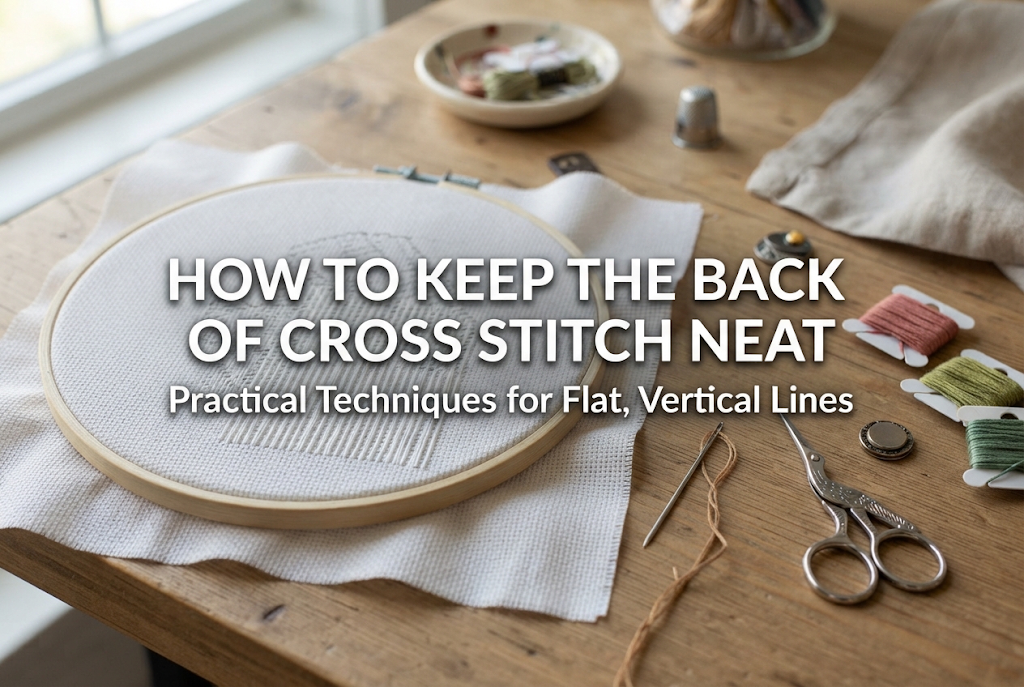
An embroidery hoop is essential for keeping fabric taut. If you embroider without a hoop, uneven thread tension will pucker the fabric, leaving it wrinkled when finished.
Beginners should start with a 10cm to 12cm (4–5 inch) wooden or plastic hoop. Hoops that are too large tire your hands, while smaller hoops require constant repositioning. A 10–12cm hoop fits comfortably in your palm and is the ideal size for small, single-point motifs.
Choosing the right fabric is also key. Beginners should avoid stretchy knit fabrics, coarse gauze, or stiff denim.
The best choices are 100% cotton sheeting/oxford fabric or medium-weight linen. They allow needles to pass smoothly and have enough structure to hold thread tension without warping, resulting in beautiful stitches.
To transfer patterns onto fabric, use craft-use water-soluble tracing paper, a stylus (tracer), and a water-soluble chalk pen instead of paper carbon paper. Dab water with a cotton swab or spray mist after stitching, and the drawn lines disappear completely without staining your work.
Keep a pair of thread snips with fine, sharp tips for trimming thread ends cleanly. Using thick, regular household scissors risks damaging the fabric when making precise cuts close to the stitching.
Now that we've covered the tools, here is a common pitfall: getting exhausted from gathering every supply individually and giving up before even starting.
Visiting multiple craft stores or searching online shops item by item takes time and effort. Furthermore, picking color combinations of fabric and thread from scratch can feel daunting for beginners.
That is why I highly recommend purchasing an embroidery starter kit on online stores like Amazon or Rakuten!
Here are four absolute reasons to start with a kit:
If you want to test whether hand embroidery is right for you, a starter kit is the best option available. Don't waste time hesitating—search for "embroidery kit beginner" online, pick a design that makes you think "Cute! I want to make this!" and order it. That will be the first step into your wonderful craft journey!
Once your kit arrives, it's time to start creating! Here are the basic preparation steps, stitching techniques, and my personal tips to prevent mistakes.
If you pull Size 25 embroidery floss directly from the skein, it will tangle instantly. First, cut a workable length (from your elbow to fingertips, about 40–50 cm) using scissors.
Next, extract the designated number of strands (e.g., 2 strands). Here is an extremely important secret:
Do not pull two strands out together at the same time!
Pulling multiple strands together twists and tangles the thread. Always pull strands out smoothly one strand at a time. Pull one strand, then another, line them up, and thread them into the needle together. This single-strand technique resets thread twists and dramatically improves the sheen and neatness of your stitches!
Loosen the hoop screw to separate the outer and inner rings. Place the inner ring on a flat surface, lay the fabric over it, and press the outer ring down firmly over the inner ring.
Tighten the screw moderately, then pull the edges of the fabric outward evenly around the hoop. Aim for fabric stretched as tight as a drum surface. When you tap it with your finger, it should make a light "thump-thump" sound.
If the fabric is loose, needle movements will cause sagging, resulting in uneven tension and distorted stitches. Never compromise on hoop setup—stretch it tight!
While knots are standard in regular sewing, hand embroidery generally avoids large knots on the back. Large knots can show through on the front side or loosen when washed.
Correct Way to Start:Bring the needle up from the back, leaving about 1 cm (0.4 inches) of thread tail on the back side. As you make your first 2 to 3 stitches, trap and secure this tail underneath the back stitches.
Correct Way to End:When thread runs low, weave the needle through the back of existing stitches 3 to 4 times. Cut the remaining thread close to the fabric. Even without a knot, friction between threads prevents unraveling, keeping the back side clean and professional.
While hundreds of embroidery stitches exist, you don't need to learn them all at once. Mastering these five basic stitches will allow you to complete over 80% of beginner patterns perfectly!
The simplest stitch, passing thread up and down at equal intervals. It creates cute dashed lines.
The core basic stitch of embroidery used to create beautiful, continuous lines by overlapping stitches slightly.
A technique moving one step forward and half a step back to create a clean, solid line without gaps.
A flagship stitch where threads are laid side-by-side without gaps to smoothly fill shapes. It can be tricky for beginners, but looks beautiful when done right.
A technique where thread is wrapped around the needle to create a raised, cute dimensional dot.
Learning these five stitches allows you to stitch lovely botanical designs and stylish motifs effortlessly!
Here are typical mistakes beginners encounter along with solutions. Knowing these causes in advance prevents frustration and helps you enjoy your embroidery smoothly.
Once your embroidery is complete, don't leave it tucked away in a drawer! Here are charming ways to incorporate your handmade creations into daily life:
For small motif embroideries, using a covered button kit (available at craft shops or 100-yen stores) is the easiest and cutest idea! Attach a brooch pin on the back for a lovely garment accent, or attach an elastic band for a one-of-a-kind hair tie. They make wonderful handmade gifts!
Stitching motifs onto plain canvas tote bags, handkerchiefs, pouches, or children's items instantly transforms simple items into stylish designer goods.
Keep finished embroidery inside the hoop, trim and finish the excess fabric neatly on the back, and hang it directly on a wall hook. Wooden hoops bring natural warmth into home decor, creating an elegant space.
In this beginner guide to hand embroidery, we covered essential tools, step-by-step procedures, basic stitches, and practical applications.
The true charm of hand embroidery lies in relaxing quietly with needle and thread, feeling a sense of peace as a design gradually takes shape. Even if your stitches aren't perfectly uniform at first, that is completely fine! The beauty of handmade work is its unique warmth and character. Gentle, hand-stitched lines have a heart and charm that machine perfection can never match.
If you're wondering where to start, taking action is the best next step! Open an online store like Amazon, pick a beginner starter kit that catches your eye, and place an order.
The day your kit arrives will mark the wonderful beginning of your new craft journey. Take your time, enjoy moving your needle at your own pace, and relish the joy of creating!
If you enjoyed this guide, please share it with your friends on social media or messaging apps—it means the world to me and keeps me motivated!
See you in the next article! This was Yassy from Crafters!


For example, if you are looking for articles about mizuhiki, try searching for "mizuhiki"; if you are interested in tools, try keywords like "nippers" or "pliers."
