Mastering Scissors for Crafters: The Essential Guide to Fabric Shears, Precision Scissors, and More
yassy
Crafters!


Hello, everyone! This is Yassy from Crafters! (・∀・)
I absolutely love everything about handmade crafts—whether it is creating my own projects, admiring beautiful handmade works at craft markets and shops, or collecting items made by fellow crafters. While the process of crafting is incredibly fulfilling, there is also something wonderful about holding a piece that another artisan poured their heart into!
When you are crafting, you often run into moments where you think, "I need to attach these two parts instantly!" That is when almost every crafter reaches for instant glue (cyanoacrylate super glue). Its rapid curing speed takes seconds to bond materials, dramatically boosting work efficiency.
However, despite its convenience, instant glue is also one of the trickiest adhesives to master. One small mistake can ruin an entire project. Many crafters have experienced clear resin or metal parts turning cloudy white, delicate materials melting or warping, or their fingers accidentally getting stuck together.
In this guide, I will walk you through the essential precautions, safety rules, and professional techniques for using instant glue in handmade projects. Once you understand how it works, instant glue will become one of your most reliable allies at your workbench!
When used correctly, instant glue is an exceptionally powerful tool. To make the most of it, let us look at the chemical reaction behind its rapid bonding action and why it plays such an important role in crafting.
The primary ingredient in instant glue is a chemical compound called cyanoacrylate. Rather than drying through evaporation or heat, cyanoacrylate reacts with microscopic amounts of moisture present on surfaces and in the surrounding air. This reaction triggers an immediate chemical polymerization.
Because moisture acts as the catalyst, the glue hardens in mere seconds the moment it comes into contact with the surface, instantly locking the parts into position.
The greatest advantage of instant glue in handmade crafting is the reduction of wait times and the ease of temporary positioning. Unlike multi-purpose craft glues or two-part epoxies that require hours—or even a full day—to set completely, instant glue anchors small components almost instantly.
When you need to attach tiny beads, rhinestone accents, or small metal charms, holding the piece in place for just a few seconds saves time and eliminates crafting fatigue. For quick tacking and initial positioning, nothing compares to instant glue.
The most common issue crafters encounter with instant glue is blooming (also known as frosting or whitening)—a chalky white haze that forms around the bonded area. For transparent resin jewelry or glass crafts, blooming can completely ruin the visual quality of the finished piece.
Blooming occurs when unreacted cyanoacrylate molecules vaporize from the glue line into the air. These airborne vapors settle on the surrounding surfaces of your project and react with atmospheric moisture, forming microscopic white crystals. Blooming is not a sign that your material is eroding; rather, it is the glue's vapor solidifying on the exterior of your piece.
Blooming does not happen by chance—it occurs due to specific environmental conditions. Following these four rules will help prevent blooming entirely:
If blooming does occur, do not panic! In mild cases, you can remove the white residue gently:
Dip a cotton swab into a tiny amount of baby oil or vegetable oil and gently wipe the frosted area. The lipids in the oil break down and lift the delicate white crystals. Afterward, wipe away any remaining oil with a damp cloth or wet wipe.
For hard, non-porous surfaces like glass or solid metal, you can also polish the haze away using a microfiber cloth or a fine polishing compound. However, avoid aggressive scrubbing on soft plastics or resin, as this can scratch the surface; stick to the oil-wiping method instead.
While instant glue seems like a universal adhesive, it is incompatible with several crafting materials. Applying it to the wrong substrate can cause structural damage, cracking, or severe safety risks.
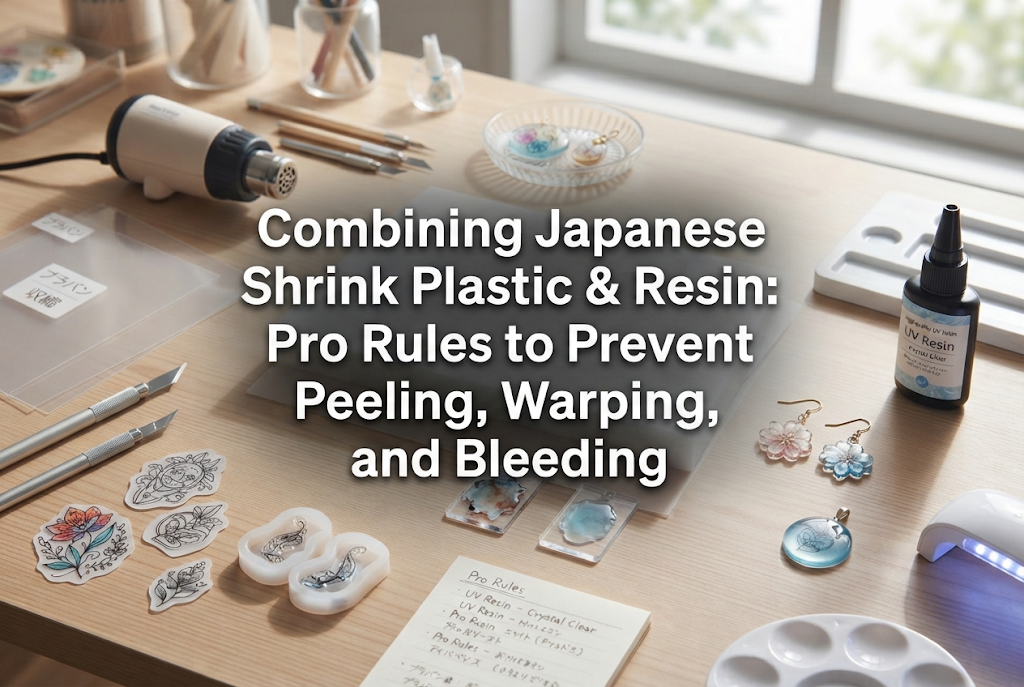
Applying standard liquid instant glue to clear acrylic parts or shrink-plastic (polystyrene) art can cause fine, spiderweb-like fractures or surface clouding. This phenomenon is known as solvent cracking (stress cracking).
Cyanoacrylate attacks the molecular structure of these resins, releasing internal stress and cracking the material. Avoid using standard liquid cyanoacrylate on clear acrylics and polystyrene.
When instant glue comes into contact with expanded polystyrene (Styrofoam) or certain soft plastics, the combination of heat generated by the curing reaction and the chemical components will melt the material. Always use water-based craft adhesives or specialized foam glues when working with Styrofoam.
The most dangerous misuse of instant glue in crafting involves applying it to fabrics, cotton, leather, or paper. Fiber materials possess an immense surface area. When instant glue soaks into these porous surfaces, it undergoes a hyper-accelerated chemical reaction with the moisture trapped inside the fibers.
This rapid reaction produces intense heat (an exothermic reaction). In severe cases, it can cause severe skin burns or cause smoke to rise from the fabric. Never use instant glue on cotton, fabric, leather, or paper. Always use dedicated fabric adhesives or multi-purpose craft glues for textile projects.
Even cautious crafters occasionally spill glue on their fingers or clothing. Knowing the correct safety steps will prevent skin injuries and damage to your garments.
If your fingers become stuck together, never pull them apart by force. Doing so can tear the top layer of skin and cause painful injury.
Instead, soak your hands in warm water (around 40°C / 104°F) and gently roll your fingers against each other under the water. The combination of warm water and soap will slowly penetrate the bond, allowing natural skin oils to release the glue safely after a few minutes.
For faster removal, use a commercially available instant glue remover containing acetone or an acetone-based nail polish remover. Apply the liquid to a cotton pad, let it saturate the bonded area, and the glue will soften into a gel-like consistency that wipes away easily.
If instant glue contacts clothing while you are wearing it, pull the fabric away from your skin immediately to prevent thermal burns, and cool the area with cold water. To remove hardened glue from garments, place a dry cloth underneath the fabric and dab acetone-based remover from the reverse side to transfer the dissolved adhesive to the cloth beneath. Always check the garment's fiber content first, as acetone will dissolve synthetic fibers like acetate and polyester.
If glue drips onto your worktable, it can permanently fuse your tools or project to the surface. Spreading regular newspaper or scrap paper can result in the paper permanently sticking to your craft piece.
When working with instant glue, always lay down a silicone crafting mat or silicone-coated parchment paper. Cyanoacrylate cannot adhere to silicone. Even if glue spills and hardens completely, it will peel off the silicone mat cleanly with no fuss.
To achieve clean, professional results and maximize the shelf life of your adhesives, implement these craft room techniques:
Instant glues generally fall into two categories: liquid (low viscosity) and gel (high viscosity).
Applying glue straight from the bottle nozzle directly onto small craft components often leads to accidental over-application, ruining delicate pieces.
Professional crafters dispense a small drop of glue onto a piece of aluminum foil or silicone parchment paper. Then, using a toothpick, fine precision tweezers, or a thin piece of wire, pick up a microscopic droplet and apply it to the exact target spot on your piece.
This simple habit prevents 99% of spills, drips, and blooming issues caused by excess adhesive.
An instant glue accelerator (or primer spray) is a handy tool that instantly cures cyanoacrylate upon contact. By rapidly setting the glue in a fraction of a second, it prevents vapors from escaping, thereby eliminating blooming entirely.
When using an activator spray, hold the can at least 20 cm (8 inches) away and apply a light mist. Avoid over-spraying, as too much activator can cause the surface to appear rough or generate excess heat.
To keep your glue from drying out inside the nozzle between crafting sessions:
Note: If stored in the refrigerator, allow the bottle to reach room temperature before opening to prevent internal condensation from curing the glue inside the container!
When creating or buying handmade accessories, structural durability is essential. No matter how gorgeous a design is, it loses its charm if a component detaches during wear.
Instant glue provides fast initial hold, but it has lower impact resistance (shear strength) compared to other craft adhesives. If a piece receives a sudden lateral bump, an instant glue bond can snap.
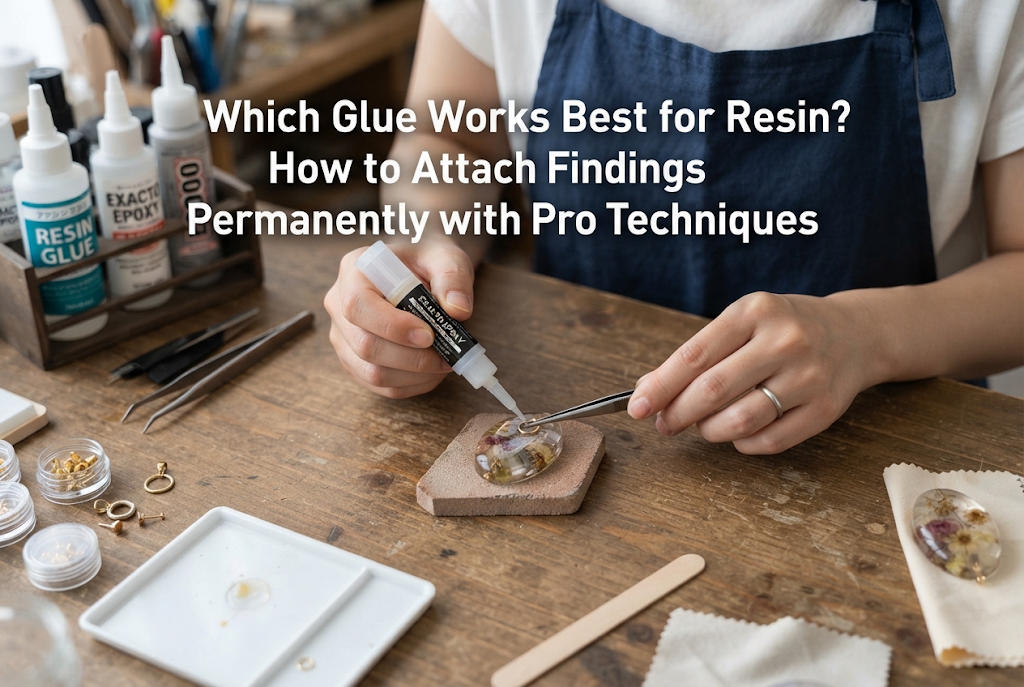
For securing metal earring posts or heavy resin cabochons onto metal bases, my favorite technique is combining 2-part epoxy adhesive with instant glue!
Here is how it works:
The instant glue bonds within seconds, acting as a temporary clamp that holds the parts perfectly in place without slipping. Over the next few hours, the 2-part epoxy cures completely underneath, creating an unbreakable, permanent bond!
Instant glue is a powerful, time-saving tool for handmade crafts when handled with care. By controlling your application volume, ensuring proper airflow, matching the right glue to the right material, and utilizing pinpoint application, you can eliminate blooming and material damage completely.
Understanding your tools gives you the confidence to build durable, high-quality projects while keeping your workspace safe and enjoyable.
I hope these practical tips help you in your daily crafting adventures. Have fun creating beautiful, worry-free handmade pieces!
Until next time, happy crafting! This was Yassy from Crafters! (・∀・)

For example, if you are looking for articles about mizuhiki, try searching for "mizuhiki"; if you are interested in tools, try keywords like "nippers" or "pliers."
