A Guide to 5 Essential Craft Needles: Differences and How to Choose for Sewing, Embroidery, Leather, and Knitting
yassy
Crafters!
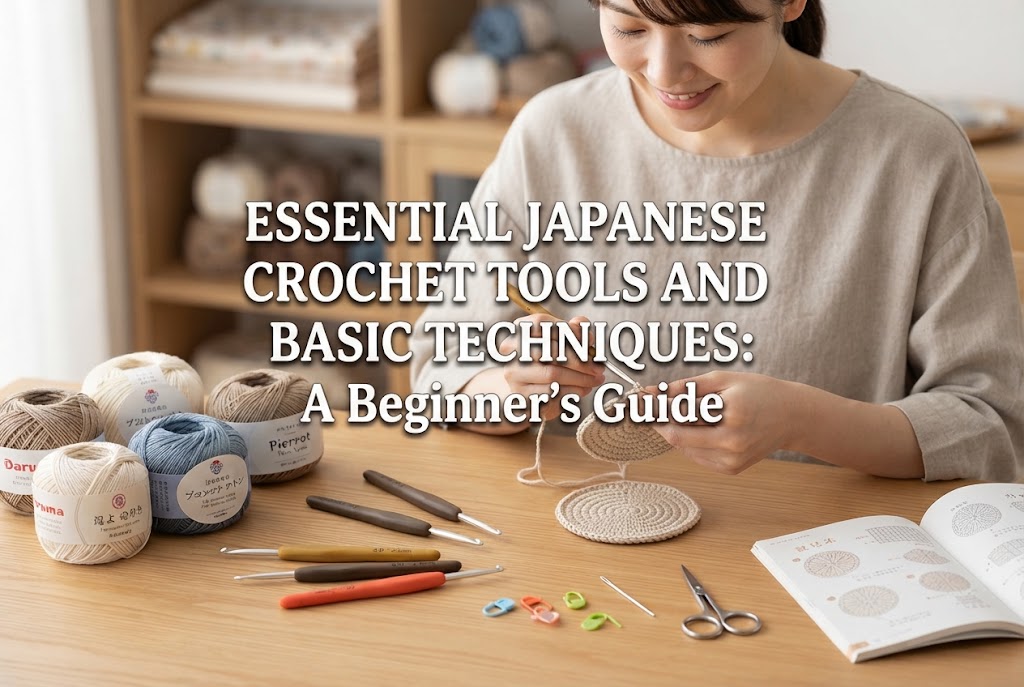

Hello everyone, it’s Yassy from Crafters! (・∀・)
One of the greatest appeals of crochet is that with just a single hook and a ball of yarn, you can create wonderful pieces anywhere you go. From small daily items like coasters to cute amigurumi, practical bags, and cozy scarves, spending time shaping yarn with your own hands is truly fun and therapeutic.
When you think, "I want to try crocheting!" the first questions you might encounter are: "What tools do I actually need?" or "I'm not sure how to hold the hook or use it properly." Visiting a craft store can feel overwhelming with so many varieties of hooks and yarn lined up, making it hard to know where to begin.
In reality, simply choosing the right tools and learning correct basic usage will dramatically speed up your progress. On the flip side, using tools that don't suit you can cause uneven stitches or hand pain, often leading to frustration before you even get started.
So in this article, I will thoroughly explain the essential tools you need to start crocheting, how to pick them without failure, correct hook grips, and basic stitches step-by-step!
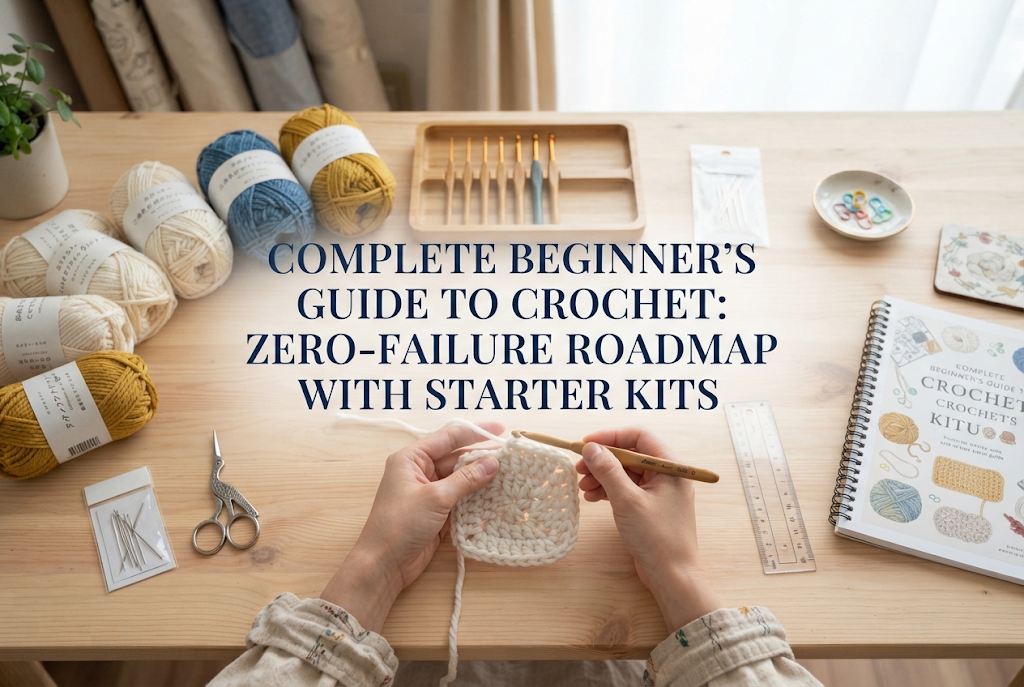
When starting out with crochet, you don't need a huge array of tools. Here are the 5 absolute basic items you should prepare first. Having these ready is all you need to start stitching right away.
The star of the show is the crochet hook. It features a hooked tip that catches the yarn to form stitches as you work.
Three key points to understand when choosing a hook are size, grip, and material.
In Japan, standard crochet hook sizes are designated with a fractional notation like "1/0" through "10/0" (expressed with "号" or "/0"). The higher the number, the thicker the hook. Thicker hooks beyond this range are called jumbo hooks (such as 7mm or 8mm).
The recommended hook sizes for absolute beginners are Size 6/0 (3.5mm) or Size 7/0 (4.0mm). These sizes match perfectly with worsted weight yarn (known in Japan as namibuto), which is the easiest yarn weight for beginners to handle. This combination makes stitch structures easy to see and keeps your hands working steadily.
Hooks are made from materials like metal, bamboo, and plastic, but I overwhelmingly recommend a metal crochet hook with a soft grip handle. Hooks with soft grips fit comfortably in your hand, preventing hand fatigue and soreness during long crafting sessions.
Yarn is another indispensable material, but not every yarn on the shelf is suitable for beginners. Picking the wrong yarn increases the chance of losing track of your stitches and getting stuck.
Look for yarn that meets these three beginner criteria:
Please avoid dark colors like black or navy, fluffy mohair yarn, or fancy yarns with pom-poms for your very first project. These make stitch loops and chains extremely difficult to see. Light-colored, straight acrylic or cotton yarn is the absolute easiest to work with.
A tapestry needle is used to weave in yarn ends after completing your piece or to sew parts together. Unlike regular sewing needles, it features a large eye and a blunt tip.
The blunt tip prevents the needle from piercing and tearing through yarn fibers. Without a tapestry needle, you won't be able to finish your yarn ends properly, which can cause your work to unravel. Sets containing multiple needle sizes suitable for different yarn weights are widely available.
These are used to cut yarn. While stationery scissors can work in a pinch, dedicated craft scissors or thread snips with fine, sharp blades are best.
Cutting yarn with dull scissors leaves frayed, fuzzy yarn ends, making threading a tapestry needle needlessly frustrating. A clean, sharp cut adds an extra level of crafting comfort.
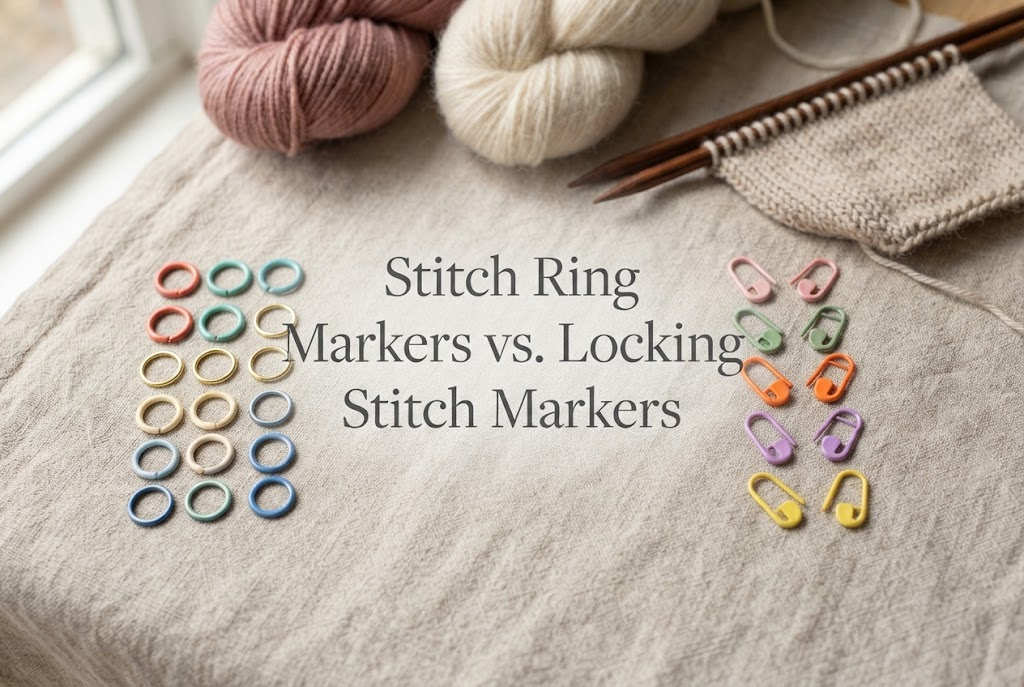
These handy tools act as clip-on markers so you don't lose count of stitches or lose track of where a row begins. Shaped like plastic safety pins, they lock securely onto your stitches.
A classic struggle for crochet beginners is accidentally skipping end stitches (like turning chains or the final stitch in a row), causing the fabric to shrink into a trapezoid. Simply getting into the habit of attaching stitch markers at the start and end of every row will 100% prevent this common mistake. It is an invaluable tool!
While not strictly mandatory, these support tools will make your crocheting much more comfortable and elevate the quality of your finished items.
Used to accurately measure the length and width of your project. Because crochet sizing can vary depending on your tension, checking dimensions periodically with a flexible craft tape measure is very helpful.
This tool allows you to measure the thickness of a hook by inserting it into sizing holes whenever you forget its size. It comes in handy when using older hooks or hooks where printed size markings have worn off. Many needle gauges also include a built-in ruler.
Small tools like hooks, tapestry needles, stitch markers, and scissors easily get misplaced. Keeping them organized in one case ensures you can pull out everything you need instantly when you want to craft while preventing small items from getting lost.
Once your tools are ready, it's time to learn how to hold the hook and position the yarn in your hands. Improper grip can introduce unnecessary strain, leading to wrist or shoulder fatigue and uneven stitch gauge.
There are two primary ways to hold a crochet hook: the Pencil Grip and the Knife Grip. Neither is right or wrong, so feel free to choose whichever feels most natural to you.
Pencil Grip (Pen Grip)Hold the hook between your thumb and index finger at the flat thumb rest, lightly supporting it with your middle finger, just like holding a pencil. This is the most common grip in Japan. It allows fine control with your fingertips, making it very approachable for beginners.
Knife Grip (Overhand Grip)Grasp the hook overhand from above, holding it much like a dining knife. This grip is widely popular in English-speaking craft communities. Because it utilizes the entire wrist, it reduces hand fatigue when working with bulky yarns or heavier projects.
If you're unsure which to use, I recommend trying the Pencil Grip first, as it allows precise fingertip control.
In crochet, the hand holding the yarn (typically the left hand for right-handed crocheters) is just as important as the hand holding the hook.
Here is the standard way to thread yarn through your left hand:
Your left index finger acts as an antenna maintaining yarn tension. If this finger drops, the yarn goes slack, making it difficult to catch with the hook. Keeping your index finger lifted gently to maintain consistent yarn tension is the secret to creating beautiful, even stitches.
With tools in hand and yarn positioned, let's try basic techniques. Crochet is built upon combinations of fundamental stitches.
The foundation chain serves as the base for almost all crochet projects.
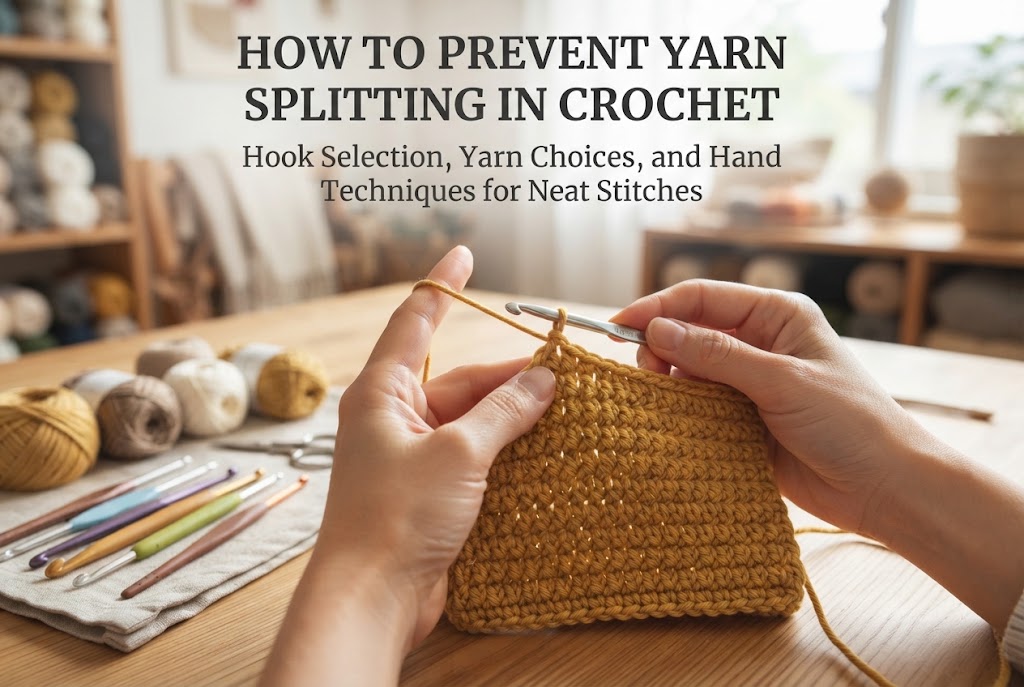
A critical trick here is to keep the hook tip pointing downward while pulling through. If the hook points upward or sideways, it will catch and split the yarn or fail to pull through smoothly.
Single crochet is the most fundamental and frequently used stitch, creating a dense, sturdy fabric.
When inserting the hook, move your left thumb and middle finger right up near the insertion point. Holding the fabric close prevents wobbling and allows smooth stitching.
When building rows vertically, you stitch a "turning chain" to bring the working height up to match the next row. For single crochet, the turning chain is 1 chain stitch.
After making a turning chain, work the first single crochet of the row. Immediately attach a locking stitch marker into the top V-shape of that very first single crochet stitch!
When you work back across the row later, this marker clearly indicates the exact stitch where your last single crochet of the row belongs. This simple habit completely solves the common mystery of where a row ends.
Here are common stumbling blocks beginners face regarding tools, along with practical solutions to keep your crafting journey frustration-free.
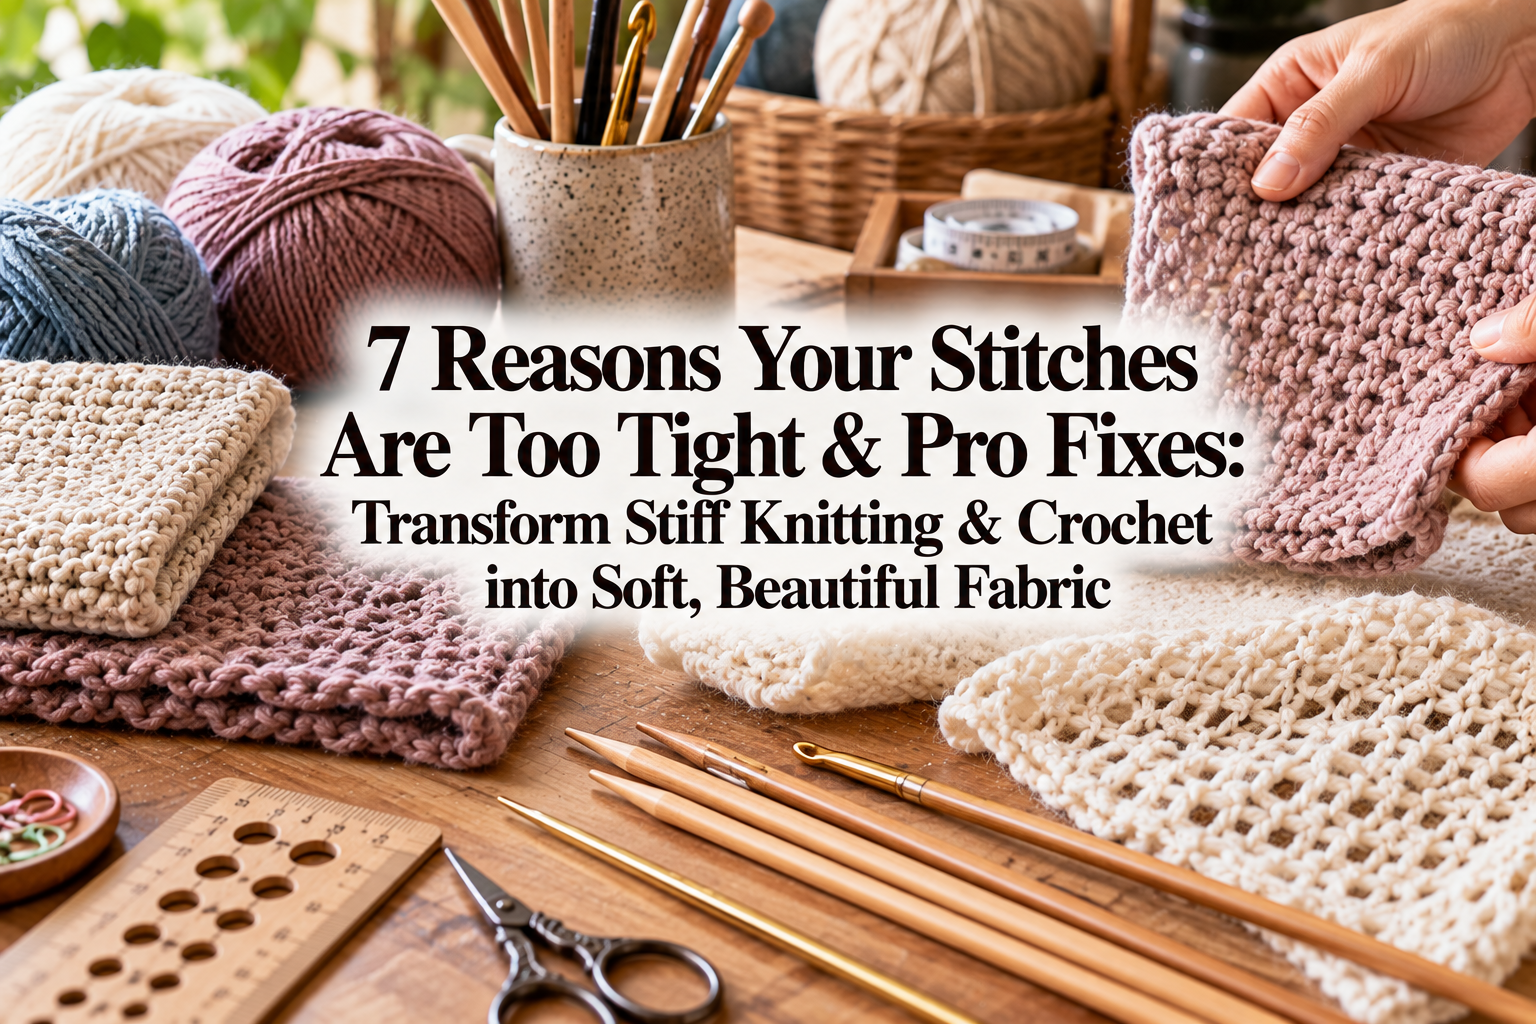
Working bulky yarn with a thin hook results in a stiff, tight fabric that is hard to push the hook through. Conversely, using a large hook with fine yarn creates a loose fabric full of gaps.
Solution: Always check the back of the yarn label! Yarn labels specify recommended hook sizes (for instance, "Suggested Hook: US E-4 to G-6 / 3.5mm – 4.0mm"). Sticking within the manufacturer's suggested range guarantees success.
Inexpensive unpadded metal hooks (like basic aluminum hooks) are budget-friendly, but holding them for extended periods can press painfully into your fingers.
Solution: If you plan to enjoy crocheting as a hobby, invest in an ergonomic hook with a cushioned silicone grip from established craft brands (such as Clover or Tulip). The difference in comfort and effortless stitch glide is remarkable.
This happens when the hook catches only a few fibers of the yarn ply instead of the whole strand, creating messy strands.
Solution: This issue stems from hook orientation and yarn selection. Make sure to point the hook tip straight down whenever pulling through loops. Also, choose well-twisted acrylic or firm cotton yarn over loosely plied yarns when starting out.
If you're asking, "What exact items should I buy today?" here is my recommended starter kit for absolute success!
You don't need to buy huge comprehensive tool kits right away. Start with a single Size 6/0 hook and worsted acrylic yarn, and complete a simple project like a coaster or dishcloth. The joy of completing your very first piece will provide wonderful motivation for your next project!
Crochet is a wonderful craft that anyone can enjoy by selecting the right basic tools, understanding correct hand techniques, and practicing a few handy tips.
You don't need perfect stitches from day one. Even if your stitches start out uneven, continuing gently row by row will build muscle memory, and your work will naturally become smooth and even.
Why not pick up a comfortable 3.5mm hook and your favorite bright yarn to take that exciting first step? I sincerely hope your handmade craft journey brings you endless joy!
If you found this guide helpful, sharing it on social media or with crafting friends would mean the world to me!
Until next time, happy crafting! This was Yassy from Crafters!


For example, if you are looking for articles about mizuhiki, try searching for "mizuhiki"; if you are interested in tools, try keywords like "nippers" or "pliers."
