Coating Resin vs. Molding Resin: The Essential Guide to Stop Sticky Residue and Uneven Surfaces
yassy
Crafters!

Hello, this is Yassy from Crafters! (・∀・)
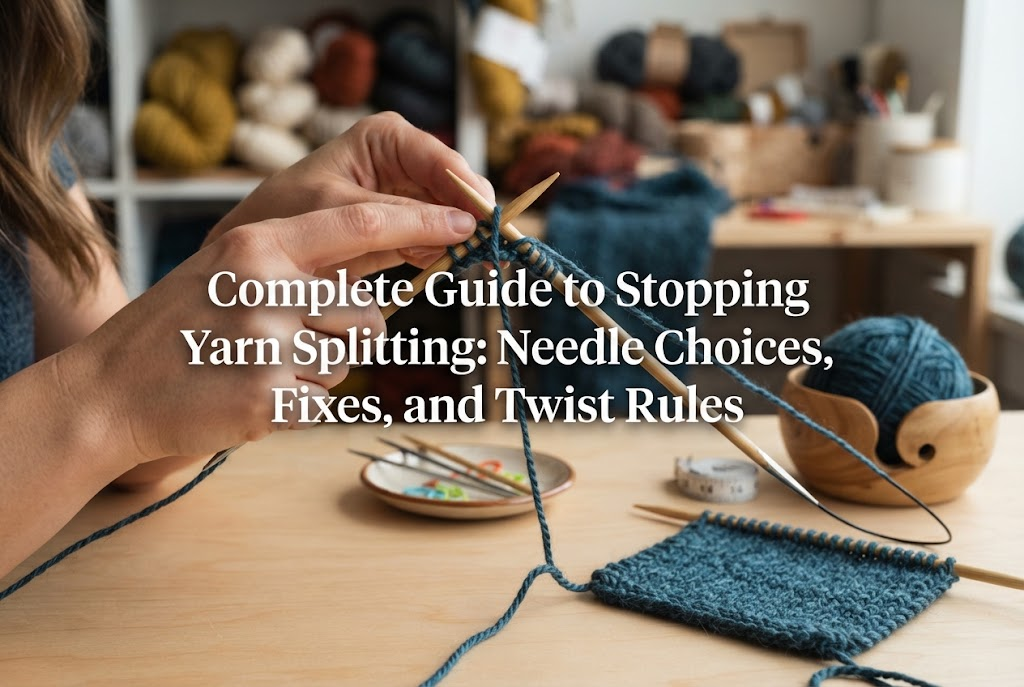
When working with yarn, do you ever get frustrated when your needle tip pierces directly into the yarn strand, splitting the thread? Having only part of the yarn caught on your hook or seeing thin fibers poking out of your knitted fabric completely disrupts your rhythm and causes major stress.
I love fiber arts and regularly enjoy both crochet and knitting. Whenever I find attractive skeins at local craft shops or online, I can't help buying them. But if yarn splitting happens constantly once I start crafting, the joy of working with even the most gorgeous yarn is cut in half.
Yarn splitting is definitely not caused by clumsiness. It is a clear physical phenomenon that occurs when three elements—yarn structure, needle shape, and hand movement—are out of sync.
Once you understand the exact causes and countermeasures, yarn splitting can be 100% prevented. In this guide, I will share my experience and technical knowledge to explain everything from the fundamental mechanics of yarn splitting to proper tool selection, hand habit corrections, and how to spot split-resistant yarns.
By reading this article to the end, you will be completely freed from the annoyance of split yarn and able to create beautiful, stress-free projects.
In knitting and crochet, yarn splitting refers to the phenomenon where the sharp point of a needle or hook pierces directly between the individual plies or fibers that make up a strand of yarn.
Instead of catching the entire strand to form a clean loop, the bundle of fibers splits, pulling out only a portion of the thread.
You shouldn't ignore this as a mere inconvenience. Continuing to craft while ignoring split yarn severely impacts both the appearance and durability of your finished piece.
Stitches worked with split yarn create unnatural puckering and loose stray fibers on the surface of your fabric. No matter how even your tension is, a single split stitch ruins the uniformity of the stitch pattern and lowers the overall quality.
Furthermore, split stitches do not distribute thread tension evenly. This weakens resistance to friction, leading to snapped threads or heavy pilling over time as the item is worn or used.
If you don't notice a split thread until several rows later, fixing it becomes a huge hassle. Discovering an awkward pulled strand means ripping back your work to that exact point, wasting precious crafting time.
Mastering techniques to prevent yarn splitting is a top priority for speeding up your crafting and achieving a polished finish.
Yarn splitting doesn't happen by chance. It is caused by a complex interaction between three factors: yarn structure, tool suitability, and crafter technique.
To solve the problem, you first need to correctly identify which of these causes is at play.
Yarn is made by twisting fine fiber bundles together into a single strong strand. The tightness and direction of this "twist" directly affect yarn splitting.
There are two twist directions: "Z-twist" (twisted clockwise) and "S-twist" (twisted counterclockwise). Most commercially available hand-knitting yarns are Z-twisted.
When moving your needle in crochet or knitting, moving in a direction that tightens the twist will keep the yarn compact. However, moving in a direction that untwists the yarn causes the fibers to spread out, making it easy for the needle point to enter.
Additionally, softly twisted yarns like "low-twist yarns" or single-ply "roving yarns," which are designed for a fluffy texture, are structurally very prone to splitting.
Using a needle shape that doesn't match your yarn is another very common cause.
For crochet hooks, if the head is overly sharp or pointed, it will pierce into the fiber bundle rather than scooping it. Also, hooks with shallow inline grooves allow the yarn to slip off halfway through pulling, catching only a fraction of the fibers.
The same applies to knitting needles. Using ultra-sharp lace-tip needles on thick, loosely twisted yarn allows the needle tip to easily penetrate inside the strand.
Unconscious hand habits are another major factor behind yarn splitting.
When inserting the needle into a stitch, pushing it in forcefully at a perpendicular (right) angle to the fabric pierces directly through the yarn fibers.
Also, watch out if you tend to rotate your crochet hook wildly without paying attention to the direction of the hook when grabbing thread. This twisting motion forcibly untwists the yarn, causing it to split right as you pull it through.
If you're struggling with yarn splitting, the first thing to review is the tools you are using. Before doubting your skill, simply changing your needle often stops yarn splitting completely.
In my own work, carefully selecting the right needle for each type of yarn has drastically reduced splitting stress.
The absolute rule for preventing yarn split in crochet is to choose a hook with a moderately rounded head and a deep inline groove.
Some inexpensive crochet hooks have knife-like sharp heads or shallow hook depth. These shapes are classic triggers for yarn splitting.
High-quality ergonomic crochet hooks from established Japanese manufacturers are engineered specifically around head shape. They don't cut into fibers when scooping yarn, instead securely holding the entire strand so that splitting is physically minimized.
Especially when working with cotton yarn or low-twist yarn, be sure to use brand-name hooks with deep throats.
To prevent yarn splitting in knitting, the tip roundness and material friction make a decisive difference.
While metal needles with extremely sharp tips glide smoothly, they carry a high risk of splitting yarn. When working with split-prone yarn, the correct choice is bamboo or wooden knitting needles with softly rounded tips.
Natural materials like bamboo and wood offer natural friction (grip) on the surface. Because the yarn doesn't slide unintentionally on the needle shaft, it prevents the tip from poking too deep into the stitch, allowing you to guide the tip accurately where intended.
The recommended needle size listed on yarn ball bands is just a general guide. If your tension is tight and yarn splitting happens frequently, try intentionally using a needle 0.5 to 1 size larger than suggested.
Using a larger needle creates larger stitch loops, providing more space to insert the tip. The extra room reduces contact between the tip and the yarn strand, dramatically preventing split stitches.
As long as it doesn't compromise the gauge or density required for your project, testing a slightly larger needle size is a very effective approach.
Once you have the right tools, focus on how you move your needles. A slight tweak to your habits can completely transform your crafting comfort.
Master the correct movements for both crochet and knitting below.
The biggest cause of yarn splitting in crochet is having the hook facing upward or sideways when pulling through a loop.
Once you catch the yarn in the hook, always keep the tip turned toward yourself or facing straight down as you guide it through the stitch.
If you pull while the hook faces up or sideways, the notch will snag on existing strands of the fabric, splitting them. Make it a rule to practice the basic motion: catch, turn down, pull through.
It's also important to pass the stitch all the way up to the thicker shaft of the hook rather than working only on the thin tip. This creates adequate loop size so the head passes smoothly.
The key to avoiding yarn splitting in knitting is the angle and trajectory of the right needle as it enters the stitch on the left needle.
Instead of stabbing the right needle into the stitch at a right angle, slide it parallel along the shaft of the left needle.
Think of it as sliding the tip smoothly into the open gap rather than pushing down from above.
Furthermore, whether you knit English style (holding yarn in the right hand) or Continental style (holding yarn in the left hand), avoid excessive wrist twisting so you don't apply force that untwists the yarn ply.
How you pull thread from a yarn ball is an easily overlooked detail.
Pulling yarn from the center of the skein (center pull) is convenient because the ball doesn't roll around, but it adds twist to the yarn as it unravels. If this extra twist acts in a direction that untwists your yarn structure, the yarn will split more and more as you work.
If you notice yarn splitting getting worse while using a center pull, switch to pulling from the outside of the skein (outside pull). As the skein rotates to release yarn, the twist balance stays intact, keeping the strand in its original pristine condition.
Yarns naturally fall into categories of split-prone materials and structurally split-proof materials. Recognizing yarn characteristics during the planning stage helps you avoid unnecessary frustration.
Here are clear standards to use when picking yarn at craft shops or online store listings.
Unlike animal fibers such as wool, plant fibers like cotton and linen have almost no elasticity. Because individual fibers don't cling together tightly, the twist untangles easily, making them prime candidates for splitting.
When working with cotton yarn, using a rounded, deep-grooved crochet hook and relaxing your tension are absolute musts. While popular among crafters for summer bags and pouches, these materials require the most caution regarding yarn split.
Standard straight acrylic and wool yarns vary in split risk depending on twist tightness.
If you twist a strand slightly with your fingers and the fibers easily separate and spread out, it is a low-twist yarn. While it offers a soft, cozy feel, the loose fibers catch easily on needle tips.
Conversely, tightly twisted "high-twist yarns" repel needle tips, making yarn splitting almost non-existent.
If you want to completely avoid yarn splitting and enjoy smooth, stress-free crafting, the ultimate choice is chainette yarn (lilyyarn structure).
This yarn is constructed by machine-knitting fine threads into a hollow tube. Because the fibers are knitted into a single unified structure rather than twisted, it is physically impossible for a needle tip to split the strand.
In recent years, craft stores and online vendors offer many varieties under names like "tube yarn," "macrame yarn," or braided yarns. For beginners still getting used to tension, starting with chainette-structured yarn allows you to focus 100% on stitch movements without worrying about splitting at all.
No matter how careful you are, an accidental split stitch can still happen. What matters most is taking the right corrective action the moment you spot it.
Never compromise by telling yourself "it's just a little split" and continuing to stitch.
The second you spot a split thread, stop crafting.
If you work the next stitch over it, the split fiber becomes tangled tightly, making it extremely difficult to undo later.
Carefully remove your hook or needle and drop back to the split stitch. Gently smooth out the strand with your fingertips to restore the natural twist, then insert your needle correctly and redo the stitch.
Taking this extra moment directly determines the polished quality of your final handmade piece.
If you are knitting and spot a split stitch several rows down, here is a neat trick to fix it cleanly without unraveling whole rows.
You don't need to rip back your entire work. Having a single crochet hook nearby lets you fix it spot-on:
Learning this ladder-fix technique saves tons of time. Keeping a repair crochet hook handy while knitting is my personal rule of thumb!
Here is my actual thought process and workflow whenever I purchase new yarn and begin a new project.
When I get new yarn, I never jump straight into the main project. I always make a 10 x 10 cm (4 x 4 inch) gauge swatch first.
During the swatching phase, I thoroughly evaluate three key points:
Spending just 5 minutes on a test swatch to fine-tune the compatibility between yarn and tool eliminates yarn splitting frustration entirely during the real project.
In handmade crafting, taking time to prepare is never a detour. Setting up the perfect environment before you start is the ultimate secret to completing professional-quality items in the shortest time.
Let's recap the key takeaways for preventing yarn split and enjoying stress-free crafting:
Understanding the physics behind yarn splitting makes knitting and crochet so much more delightful and seamless. By tweaking your tools and hand habits just a bit, the quality of your handmade creations will skyrocket!
Grab your favorite yarn and the perfect needles, and enjoy a wonderful, stress-free crafting session!
If you found this guide helpful, please share it with your crafting friends on social media or chat! See you in the next article! This was Yassy from Crafters!

For example, if you are looking for articles about mizuhiki, try searching for "mizuhiki"; if you are interested in tools, try keywords like "nippers" or "pliers."
