How to Weave in Yarn Ends in Crochet: Pro Techniques for Secure and Invisible Finishes
yassy
Crafters!

Hello, craft lovers! It's Yassy from Crafters! (・∀・)
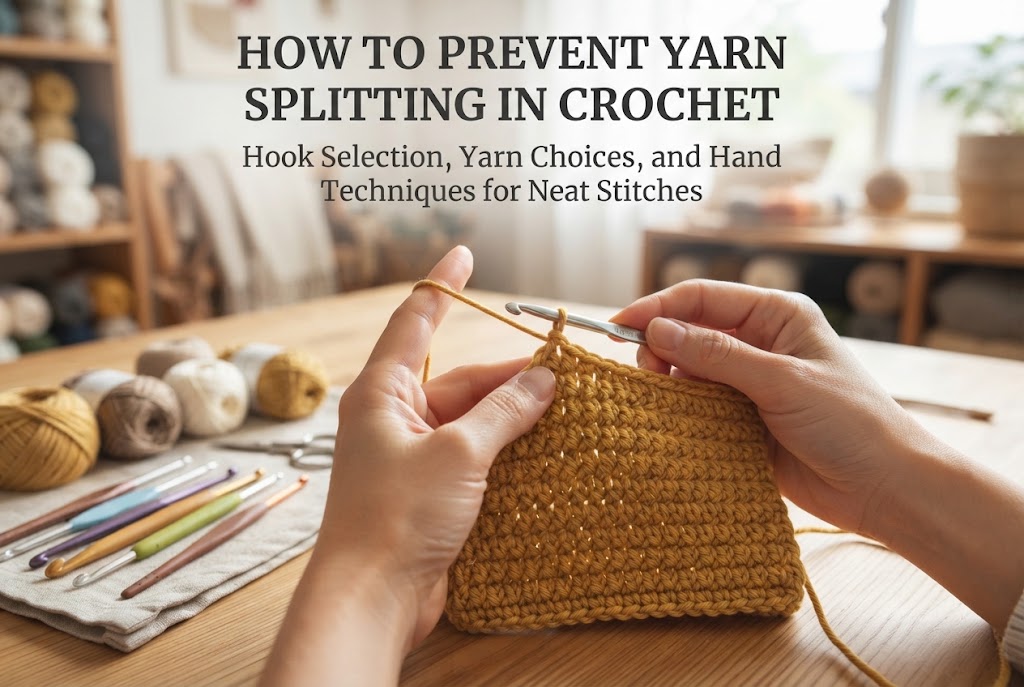
Have you ever been happily crocheting along, only for your hook to catch just a few strands of yarn, leaving the rest frayed and split? Having to reinsert your hook over and over, or forcing a split stitch through only to end up with messy, uneven work, can instantly ruin your crafting mood.
Yarn splitting is one of the most common hurdles that crochet beginners face. However, splitting doesn't happen because you lack talent or have clumsy hands—there are clear, logical reasons behind it.
In this guide, I will break down the root causes of yarn splitting in crochet and share actionable, easy-to-follow solutions you can start using today. From selecting the right yarn and hook shape to adjusting your hand movements, let's master these tips for a smooth, stress-free crocheting experience!
Yarn splitting doesn't just happen because your hands slipped. It is caused by a combination of three factors: your tools, your materials, and your technique. Let's look at the four main reasons why yarn splits.
Crochet yarns, whether wool, cotton, or synthetic, are made by twisting multiple thin fibers or plies together. The tightness and structure of this "twist" directly affect how prone the yarn is to splitting.
Loosely twisted yarns (single-ply or low-twist yarns) hold a lot of air and feel wonderfully soft and fluffy. However, because the fibers are not tightly bound, the tip of your crochet hook can easily pierce between them, causing the strand to separate.
Similarly, multi-strand yarns held together without twisting (multi-ply unspun yarns), flat tape yarns, and slub yarns with textured bumps are also naturally prone to catching on hook tips.
Using a crochet hook that does not match your yarn's characteristics is another major culprit.
Hooks with overly sharp, pointed tips make it easy to insert into tight stitches, but they also tend to stab straight into the yarn fibers. On the other hand, hooks with very shallow throats (grooves) cannot hold the yarn securely, causing strands to slip out and split while pulling through.
Furthermore, if your hook size is too small or too large for the yarn thickness, the yarn will not sit neatly inside the hook's groove, leading to stray fibers getting caught outside the hook.
Crochet requires subtle wrist and finger rotations as you manipulate the hook. Habits in how you angle and turn your hook can frequently cause splitting.
When catching the yarn and pulling it through a loop, pulling while the hook opening faces upward or sideways causes the edge of the hook to catch and tear into the strand.
Pulling the yarn through at a sharp diagonal angle also creates unnecessary friction against the surrounding stitches, shaving or snagging the fibers.
When working into previous stitches, you might accidentally pierce the yarn fibers of the row below instead of inserting the hook cleanly under the proper loops (such as both top loops of the chain or a specific single loop).
Additionally, holding the working yarn too tightly in your non-dominant hand creates stiff, hard stitches. When you try to force the hook into tight stitches, the hook has nowhere to go and ends up piercing directly through the yarn.
Now that we understand the mechanics of yarn splitting, let's explore practical solutions. First, let's adjust how you choose and handle your yarn.
If you are a beginner or struggling with splitting, changing your yarn structure is the quickest fix. Unless your pattern strictly requires a specific texture, picking yarns with the following structures will dramatically reduce splitting:
Conversely, loosely spun roving yarns, fluffy mohair, and untwisted multi-strand yarns are best saved for when you have built more confidence with your hook control.
Whether you pull yarn from the center of the skein (center pull) or unwind it from the outside alters the subtle rotational twist applied to the strand as you work.
Pulling from the center can add or remove twist depending on the direction. If you notice your yarn unraveling or becoming loose as you crochet, try working from the outside of the skein instead. This helps maintain the yarn's original twist and prevents splitting.
Simply changing your crochet hook can resolve yarn splitting issues surprisingly well. Keep these three points in mind when choosing a hook:
Crochet hook tips range from sharply pointed inline styles to gently rounded tapered heads.
To prevent splitting, look for a hook with a slightly rounded head and smooth, rounded edges along the lip of the hook.
Budget plastic hooks or low-quality metal hooks may have rough seams or tiny burrs left from manufacturing, which snag delicate fibers. Choosing smoothly polished metal hooks from reputable craft manufacturers ensures a seamless glide.
The depth of the hook's groove (the throat) is crucial. A deeper, well-defined groove cradles the entire yarn strand securely, minimizing the chance that individual fibers slip away as you pull through the stitch.
While shallow hooks can offer speed for experienced crafters, they are harder to manage if you struggle with splitting.
Yarn labels always list a recommended hook size range (for example, US G-6 to 7, or Japanese 5/0 to 6/0).
If you tend to split yarn, choose the larger end of the recommended range. A slightly larger hook provides a deeper groove that accommodates the full thickness of the yarn easily, keeping stray strands from catching.
With the right materials and tools ready, the final step is refining your hand movements and angles. A few conscious adjustments will elevate the neatness of your stitches significantly.
The golden rule of smooth crocheting is the orientation of your hook as you pull through a loop.
Once you catch the yarn with your hook, gently rotate your wrist so the opening of the hook faces directly downward (or slightly tilted down). Keeping the hook facing down as it glides through the stitch keeps the yarn bundled safely inside the groove.
If the hook faces upward or to the side, the lip of the hook will snag on the stitch you are passing through and split the fibers. Practice making this downward rotation a natural habit.
If your stitches are consistently tight, you are likely pulling too hard with the index finger of your yarn-holding hand. Tight stitches leave little room for the hook to enter, forcing the tip to pierce the yarn.
Relax your hand and maintain gentle tension so the yarn feeds smoothly and effortlessly. Giving your stitches enough breathing room will drastically cut down on splitting.
When inserting your hook into a stitch, sliding it in at a flat, shallow angle increases the risk of stabbing through the fibers of the row below.
Instead, aim the tip straight into the stitch opening (nearly perpendicular to the fabric), push it through cleanly, and then level the hook back to horizontal. This simple angle adjustment makes stitch insertion remarkably smooth.
Let's address two common myths beginners often have regarding split yarn.
If you drop a few plies and finish a stitch with split yarn, thinking it will blend in later, it will almost certainly stand out on the finished piece.
Split plies often form loose loops on the surface, or cause that specific stitch to look distorted and uneven. Furthermore, stray strands experience friction during everyday use, leading to premature pilling or even broken threads over time.
Some believe that luxury yarns or 100% natural fibers are immune to splitting, but this is not the case.
In fact, high-end merino wool, alpaca, and silk yarns are often spun with very gentle twists to maximize their buttery softness and drape. Because they are deliberately delicate, premium yarns can actually split more easily than everyday plied acrylics. Expensive does not always mean easier to crochet.
Even with careful technique, yarn can occasionally split. Here is the proper way to fix it without damaging your work:
Taking a few seconds to undo and fix a split stitch is the fastest route to a clean, durable, and beautiful finished piece.
If I were coaching a beginner who is frustrated with yarn splitting, here is the exact 3-step setup I would recommend:
First, look at your hook. If you are using unbranded discount hooks, invest in a quality hook from established Japanese makers, such as Clover's "Amour" (known as Amure in Japan) or "Pen-E" series.
These hooks are engineered with carefully calculated head roundness, precise throat depths, and ultra-smooth finishes. Upgrading your hook often eliminates splitting so effectively you'll wonder why you struggled before!
Until you build muscle memory, avoid roving yarns and multi-strand blends. Choose a smooth, well-twisted worsted-weight (medium) acrylic or cotton yarn.
Working with yarn that has crisp stitch definition makes it easy to see exactly where your hook needs to go.
Instead of aiming for speed, slow down and visually check that your hook is turned downward every single time you pull through a loop.
Practicing this motion in deliberate slow motion until your hands do it automatically is the most reliable way to level up your crochet technique.
Yarn splitting is simply a sign that your yarn structure, hook design, and hand posture are slightly out of sync. Once you identify the cause, simple adjustments to your tools and technique will solve the problem completely.
When your yarn stops splitting, your hook will glide effortlessly through every stitch. Your stitch definition will look crisp, even, and professional, taking your finished projects to the next level.
Use these tips in your next project and enjoy a relaxing, stress-free crochet session! If you found this article helpful, please share it with your fellow crafting friends.
See you in the next post! This was Yassy from Crafters!

For example, if you are looking for articles about mizuhiki, try searching for "mizuhiki"; if you are interested in tools, try keywords like "nippers" or "pliers."
