Best Crochet Projects for Beginners: What to Make First and Essential Tips for Success
yassy
Crafters!

Hello everyone, this is Yassy from Crafters! (·∀·)
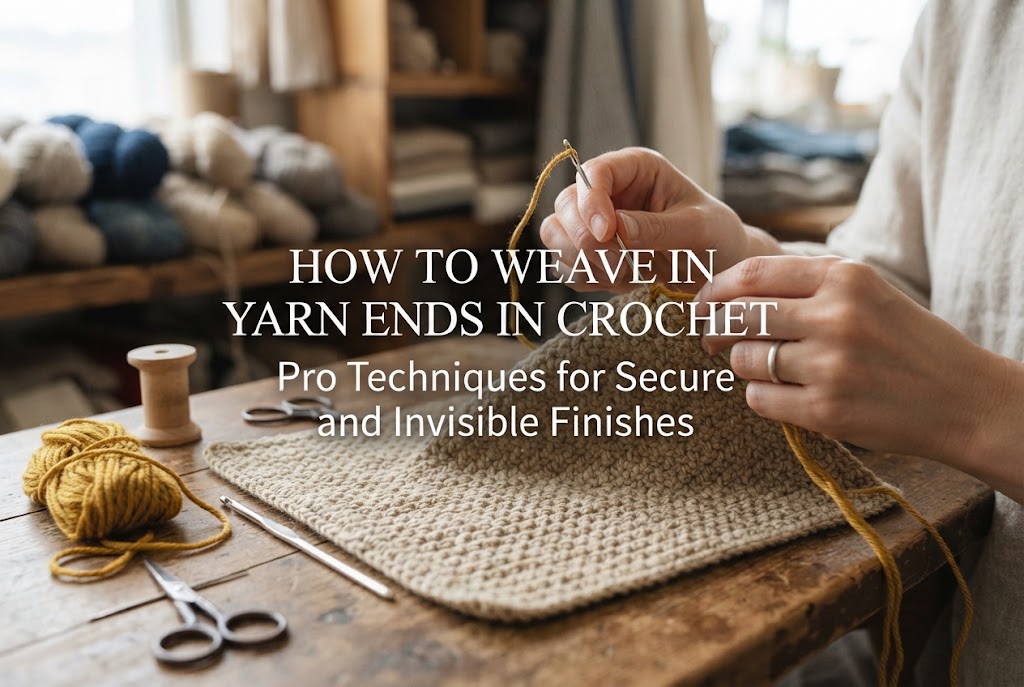
When you finish crocheting a motif, bag, or small accessory, the final task waiting for you is weaving in the yarn ends. After putting so much effort into crocheting a lovely piece, you might face common dilemmas during this final stage: “Where should I thread the needle?”, “Why do the yarn ends pop out when I use the item?”, or “Why does the area where I wove in the ends look so bulky and obvious?”
Weaving in ends may seem like a plain, tedious task at first glance. However, it is an extremely important step that determines both the durability and the overall level of finish of your work. No matter how beautiful your stitches are, if yarn ends are visible or prone to coming undone, the piece can instantly look unfinished or amateurish.
In this guide, I will explain everything from the standard step-by-step procedures to make your yarn ends secure, invisible, and neat, to applied techniques for different stitch patterns, as well as common beginner mistakes and their solutions. Read on to take the quality of your crochet projects to the next level!
In crochet, weaving in ends refers to the process of hiding and securing the loose tails left at the beginning, end, or join points of your project inside the fabric. There are two major reasons why doing this carefully is essential.
The first reason is to prevent your work from unraveling. Because crochet is constructed by pulling loops through a single strand of yarn, pulling on an unsecured yarn tail creates a real danger of stitches unraveling one after another. By properly threading and locking the tail into the stitches, you ensure enough strength to withstand daily friction and washing.
The second reason is to maintain the beauty and texture of the finished piece. Even on the wrong side (back) of your work, sloppy end-weaving can cause pulling or create thick, stiff spots. The key to a high-quality finish lies in weaving in the ends so that no loose tails are visible from either the front or back, without compromising the natural softness and elasticity of the fabric.
Using the right tools is the very first step toward a clean finish. Rather than substituting with ordinary sewing tools, prepare dedicated tools designed specifically for yarn craft.
A tapestry needle is indispensable for weaving in ends. The biggest difference between a tapestry needle and a standard sewing needle is that a tapestry needle has a blunt tip and a large needle eye. If the tip is sharp, it will pierce and split the yarn plies themselves, preventing the tail from blending smoothly into the stitches.
When choosing a tapestry needle, select the size based on the thickness of your yarn. Use a finer tapestry needle for lace or fingering weight yarn, and a thicker needle for worsted or bulky yarns. If the needle is too thick for the yarn, it will stretch and damage the stitches. Conversely, if it is too fine, threading the yarn becomes difficult and slows down your work. It is convenient to keep a set of tapestry needles in various sizes on hand.
The scissors you use to cut the yarn tail at the very end are also crucial. Dull scissors will fray the cut end of the yarn, making the trimmed tail stand out even more. Choose small craft or embroidery scissors with fine tips that cut cleanly and sharply all the way to the point.
Here is the standard step-by-step procedure for weaving in ends. This golden rule applies to almost any project, so be sure to master it.
When you finish your final stitch, cut the yarn, leaving a tail of about 10 to 15 cm (4 to 6 inches). The key here is not to be stingy with the tail length. If the tail is too short, threading it onto a tapestry needle and guiding it through the stitches becomes significantly more difficult.
Once cut, lift the final loop on your crochet hook and pull the yarn tail completely through it, tightening it lightly. This secures the final stitch.
Thread the yarn tail onto your tapestry needle. Check the right and wrong sides of your project. If the yarn tail is on the right (front) side, insert the needle near the base of the adjacent stitch to pull the tail through to the wrong (back) side. As a rule, weaving in ends should always be done on the wrong side or an inconspicuous inner surface.
Guide the yarn tail on the wrong side through dense areas of stitches, such as the posts (legs) or the back loops of the stitches. Simply passing the thread in a straight, single direction makes it easy for the tail to slip out when pulled.
The golden rule for preventing unraveling is to reverse direction midway. After passing the needle through 3 to 4 stitches in one direction, catch an adjacent loop and weave back in the opposite direction for 2 to 3 stitches. Creating this zigzag (U-turn) motion increases friction between the fibers, making a super-secure join that won't come undone even when tugged.
Once you have finished weaving, be careful not to pull the tail too tightly. Gently stretch the surrounding fabric horizontally and vertically. Settling the fabric releases any puckering caused by weaving in the thread and restores its natural stretch.
When the fabric lies flat and smooth, trim the yarn tail right at the base, taking care not to snip the working stitches. After a light final stretch, the cut end will retreat naturally into the stitch and disappear from view.
Depending on the stitch pattern and texture of your crochet fabric, the ideal placement and technique for weaving in ends will vary. Let's look at four representative scenarios.
When working flat rows, you often end up with yarn tails at the side edges of your work. Because edge stitches move around easily, yarn tails tend to pop out if woven directly into the very edge. The secret is to pass the needle down into the posts (the V-shapes or vertical bars) of the stitches one row below.
For double crochet, inserting the needle directly into the center of the tall vertical posts (from top to bottom or bottom to top) hides the tail within the shadow of the stitch, making it completely invisible from both the front and back.
When crocheting in the round—such as doilies, coasters, or the top of a hat—ending the final round with a standard slip stitch can create an unsightly bump or step at the join. You can solve this by using an invisible join (chain join) technique.
Steps for the Invisible Join:1. After completing the last stitch, do not make a slip stitch. Cut the yarn tail and pull it completely out of the loop.2. Thread the tail onto a tapestry needle and insert the needle under both top loops of the first stitch of the round, from front to back.3. Next, insert the needle from top to bottom into the center of the V-shape of the last stitch made (where the tail originates), catching the loop on the back as well, and pull through to the wrong side.4. Adjust the tension of the tail so that the newly formed loop matches the size of the surrounding chains.
Using this method creates a seamless, continuous chain line where no one can tell where the round ended. After forming the join, weave the tail through the stitches on the wrong side and reverse direction as usual.
In striped or multicolored projects, changing colors creates two yarn tails (the old color and the new color) at every join. Tying these ends together in a hard square knot can cause the knot to show through on the front or come undone during washing.
As a rule, never hard-knot color change tails. Instead, weave each tail into the fabric section of its matching color. Weave the new color's tail into the row made with the new color, and weave the old color's tail into the row made with the old color. This completely prevents thread from showing through on a contrasting background.
A handy shortcut to save time is crocheting over your yarn tails as you work the next row or round. By laying the yarn tail along the top of the previous row's stitches and working your new stitches over it, the tail gets encased automatically inside the fabric.
While this is extremely efficient for projects with many color changes or granny squares, there is a catch. Simply working over a tail only secures it in one direction, meaning the tip of the tail can gradually slide out over time with use.
Therefore, even when working over ends, it is best to leave the last few centimeters unwrapped, then go back later with a tapestry needle to weave it in the opposite direction. Alternatively, hook or anchor the tail once midway while crocheting over it.
If you run into trouble while weaving in ends, there is usually a clear cause and solution. Check these points to see if any sound familiar!
Cause: The woven length is too short, or you did not reverse directions.Solution: Ensure you weave the tail through a length of at least 5 to 6 stitches (about 3–4 cm / 1.5 inches). Always reverse direction at least once. For slippery yarns like acrylic or silk, weaving in an S-shape (changing directions three times) guarantees the end will never poke out.
Cause: Pulling the yarn tail too tightly while weaving.Solution: Avoid trimming the tail while it is pulled taut. After threading the needle through, get into the habit of gently stretching the fabric with your hands to restore its natural tension before snipping the thread.
Cause: Threading multiple tails into the exact same stitches, or passing thick yarn through all at once.Solution: Spread the tail placement out across surrounding stitches vertically and horizontally rather than concentrating in one spot. For super bulky yarn or multi-strand projects, untwisting the plies of the tail and weaving the split strands in different directions is a very effective secret tip!
Cause: Trimming the tail too short or passing it only through open gaps between stitches.Solution: Instead of threading through open spaces, make sure to insert your needle firmly into the solid fibers/posts of the yarn stitches. For slippery materials like cotton or lace weight thread, applying a tiny dot of fray check or fabric glue to the root of the tail on the wrong side offers ultimate peace of mind.
Here are a few personal habits and tips that I (Yassy) always keep in mind when making my own projects!
When working on projects with dozens of yarn ends, like granny square blankets, I avoid leaving all the weaving until the very end. Instead, I make it a rule to weave in ends after finishing a few motifs or after completing a few rows. Trying to process dozens of loose tails all at once at the end can feel overwhelming, leading to fatigue and rushed work. Handling them in small batches keeps the quality consistently high from start to finish.
Additionally, once all ends are woven in, I always finish my wool and cotton projects by gently applying a steam iron (hovering the iron slightly above the fabric without pressing down). The heat and moisture cause the yarn fibers to bloom softly, blending the woven tails seamlessly into the surrounding stitches. This single extra step dramatically reduces the chance of ends poking out later!
We've covered various techniques to achieve clean, secure, and invisible end-weaving in crochet.
Let's quickly recap the key points for success:
It might feel a bit detailed at first, but once you get the hang of proper end-weaving techniques, your projects will gain the durability and refined look of store-bought or professional handmade items. Since you put so much love into crocheting your piece, give it the perfect final touch with careful finishing!
If you found this guide helpful, I'd be super grateful if you shared it with your crafty friends on social media or messaging apps! Thanks for reading, and see you in the next article! This was Yassy from Crafters! (•ν•)


For example, if you are looking for articles about mizuhiki, try searching for "mizuhiki"; if you are interested in tools, try keywords like "nippers" or "pliers."
