Stitch Ring Markers vs. Locking Stitch Markers: How to Choose and Use These Essential Knitting Notions
yassy
Crafters!

Hello, this is Yassy from Crafters! (・∀・)
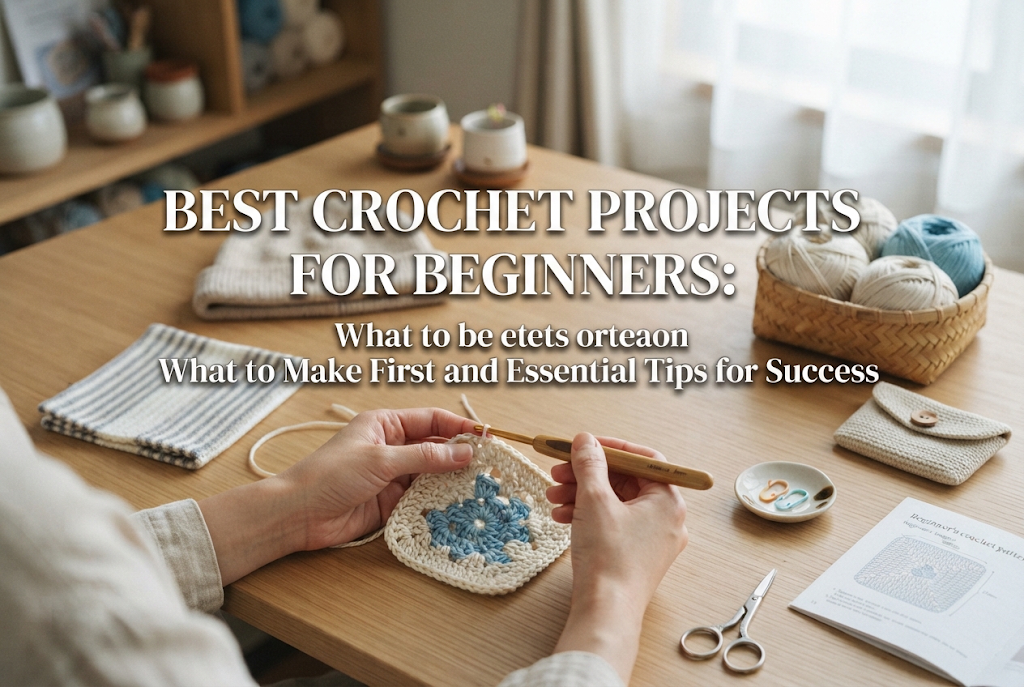
Have you been thinking, "I really want to try crochet, but I have no idea what to make first," or "I don't want to pick something too hard and end up quitting halfway"? Many people buy all their supplies after admiring gorgeous handmade pieces in craft books or on social media, only to get stuck right at the starting line when deciding on their first project.
To give you the bottom line right away: your very first crochet project should definitely be something small and rectangular! If you jump straight into big garments or intricate three-dimensional shapes, they take far too long to finish, leading to burnout or getting completely lost among your stitches.
In this guide, I will thoroughly explain the best first projects for crochet beginners, how to choose the right materials to avoid common traps, and how to keep your stitches neat and even. By following this guide, you will be able to finish your very first project with joy and experience the wonderful sense of accomplishment that comes with handmade crafts!
To improve smoothly in crochet, there are three essential criteria you should keep in mind during the project-selection stage. No matter how adorable a design looks, attempting it before mastering the fundamentals will lead to frustration. Start with something that meets these three points:
For your first project, pick a simple rectangular shape worked back and forth in straight rows—one that requires no increases (adding stitches) or decreases (reducing stitches).
The bedrock of crochet is working flat rows (turning your work at the end of each row and crocheting back in the opposite direction) to build an even rectangle. Flat rectangular pieces are the ideal canvas for learning to work into edge stitches correctly and keeping your tension consistent. As a rule of thumb, save curves and 3D shapes for after you can reliably produce a neat, flat rectangle.
The single most important milestone for a beginner is experiencing the thrill of finishing a project from start to finish. Aim for small items that can be finished in one to two hours, or at most within a single afternoon.
Large projects often leave you focusing on uneven stitches, causing hand and shoulder strain and making you lose concentration. Starting with palm-sized pieces or roughly 15 cm (6 inch) squares is the absolute fastest route to building confidence and skill.
Yarn weight and texture matter just as much as project size. Beginners should reach for yarns in the Japanese namibuto (worsted / medium weight) to gokubuto (bulky weight) range.
Fine, thin yarns hide stitch definition, making it difficult to see where to insert your hook. Thicker yarns make the "V" shape at the top of each stitch distinctly visible, drastically cutting down on missed or misplaced stitches. Thicker yarn also works up quickly with fewer rows, giving you a rewarding sense of rapid progress.
Here are my top four recommended debut projects for beginners, ordered by accessibility and ease. Feel free to choose the one that best fits your goals!
The undisputed champion of beginner crochet projects in Japan is the acrylic tawashi (crocheted acrylic scrubby). It is a simple square measuring about 10 cm to 12 cm (4 to 5 inches), worked using 100% acrylic yarn.
What makes acrylic tawashi unbeatable is practicality: even if your stitches end up a bit wobbly or uneven, it still works wonderfully as a household cleaning tool. You can crochet freely without fearing mistakes. In Japan, you can easily grab a hook and a skein of acrylic yarn at a 100-yen shop for just a few hundred yen, making the barrier to entry minimal. It also works charmingly as a drink coaster.
If you are eager to make something wearable, fingerless wrist warmers are fantastic. While they might look complex, they are actually made by crocheting a simple flat rectangle and seaming the edges together while leaving an opening for the thumb.
There is no need for complicated thumb-hole decreases. Simply crocheting two identical flat rectangles yields a practical winter accessory that feels deeply satisfying to complete and makes a lovely handmade gift.
A scarf is a classic crochet milestone. If you keep the width narrow—around 10 cm to 12 cm (4 to 5 inches)—as a mini scarf or short cowl, it becomes a very beginner-friendly project.
Because each row is short, working across them is fast and helps you get into a steady rhythm. Repeating the same stitch over and over stabilizes your tension, allowing you to visibly track your stitches becoming neater. Choosing a chunky, fluffy yarn keeps the row count low so you can finish quickly.
Once you feel comfortable working flat rectangular pieces, try making a small drawstring pouch. By crocheting a flat rectangular base and then continuing around the perimeter in joined rounds, you can construct a pouch without dealing with complex circular increases right away.
Finish it off by creating simple eyelet holes near the top edge and threading through a twisted cord or store-bought ribbon. It makes a sweet little pouch for lip balms or earphones and serves as a smooth stepping stone from 2D flat pieces to 3D shaping.
On the flip side, certain projects are common traps that lead beginners to abandon the craft early. It is best to avoid these until you have built a solid foundation:
Amigurumi plushies look adorable, making them a common dream project for many new crocheters. However, they are surprisingly demanding.
They require working tightly with thinner yarns, incorporating increases and decreases into nearly every single round. On top of that, you must master sewing small pieces (like ears and limbs) symmetrically onto the body. If the placement shifts slightly, the facial expression looks off, which can be disheartening for a first attempt.
Doilies made with thin crochet thread or lace-weight cotton look elegant, but the stitches are tiny, making it difficult to see where the hook needs to go.
Fine steel hooks also cause hand fatigue quickly, and a single mistake can distort the entire symmetrical pattern. Focus on understanding stitch anatomy using thicker yarn first.
Sweaters and oversized blankets demand an immense amount of time and yarn.
As beginners crochet, their tension naturally shifts over time. This frequently leads to pieces where the starting rows and ending rows have completely different widths and stitch sizes. Because they take so long, they easily turn into unfinished, abandoned WIPs (works in progress). Complete a few small wins first.
Your choice of materials directly impacts how smoothly you learn. Here is what I recommend for starting out on the right foot:
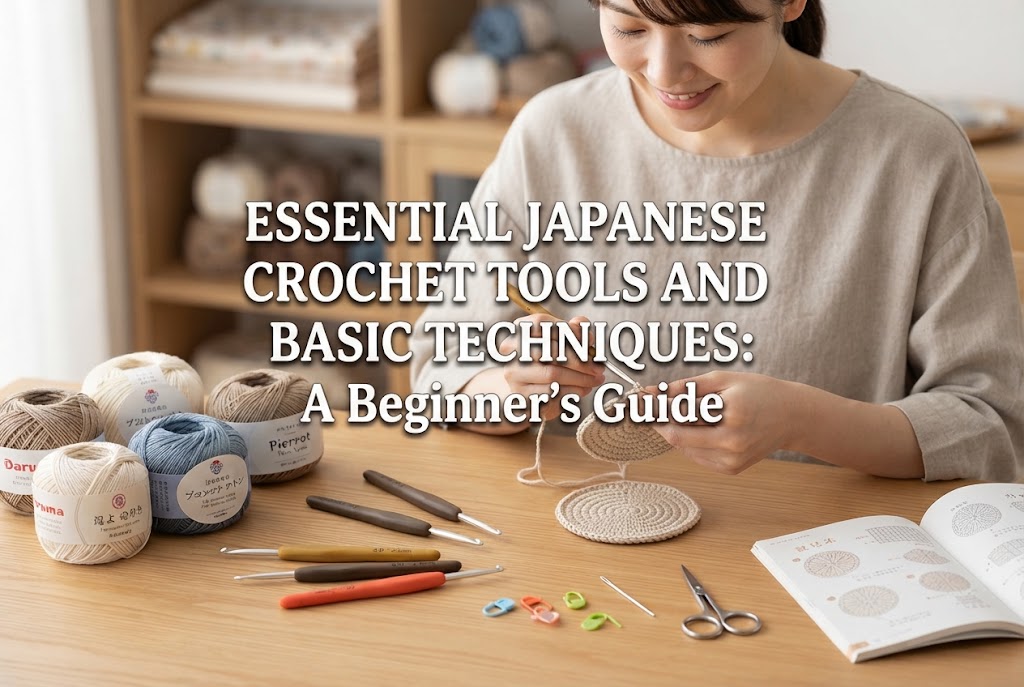
Crochet hooks generally come as plain metal hooks or hooks equipped with soft ergonomic grips (cushioned handles). For beginners, I strongly recommend hooks with ergonomic grips.
They keep your hand from cramping even when you unintentionally grip too hard, preventing hand fatigue during practice. For hook size, pick a single hook between Japanese size 6/0 (3.5 mm) and 8/0 (5.0 mm)—roughly US E/4 to H/8—matched to medium or bulky yarn. You do not need a full set right away; buying just the single size required for your chosen yarn is plenty.
Follow these four simple rules when selecting your first skein of yarn:
Dark shades like black and navy hide stitch openings, creating unnecessary frustration. Fluffy novelty yarns like mohair or uneven fancy textured yarns also make it impossible to see where your hook should go. Sticking to a smooth, light-colored yarn will make your practice infinitely easier.
Beyond yarn and a hook, two small accessories make a massive difference:
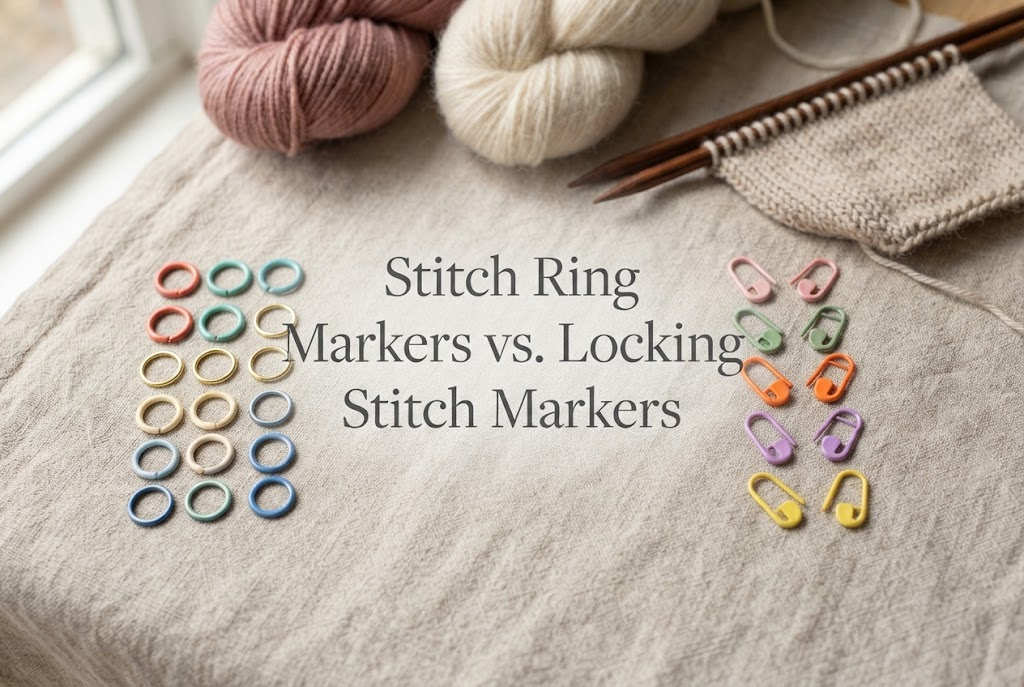
1. Locking Stitch Markers: Small plastic clips shaped like safety pins, used to mark the first and last stitches of a row. They completely eliminate the classic beginner mistake of dropping edge stitches and turning a square into an unintentional trapezoid.
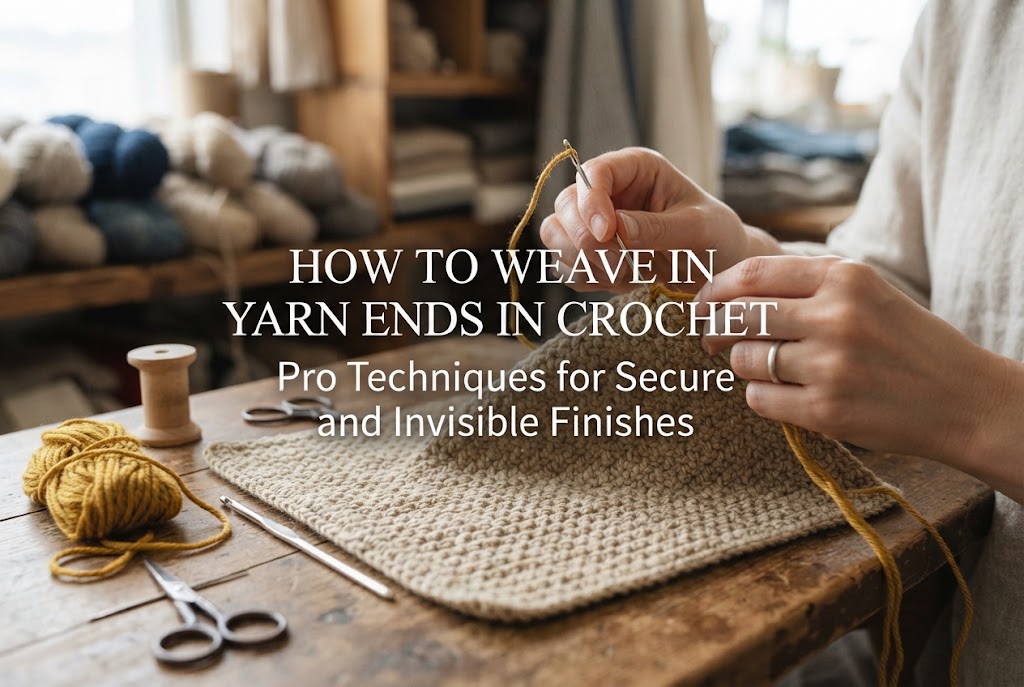
2. Tapestry Needle (Yarn Needle): A blunt, large-eyed needle required for weaving in loose yarn tails and seaming pieces together. These are readily available at craft stores or Japanese 100-yen shops, so make sure to keep one nearby.
You actually do not need to memorize many stitches to make your first project. A beginner piece can be completed using just the following sequence and fundamental techniques:
Every flat project begins with a foundation chain of chain stitches (kusari-ami in Japanese).
The most common mistake here is pulling the chain stitches too tight. If your foundation chain is stiff and tight, inserting your hook on the next row becomes a battle, and the bottom edge curls inward like a fan. Work your starting chain with a relaxed, gentle hand.
The core stitch to master first is single crochet (known as koma-ami in Japanese). It produces a dense, sturdy fabric that is perfect for dishcloths, coasters, and small pouches.
Insert your hook under the top two loops (the "V") of the stitch in the previous row, yarn over, pull up a loop, yarn over again, and draw through both loops on your hook. Repeating this straightforward motion produces a neat, structured rectangular fabric.
Whenever you reach the end of a row and turn your work, you must make a turning chain (tachiagari). For single crochet, this is one chain stitch.
Think of the turning chain as a little ladder that brings your working yarn up to the height of the upcoming row. If you skip this and crochet directly into the stitches below, the edges will pull tight and distort your fabric.
Beginners often stumble when distinguishing between the final stitch of a row and the turning chain or first stitch of the next.
Missing that last stitch or mistakenly working into the turning chain alters your stitch count. To prevent this, place a locking stitch marker into the top of the very first stitch as soon as you work it. When you work your way back on the next row, that marker clearly indicates your final target stitch, ensuring you never miss an edge.
Here are typical roadblocks every crocheter encounters when starting out, along with practical fixes:
You intended to make a straight square, but the sides slant inward or widen and ripple.
Solution: This is caused by accidentally missing or adding stitches at the row edges. The foolproof solution is to count your stitches after every single row. If your pattern starts with 15 stitches, verify that you have exactly 15 stitches before turning. Making this a habit prevents wonky edges entirely.
The finished piece ends up rigid like cardboard, or conversely, full of loose, gaping holes.
Solution: Stiff fabric happens when you pull your yarn tight, shrinking the working loop on your hook. Gaping fabric occurs when tension is too slack. Aim to lift the loop on your hook to approximately the same height as the thickness of your hook shaft, keeping your tension relaxed and steady.
Your hook catches only half the plies of the yarn strand, causing snagging and messy stitches.
Solution: Yarn splitting usually stems from a sharp hook tip or working from the outside of the skein, which twists the strand. Pull your yarn from the center core of the skein instead of the outside, and ensure your hook glides smoothly through the fibers.
If I had to start over from scratch today as a total beginner, here is the exact path I would take:
I would pick up a skein of bright yellow medium-weight acrylic yarn, a size 7/0 (4.0 mm) ergonomic crochet hook, and a packet of locking stitch markers. In Japan, you can gather these basics at a 100-yen shop for just a few hundred yen.
Once home, I would pull up a clear video demonstration of single crochet, chain 15 stitches, and begin working flat rows. I would clip a marker into the first stitch of every row and carefully count 15 stitches at the end of each row.
After roughly 15 rows form a neat square, I would weave in the tails with a tapestry needle, and voilà—my very first acrylic tawashi! Crocheting two or three of these builds muscle memory and helps your eyes read stitch anatomy clearly. From there, you will have the confidence to tackle wrist warmers, mini scarves, and beyond.
Crochet does not require jumping straight into grand, complex designs. By mindfully completing just one small, rectangular piece, you establish a solid grasp of tension, hook handling, and stitch anatomy.
Creating something tangible with your own hands using just a single strand of yarn and a hook is a grounding, rewarding craft experience. Keep these tips in mind, pick up your hook, and enjoy making your first little square!
Until next time, this has been Yassy from Crafters!


For example, if you are looking for articles about mizuhiki, try searching for "mizuhiki"; if you are interested in tools, try keywords like "nippers" or "pliers."
