Japanese Crochet Yarn Guide: How to Choose the Best Materials for Your Craft Projects
yassy
Crafters!

Hello, this is Yassy from Crafters! (・∀・)
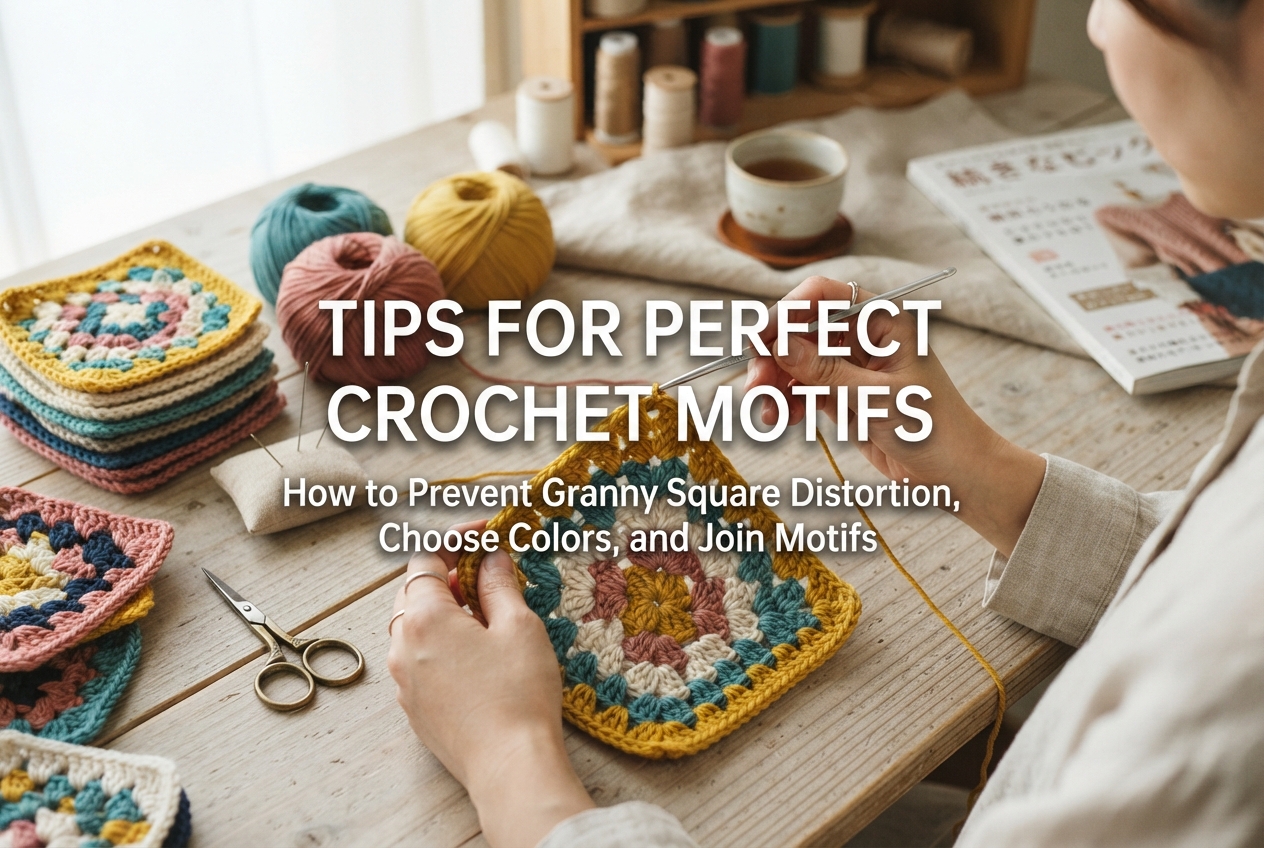
Among various crochet techniques, motif crafting is loved across generations and countries worldwide. In particular, the classic square motif known as the "granny square" is hugely popular as a versatile design that can look classic or modern depending on your color combinations and yarn materials.
Taking your time to crochet small motifs bit by bit and turning them into blankets, bags, or cushion covers is the ultimate delight of crochet. However, when actually trying motif crafting, quite a few crafters hit an unexpected wall.
I often hear concerns like: "I crocheted so many squares, but each motif ended up a completely different size," "The corners curl up and won't form a neat square," or "When I joined the motifs together, the fabric puckered and distorted."
Since you spent so much time crafting each motif, you naturally want to join them beautifully and finish a flawless piece. In this article, I will explain all the techniques you need to prevent distortion in granny squares and other motifs, keep your sizing uniform, and join them together seamlessly!
The most common mishap in motif crafting is when finished motifs end up inconsistent in size. Forcing motifs of different sizes together with stitches is a major cause of distortion in the final project. Here are the three main causes of uneven motif sizes:
In crochet, stitch size changes dramatically based on how tightly or loosely you pull your yarn (your tension). Especially when working on motif projects over several days, your subconscious tension changes depending on whether you are tired, relaxed, or intensely focused.
To prevent tension variations, make it a habit to regularly overlay new motifs onto your "first reference motif" to compare sizes. Keep that first motif on your worktable at all times, and overlay each newly completed square onto it. This allows you to immediately spot whether your stitches are becoming too tight or too loose.
Square motifs like granny squares maintain their shape by forming four distinct corners. If the chain stitches at these corners are too loose, the corners become rounded. Conversely, if they are too tight, the corners pull inward, causing the fabric to pucker and ripple.
When working turning chains or corner chain spaces, focus on keeping the loop size on your hook consistent. Pull up the legs of the double crochets worked into the corners properly, creating a loop with the exact diameter of your hook shaft before pulling through. This yields crisp, well-defined square corners.
Even when using yarn from the same line by the same manufacturer, subtle differences in puffiness or stiffness can exist between different color dyes. Minor variations in yarn weight can also occur between different production runs (dye lots).
When crocheting colorful granny squares with multiple colors, the rule of thumb is to strictly match the material and weight specifications of your yarns. Mixing wool with acrylic, or combining yarns from different brands even if they are both labeled "worsted weight," can result in motifs of different physical sizes even with the exact same stitch count.
When you have a large batch of motifs to work through, checking sizes can easily be overlooked. That is why I recommend a simple trick I use myself: making your own "Motif Size Guide Sheet."
Making one is very easy. Simply draw your target motif size (e.g., a 10 cm x 10 cm square) accurately with a permanent marker onto cardboard or a clear plastic file folder. Placing finished motifs directly onto this sheet lets you visually check size alignment rather than relying on guesswork.
If a motif turns out slightly smaller than your guide, try working the chain stitches in the final round a bit looser, or switch to a hook size 0.5 mm larger. Conversely, if it turns out too large, tighten your tension slightly or use a smaller hook. Adding this simple step dramatically improves the uniform finish of your project.
When crocheting granny squares, have you ever worried that the seams between rounds look thick and noticeable, or that the pattern gradually twists diagonally as you add rounds? Neat transitions between rounds are essential to raising the overall quality of your motifs.
When starting a round of double crochet, you typically begin with a 3-chain turning chain (ch 3). However, this turning chain can often look thinner or leave an awkward gap compared to standard double crochets.
To make the turning chain less noticeable, one trick is to crochet those 3 turning chains slightly tighter. Alternatively, adopting techniques like working an Alternative Chain Stitch (a standing double crochet worked directly without turning chains) makes the start of the round virtually indistinguishable from regular double crochets.
Standard granny squares are usually worked in continuous rounds facing the right side, moving clockwise. However, because of the natural structure of crochet stitches, continuous round crafting causes the overall pattern to slant slightly to the right (toward your dominant hand).
The larger the motif with more rounds, the more prominent this skewing becomes, distorting the square. A secret trick to completely prevent this is to flip your work over after every round, working back and forth in alternate directions.
After completing Round 1 on the right side, turn your motif over and work Round 2 from the wrong side in the opposite direction. This cancels out the twisting force in both directions, yielding a perfectly straight, true square from every angle.
One of the greatest joys of motif crochet is using leftover yarn or combining your favorite colors to build your own creative world. However, a common pitfall is combining lovely individual colors only to find the overall piece looking cluttered once joined together.
To achieve a beautiful, cohesive look across a project using many motifs, it is helpful to follow clear color coordination rules:
The first method—unifying the base color—is especially effective. Even if the center and inner rounds of your motifs use a variety of chaotic colors, framing every motif's final outer round and joining them with a consistent base color like ivory, gray, or navy creates instant overall harmony.
Before assembling my motifs, I always perform a quick visual layout step. By taking the following steps before final assembly, I prevent color balance failures in advance:
Using the monochrome photo trick is highly recommended! Stripping away the hues allows you to instantly spot value imbalances, such as dark motifs clumping together on the right side or bright motifs crowding in the center.
Joining completed motifs into a single large project is the ultimate highlight of motif crafting. There are several joining techniques available, and choosing the right one depends on the intended use and texture of your finished piece.
Here are three representative joining methods, along with their features and tips for a neat finish:
This classic method involves aligning two motifs right sides (or wrong sides) together and sewing through the back loops or both loops with a yarn tapestry needle.
The biggest advantage of this method is that the seam remains flat, flexible, and thin without adding extra bulk. It is ideal for blankets and garments where soft drape and skin comfort are priorities.
The key to a neat whipstitch join is matching stitches precisely 1-to-1. Be careful not to skip stitches from corner to corner, and maintain even tension without pulling the yarn too tight.
This technique uses a crochet hook instead of a needle to catch the loops of two motifs, joining them with slip stitches or single crochets.
Joining with single crochet from the right side creates a distinct, raised, and charming dimensional ridge along the seams. This works wonderfully for bags and pouches where structural strength and firmness are desired.
As a note of caution, joining with slip stitches can easily result in tight, puckered seams. To prevent pulling, switch to a crochet hook 0.5 to 1.0 mm larger than the hook used to crochet the motifs.
This advanced method joins motifs together on the fly by working slip stitches into the adjacent motif's chain spaces or stitches while completing the final round of the current motif.
Because it eliminates the daunting task of sewing everything together at the end and drastically reduces yarn ends to weave in, it is an extremely efficient technique once you get used to it. It creates a delicate, lacy openwork effect between motifs, making it perfect for lightweight doilies and shawls.
Whether you join all your motifs first or accumulate them as you go, there is one step you must never skip: blocking (steam or wet shaping). Doing or skipping this step changes the beauty of your finished project night and day.
Blocking is the process of applying moisture to crocheted fabric, pinning it into its proper shape, and letting it dry to set the memory of the form.
By pulling and pinning corner tips taut, curled square motifs transform into crisp, straight lines with perfect dimensions.
Always select a blocking method suited to your yarn's fiber content. Using the wrong method risks ruining the natural texture of the yarn.
For natural fibers like wool or cotton, hold a steam iron 1 to 2 cm above the crocheted fabric and apply generous steam. Never press the iron's soleplate directly onto the crochet fabric, as pressing down flattens the lovely 3D texture characteristic of crochet stitches.
On the other hand, 100% acrylic yarn is extremely sensitive to heat. Applying high heat directly can melt or over-stretch the fibers permanently (a state known in crafting as "killing" the acrylic). For acrylic yarn, hover the steam iron from a safe distance very lightly, or perform "wet blocking" by misting the piece with cold water and letting it air dry.
In this guide, we explored detailed techniques to achieve beautifully finished crochet motifs and granny squares.
Motif crafting might seem like a complex process at first glance. However, by sticking to essential rules—creating a reference motif for sizing, unifying your color tones and outer borders, choosing the right joining technique, and blocking your work at the end—anyone can craft polished, professional-looking pieces.
The wonderful charm of motif crochet lies in crafting squares one by one in your spare moments. Grab your favorite yarn, sit back, and enjoy the blissful process of making colorful granny squares!
If you enjoyed this guide, sharing it with your friends on social media would mean the world to me and keep me inspired!
Until next time, happy crafting! This was Yassy from Crafters!

For example, if you are looking for articles about mizuhiki, try searching for "mizuhiki"; if you are interested in tools, try keywords like "nippers" or "pliers."
