A Guide to 5 Essential Craft Needles: Differences and How to Choose for Sewing, Embroidery, Leather, and Knitting
yassy
Crafters!

Hello, this is Yassy from Crafters! (・∀・)
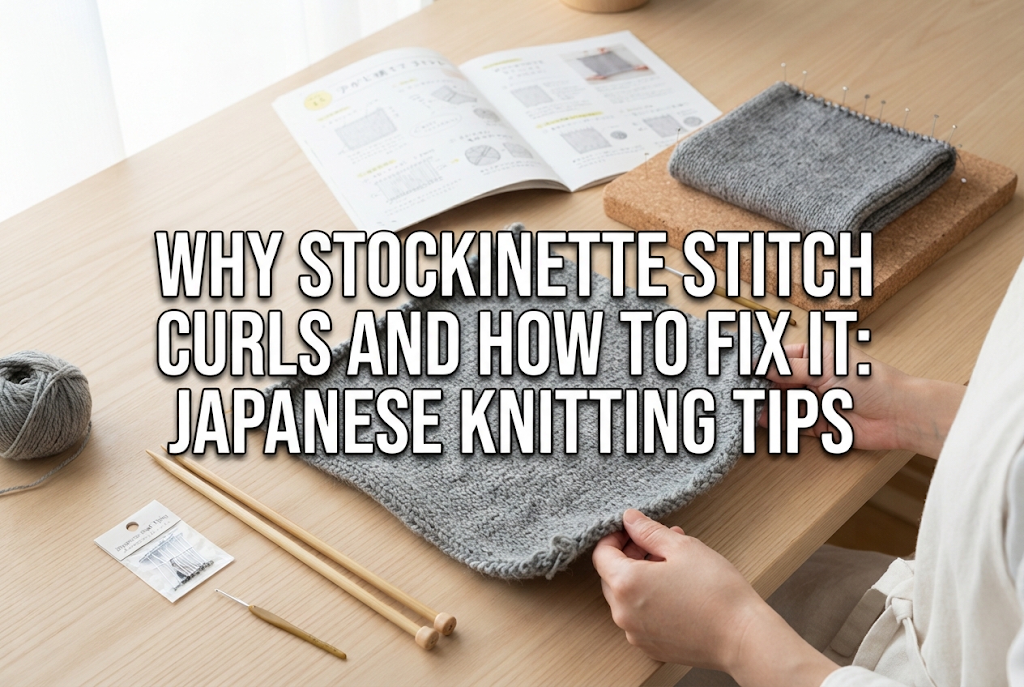
When you start needle knitting and try the basic stockinette stitch, have you ever been frustrated by the edges curling up as you knit? You wanted to make a flat, straight rectangular piece, but as it rolls up like a sushi roll, you might worry, "Did I make a mistake?" or "Is my tension off?"
Rest assured: curling fabric isn't because you lack skill or made a mistake. It is caused by the physical nature inherent to needle knitting itself, especially the structure of stockinette stitch.
In this guide, I will thoroughly explain the root causes of why stockinette fabric curls, preventative measures you can take before knitting, and finishing techniques to flatten your finished work!
Stockinette stitch, the most frequently used stitch in needle knitting, features V-shaped knit stitches on the front (right side) and horizontal purl bumps (loop heads) on the back (wrong side). This structural difference between the front and back is the biggest reason why the fabric curls.
In stockinette stitch, the way the yarn bends and pulls differs completely between the knit side and the purl side. On the front V-shaped side, the yarn pulls strongly in the vertical direction, creating a force that wants to expand horizontally. On the back purl side, the loops are connected horizontally, creating a force that wants to shrink inward.
This imbalance—where the front side wants to expand and the back side wants to shrink—causes the entire fabric to pull against itself, resulting in that frustrating curling phenomenon.
If you look closely at your knitted fabric, you'll notice that different edges curl in different directions. The left and right edges (the side borders) curl toward the purl side (back). This is because the horizontal tightening force on the back is stronger.
On the other hand, the cast-on edge (bottom) and bind-off edge (top) curl up toward the knit side (front). This happens due to the tension in the vertical loops. Because these forces escape in different directions on all four sides, stockinette stitch will naturally curl up like a tube if left alone.
In addition to structural reasons, your knitting tension and yarn selection also affect how much the fabric curls. Knitting too tightly applies extra tension to the yarn, amplifying the curling force.
Furthermore, high-twist yarns and 100% elastic wool yarns have strong recovery power to spring back to their original shape, making curling much more prominent.
When knitted fabric curls, beginners often fall into common misunderstandings. Knowing the truth will save you unnecessary stress.
Many people assume, "It curls because of my poor technique," but that is completely wrong. Even if a professional knitter stitches with perfectly even tension, a standalone piece of stockinette stitch will always curl. There is no need to doubt your skill at all.
Some knitters try to stop curling by pulling the yarn tightly and knitting stiffly. However, this has the opposite effect! The tighter you knit, the higher the tension inside the yarn, making the curling force stronger when you let go. Fabric actually curls less when knitted gently with moderate slack.
Applying steam from an iron will temporarily flatten the curl, but depending on the project type and material, the curl can return after washing or daily use. It is essential to combine finishing irons with smart knitting techniques rather than relying on ironing alone.
Rather than panicking after your piece is finished, designing your project from the start to minimize curling is the most effective approach. Here are specific techniques you can use:
This method involves placing a few border stitches and rows that combine knit and purl stitches at the edges of your stockinette fabric. This neutralizes the front-to-back tension and dramatically reduces curling.
Slipping the first stitch on each side edge without knitting it creates a neat, chain-like edge and helps reduce side curling. This is a must-know trick when knitting scarves or shawls.
Using needles that are 1 to 2 sizes larger than specified on the yarn label creates extra slack throughout your stitches. Weakening the yarn's tight grip prevents hard curling and yields a soft, relaxed fabric.
If you have already finished knitting a stockinette project, or if you are preparing individual pieces before seaming, you can shape them correctly through blocking.
This method uses the heat and steam of an iron to relax yarn fibers and set the stitches.
By applying steam, tension leaves the yarn, and curled edges turn surprisingly flat.
For washable wool or cotton yarns, soaking in water before drying (wet blocking) is the most powerful blocking method.
Different fibers handle heat and water differently. Using the wrong method can ruin your work, so always double-check:
Here is how I personally handle curling in my own projects, along with my criteria for different knitting situations:
I never knit a scarf or shawl entirely in plain stockinette stitch with exposed edges. No matter how carefully you steam it, the edges will eventually curl into a thin tube during use.
In my own designs, I always incorporate 5 border stitches of seed stitch (or garter stitch) on both side edges, as well as 10 initial and final rows of seed stitch. This simple addition makes a world of difference in neatness and usability.
For pieces like the front or back panels of a sweater that will be seamed together later (using mattress stitch), curling during knitting is totally fine! The curled side edges will end up hidden inside the seam allowance.
However, because heavy curling makes seaming difficult, I lightly steam the finished panels once to flatten the edges before joining them together.
Instead of treating curling as an enemy, you can embrace it as a cute design feature!
For example, leaving necklines, sleeve cuffs, or hems un-ribbed in plain stockinette stitch creates a naturally rolled edge (rolled collar/hem). It adds a relaxed, casual charm, making it a handy technique when you intentionally want that look.
In this article, we covered the root causes of stockinette stitch curling and how to address it.
Stockinette stitch curling is a natural physical phenomenon caused by structural tension differences between knit and purl stitches. It is not a flaw in your technique, so there is no reason to feel discouraged!
With these insights and solutions, your knitting possibilities will expand greatly. Learn to tame the natural characteristics of needle knitting, and enjoy creating lovely knitwear just the way you imagined!
If you found this helpful, sharing this article with your friends on social media or messaging apps would mean the world to me!
Until next time, this was Yassy from Crafters!


For example, if you are looking for articles about mizuhiki, try searching for "mizuhiki"; if you are interested in tools, try keywords like "nippers" or "pliers."
