A Japanese Crafter’s Guide to Jesmonite Pigments: Master Color Mixing and Coloring Techniques
yassy
Crafters!

Hello, this is Yassy from Crafters! (・∀・)
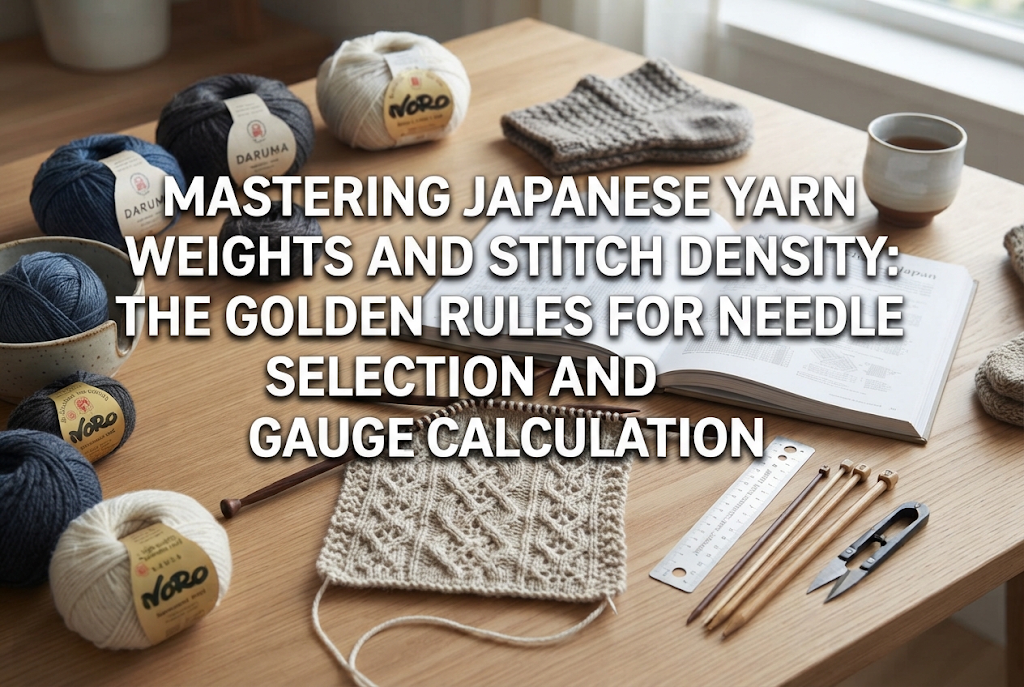
When you start knitting or crocheting, just looking at the colorful yarns lined up in craft stores makes your heart leap. I love yarn so much that whenever I find attractive skeins at a craft shop or online, I end up buying them for my collection even if I don't have a specific project planned! The true joy of knitting and crochet is that with just yarn and needles, you can create infinite forms.
However, beginner crafters often hit a major obstacle early on: understanding the relationship between yarn weight and stitch density. Have you ever followed a pattern precisely, only to find the finished piece turned out way too small, or awkwardly large and floppy? In reality, these issues stem from a complex interaction between yarn weight, needle size, and stitch density.
By properly understanding how yarn weight and stitches interact, you will not only be able to craft beautiful items that match pattern dimensions, but you will also gain the freedom to control stitch density for any yarn you choose. In this article, I will explain everything from standard Japanese yarn weight classifications to choosing the right needles, calculating gauge, and even applying expert techniques that intentionally alter stitch balance to expand your creative expression!
First, let us deepen our understanding of how yarn weights are classified in Japan and how yarn thickness fundamentally affects your stitches. Yarn labels always specify weight, but getting a clear grasp of each category's characteristics is your first step.
In Japan, yarn is primarily divided into seven weight categories. Changing the yarn thickness fundamentally alters the surface area of a single stitch and the overall texture of the finished fabric. Check the table below to see the characteristics and standard needle sizes for each Japanese weight standard.
As the yarn gets thicker, the required needle size increases. Using thicker yarn creates larger individual stitches, meaning you need fewer stitches and rows to cover the same surface area.
Yarn weight directly determines the dimensionality, drape, and tactile feel of your piece. Here is how yarn thickness alters stitch structure:
Stitches worked with thin yarns (such as Chuboso or Goito) create a very dense array of tiny stitch points. Consequently, the fabric surface turns out smooth and delicate. It yields a fabric-like flexibility, making it perfect for form-fitting garments or shawls requiring a graceful drape.
On the other hand, stitches worked with thick yarns (such as Gokubuto or Chogokubuto) make every single stitch stand out clearly. The deep shadows around individual stitches highlight textured patterns like Aran cables and ribbing. However, because the yarn itself occupies more volume, the finished piece will be heavier and thicker, emphasizing structure and firmness rather than fluid drape.
Even if two yarns are labeled as the same medium weight ("Namibuto"), their visual stitch definition can differ dramatically depending on raw material and yarn construction. Missing this detail often leads to disappointment, such as wondering why your stitches don't pop even though you bought the correct weight category.
Yarns with a tight twist (where multiple fibers are tightly spun together) produce crisp, well-defined stitches and a firm fabric structure. They offer excellent elasticity, making them ideal for bringing out raised textures in cabling or textured patterns.
Conversely, loosely twisted roving yarns or soft, low-twist wool yarns trap air between fibers and bloom, causing the boundaries between stitches to blend softly together. These yarns are best suited when you want an overall warm, soft texture rather than crisp individual stitch definition. Furthermore, haloed yarns like mohair fill in stitch gaps with fuzz, making the knitted fabric appear denser than the actual yarn diameter suggests.
Once you understand yarn weight, the next step is pairing it with needle size. While you should generally choose needles matching the yarn thickness, you can intentionally alter needle size to control stitch density.
The recommended needle size on a yarn label reflects the manufacturer's extensive testing to find the needle size that produces the optimal balance of beauty, flexibility, and fabric strength for that specific yarn.
When knitted with recommended needles, stitches maintain ideal micro-gaps while interlocking smoothly with neighboring stitches. The fabric offers comfortable bounce when pressed and recovers its shape when pulled. For beginners, sticking to the recommended needle size is the ultimate rule for avoiding mistakes.
Working yarn with needles larger than recommended is referred to as working at a loose gauge. For example, this occurs when you use a Japanese No. 10 or No. 12 needle for a Namibuto yarn that normally calls for a No. 7.
Using larger needles creates larger loops, automatically increasing individual stitch size. The fabric becomes airy relative to the yarn weight, resulting in an exceptionally soft, cushioned texture. Additionally, because you use less yarn overall, the final product turns out lightweight.
However, there are drawbacks. The larger gaps between stitches allow wind to pass through easily, reducing warmth. The fabric also becomes more vulnerable to snagging and friction, making it prone to losing its shape during washing.
Conversely, working with needles smaller than recommended is called working at a tight gauge—for instance, using a Japanese No. 4 or No. 5 needle on Namibuto yarn.
Smaller needles pull loops tight, compressing stitches closely together. Closing these gaps yields high wind resistance and exceptional durability that resists deformation.
The trade-off is that the fabric becomes heavy and stiff. Because it loses flexibility and can feel rigid like a board, caution is needed: working garments at an extreme tight gauge can make them stiff and uncomfortable to wear.
Mismatching needle size and yarn weight can cause a project to fail completely. Here are two classic mistakes beginners often make:
Mistake 1: A stiff, board-like scarf that hurts to wear!Beginners often pull their working yarn too tightly out of anxiety over uneven stitches, effectively working with an overly tight tension on small needles. Wool yarn that should feel plush becomes overly compacted, losing flexibility and turning stiff like rubber sheet material. The texture becomes unpleasant against the skin, rendering the scarf uncomfortable around the neck.
Mistake 2: A stretched-out tote bag that hits the ground when loaded!This happens when a crafter uses thin yarn with oversized needles to speed up progress on a bag. Because the open stitches lack structural support, putting heavy objects inside causes the stitches to stretch out vertically, making the bag lose its shape entirely.
In knitting and crochet, numerical measurement of stitch size is called "gauge." To complete a beautiful project that matches pattern dimensions, understanding gauge is absolutely essential.
Gauge refers to the number of stitches and rows within a 10cm x 10cm (approx. 4in x 4in) square worked in a specific yarn, needle size, and stitch pattern. Patterns and yarn labels always state gauge requirements, such as "19 sts and 25 rows (10cm square)."
This means that 10cm of width contains 19 horizontal stitches, and 10cm of height contains 25 vertical rows. Gauge is the absolute ruler of stitch sizing; if this number is off, your finished item's measurements will deviate significantly.
Almost every crafter has experienced following a pattern's exact yarn and needle recommendations, only to end up with a piece that turned out inexplicably small. The reason lies in personal tension—the unique way each crafter holds and pulls yarn.
Every person applies a different amount of tension when wrapping yarn, pulling loops through needles, or gripping the fabric. Tight knitters pull yarn firmly, resulting in smaller stitches and higher stitch counts per 10cm (e.g., 22 stitches in 10cm). Loose knitters make larger stitches, yielding lower stitch counts (e.g., 17 stitches in 10cm).
If a tight knitter proceeds without adjusting, sweaters or hats will turn out smaller than intended. Conversely, a loose knitter will produce oversized, baggy garments. To replicate pattern dimensions accurately, adjusting needle size to match your personal tension is mandatory.
A small test fabric knitted to determine your personal gauge is called a "swatch." While it might feel tedious, it is the single most vital step to ensure your project's success. Here is the step-by-step guide to making a correct gauge swatch:
If your swatch contains more stitches per 10cm than specified (stitches are too small), re-knit using needles 1 or 2 sizes larger. If your swatch contains fewer stitches (stitches are too large), switch to needles 1 or 2 sizes smaller. Changing needle size compensates for your natural tension to achieve the target stitch size.
If you want to use a different yarn weight than called for in a pattern, or if you need to alter stitch counts to match your personal gauge, use the following calculation formulas:
[Formula for Required Stitches]Desired Width (cm) × (Stitches in your 10cm swatch ÷ 10) = Required Cast-on Stitches
[Formula for Required Rows]Desired Height (cm) × (Rows in your 10cm swatch ÷ 10) = Required Total Rows
For example, if your swatch measures 18 stitches per 10cm and you wish to knit a sweater body with a width of 50cm, the math is: 50 × (18 ÷ 10) = 90 stitches. Using this formula allows you to finish your work to precise dimensions regardless of yarn weight.
Once you understand yarn weights and stitch density, let us examine the best yarn and density pairings tailored to specific types of handmade items.
For wearable items like clothing and hats, the key priority is balancing lightness, insulation, and comfortable stretch.
The optimal yarn weights are Aita to Namibuto (Light Medium to Medium/Worsted). Using recommended needles to achieve standard density creates warmth without making garments excessively heavy. Knitting garments with extremely thin yarn (like Chuboso) requires enormous time and stitch counts, demanding great patience. Conversely, making garments with Bulky or Super Bulky yarns results in heavy items that can cause shoulder strain.
Accessories worn directly against the skin require airy softness and fluid drape.
The recommended approach here is using Chuboso to Namibuto yarn paired with needles 1 to 2 sizes larger than standard recommendation. Intentionally knitting at a slightly loose gauge traps plenty of air between stitches, creating a lightweight, exceptionally warm texture with an elegant drape that rests comfortably around the neck.
When creating amigurumi or three-dimensional motifs, the primary goal is preventing polyester fiberfill from showing or poking through stitches.
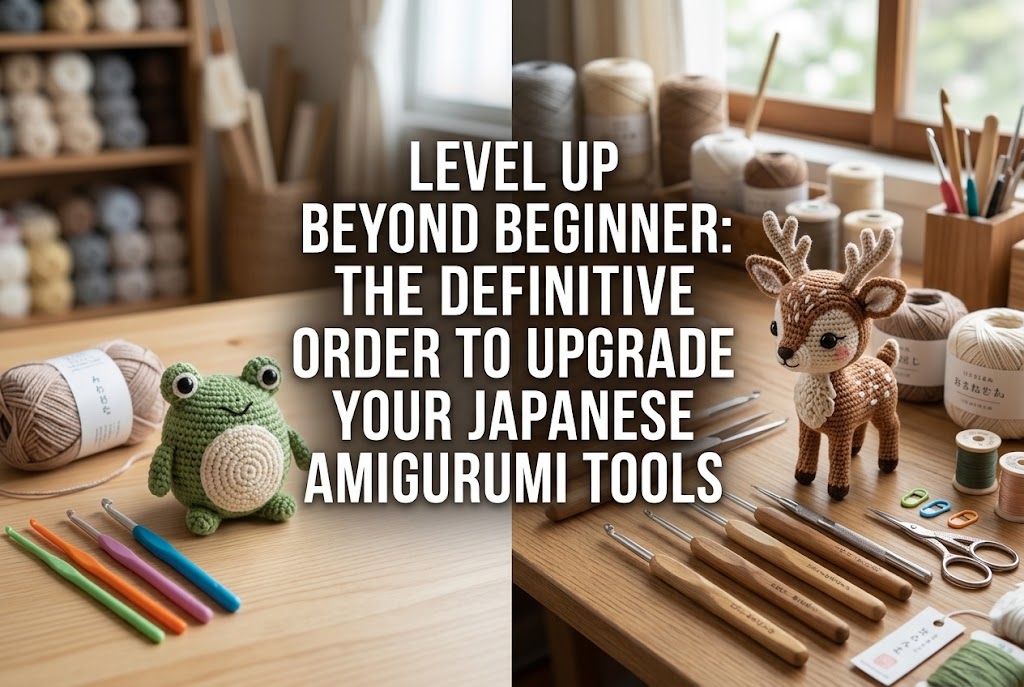
Therefore, the absolute rule for amigurumi is employing a tight gauge technique: use Chuboso to Aita yarn with a crochet hook 1 to 2 sizes smaller than recommended. Packing stitches tightly holds inner stuffing securely, creating durable, structured 3D shapes that resist warping.
Everyday items like bags, trivets, and rugs require durability, friction resistance, and structural stability.
Using thick yarns (Gokubuto to Chogokubuto) worked at a standard to slightly tight gauge is ideal. Large stitches from thick yarn act as robust structural elements, creating durable fabrics capable of supporting heavy bag loads or standing up to foot traffic on rugs.
After mastering basic pairings, try challenging yourself with advanced techniques used by professionals who intentionally mix extreme yarn weights and needle sizes to produce unique visual textures.
This technique involves working extra-fine or fine mohair yarn on large JP No. 10 to No. 15 knitting needles normally reserved for bulky yarns.
The resulting stitches open up widely into a cobweb-like, see-through mesh. However, mohair's long halo softly fills the open gaps, creating an ethereal, warm, and romantic airy shawl or sweater that feels weightless to wear.
This method involves crocheting medium cotton or linen yarn tightly with a small hook, such as a Japanese No. 3/0 hook.
Stitches condense completely without gaps, forming a firm, tough fabric resembling heavy canvas. This technique is extremely effective when making pouches or tote bags strong enough to keep keys or pens from poking through, even without a fabric lining.
Hikisoroe (holding strands together) is the technique of combining two or more strands of yarn to knit or crochet them simultaneously. Combining different weights or fiber textures allows you to craft original yarn weights and stitch patterns unavailable in commercial skeins.
For instance, holding two strands of fine Chuboso wool yarn together equals roughly one strand of Namibuto medium wool, producing a plump, sturdy stitch. Alternatively, holding one strand of solid Namibuto wool with one strand of extra-fine metallic yarn on slightly larger needles creates a gorgeous fabric where subtle shimmer peeps through stitch gaps. It is a favorite professional technique that multiplies stitch options endlessly.
Finally, let us address common misunderstandings and frequent questions beginners have regarding yarn weights and stitches.
It is often said that bulky or super bulky yarns are best for beginners. This statement is half true, but comes with important caveats.
The benefit is that large stitches make structural details (like V-shaped stitch headers) visually obvious, giving crafters a quick sense of accomplishment as rows build rapidly.
However, there is a catch. Working with super bulky yarn and jumbo needles requires heavier tools and more force to pull loops. Crafters with smaller hands or less wrist strength may tire quickly, making it difficult to maintain consistent stitch tension. For practicing smooth, even stitches without physical strain, I strongly recommend starting with straight, medium-weight (Namibuto to Aita) yarns.
Many crafters notice that a medium "Namibuto" yarn from Brand A looks noticeably different in thickness compared to Brand B. This occurs because weight labels like "Namibuto" are general category classifications rather than rigid, unified industry measurements.
To compare true yarn thickness, inspect the weight and yardage (grams and meters) printed on yarn bands. For example, comparing a 50g (approx. 100m) skein against a 50g (approx. 70m) skein reveals that the 70m skein is heavier per meter, making it physically thicker. Developing a habit of checking length per 50g alongside category names will help you select yarns accurately.
It is common to start with neat stitches only to find them growing tighter or looser toward the end. This is caused by changes in emotional state and physical fatigue altering your tension.
Crafters tend to hold tension tightly when nervous at the start of a project, creating compact stitches. As confidence grows, hands relax and stitches open up. Later, as fatigue sets in during long crafting sessions, loop control can become uneven.
To combat this, avoid crafting for overly long stretches without breaks. Every few rows, lay your fabric flat to visually check stitch consistency beyond the live row. Pausing when your hands feel tired is the true secret to preserving immaculate stitch work.
Understanding the relationship between yarn weights and stitch density might seem complicated at first, but once you master these underlying principles, your creative world expands dramatically!
Remember these three core practices: know the recommended needle sizes for your yarn weight, manipulate stitch density (loose vs. tight gauge) by adjusting needle size, and always knit a gauge swatch beforehand. Mastering these steps will elevate your handmade knits to professional quality.
Start out by striving for clean stitches using recommended pairings, and as you gain confidence, branch out into creative gauge variations or multi-strand combinations. Enjoy the ultimate freedom of handmade craft!
If you enjoyed this guide, sharing it with your crafting friends on social media or messaging apps would mean the world to me and keep me inspired! See you in the next article—this was Yassy from Crafters!

For example, if you are looking for articles about mizuhiki, try searching for "mizuhiki"; if you are interested in tools, try keywords like "nippers" or "pliers."
