What Is Parts Deco? The Complete Guide to Japan’s Deco Craft: Projects, Durability, Costs, and Tips
yassy
Crafters!

Hello, crafters! It’s Yassy! (・∀・)
There is nothing quite like the sparkling thrill of rhinestoning curved everyday items—like ballpoint pens, lipstick tubes, or the rounded edges of a phone case. Rhinestone embellishment (known as parts deco in Japan) instantly transforms plain accessories into radiant, eye-catching treasures, making it one of the most popular craft techniques to try.
However, many beginners quickly run into a frustrating wall: "The crystals along the edge of my pen keep popping off with daily use," or "The stones on the curved corners catch on my bag and peel away." After spending hours placing each stone with precision, watching them chip off from the outer rims is truly heartbreaking.
The truth is that preventing stones from falling off curved surfaces cannot be solved by simply using stronger glue. The real key lies in matching stone sizes to the curve of the base and designing the layout as you approach the perimeter. In this guide, I will share the structural secrets and hands-on techniques behind the essential "size gradation method," showing you how tapering down to micro-sized stones creates curved deco that stays securely bonded for years to come.
Why do flat surfaces hold rhinestones without issue, while rounded surfaces like pens and curved casing rims shed stones so easily? Understanding the underlying physics will help you master the craft with total confidence.
Flatback rhinestones, as the name implies, have a perfectly flat bottom. Meanwhile, the barrel of a pen or the corner of a cosmetic compact is curved. Imagine balancing a rigid, flat wooden board across a round cylinder: only a tiny sliver along the center actually touches the surface, leaving both ends suspended in thin air.
The larger the rhinestone, the wider this gap becomes. Even if you attempt to flood the underside with adhesive, the effective contact area where the stone directly meets the substrate remains minuscule. Without direct surface contact, the bond becomes remarkably fragile when subjected to external pressure.
Curved items are handled constantly—gripped in your hand, slipped into pockets, or shifted inside pouches and bags. Whenever an object rubs against something, the protruding outer edge absorbs the initial impact.
If large rhinestones are placed along that edge, their profile thickness creates a noticeable step above the base. Every time fabric or fingertips brush against that ridge, leverage is applied directly to the stone's base, repeatedly prying at the adhesive. This mechanical leverage is the primary reason why edge stones pop off unexpectedly.
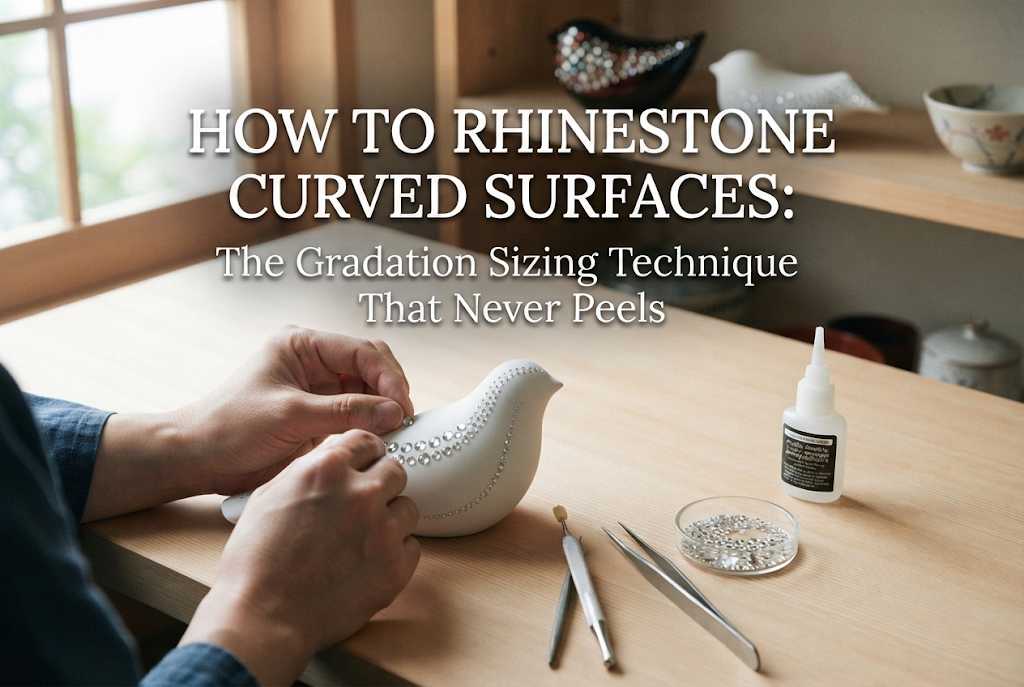
To eliminate these physical vulnerabilities, professional crafters rely on a technique called "size gradation placement"—gradually transitioning from larger rhinestones at the center to micro-sized stones along the edges. Adopting this single method dramatically improves durability.
As stone sizes decrease, the width of their flat base shrinks, reducing the gap on a curved foundation to an imperceptible level. Think of tiling: a large rigid tile cannot conform to a cylinder without sticking out, but tiny mosaic tiles can wrap around it smoothly.
By stepping down in stone diameter toward the perimeter, you maximize the effective bonding area where the adhesive meets both the stone and the base. Furthermore, micro-rhinestones have a much lower profile, creating an almost flush edge that glides smoothly against fabrics without catching.
Rhinestones are measured in SS (Stone Size). When working on curved items, always prepare at least 3 to 4 complementary sizes rather than sticking to just one:
Beginners often try to save time by covering an entire pen barrel with a single size like SS12 or SS16. However, lining just the final one or two outer rows with tiny SS5 or SS3 crystals completely changes both the refined smoothness and the structural resilience of the piece.
Recognizing the most common mistakes allows you to sidestep frustrating setbacks and prevent wasted materials before you start gluing.
In an eagerness to eliminate empty space, crafters often allow stone edges to hang over the rim of the item by a fraction of a millimeter. Never do this.
Any portion of a rhinestone extending beyond the foundation is completely unsupported. When placing the item on a desk or sliding it into a case, the overhanging edge catches, functioning as a lever that flicks the rhinestone right off. Always position your outer row approximately 0.2 to 0.5 mm inside the physical boundary of the object.
Flooding the space under a large stone with excess adhesive does not fix the problem. Excess glue will crawl up the facets of the crystal, creating cloudy residue and ruining its brilliant sparkle.
Furthermore, an overly thick pool of adhesive takes much longer to cure thoroughly inside, remaining soft and prone to shifting or separating under shear force. Address gaps by downsizing your stones, never by piling up glue.
Using household instant superglue (cyanoacrylate) is a frequent and costly mistake. As superglue cures, its volatile vapors cause "blooming" or "frosting"—depositing a chalky white film across your crystals and base, destroying their clarity.
Additionally, superglue cures into a rigid, brittle glass-like film with virtually zero impact resistance or flexibility. If a pen is dropped or a plastic case bends slightly under pressure, brittle glue instantly snaps, causing whole clusters of stones to break away.
Selecting the right adhesive is just as critical as choosing the correct stone dimensions when working on three-dimensional curves.
For curved embellishments, opt for craft adhesives formulated specifically for rhinestone deco, two-part epoxy adhesives, or modified silicone adhesives that retain a slight rubbery elasticity after curing.
This slight post-cure flex absorbs everyday drops and subtle torsion when items are held tightly. Because glue easily runs down curved surfaces due to gravity, choose a medium- to high-viscosity paste or gel that stays exactly where placed rather than a runny liquid.
Applying glue over large curved sections at once will cause it to pool at the lowest point. Work systematically—laying down adhesive just one or two rows at a time using a fine-tipped precision nozzle or the sharp tip of a toothpick.
When placing micro-stones (SS5 and SS3), apply only a pinpoint touch of adhesive. When you lightly press the crystal into position, the glue should spread across the base and create a microscopic rim around the bottom edge, securely cradling the stone without flooding its cut facets.
Follow these practical steps to achieve a durable, professional-quality finish on cylindrical and rounded objects.
Over half of your bond strength is determined before you open your glue bottle. Manufacturing oils, skin oils, and dust naturally cling to plastic and metal substrates.
Wipe down the entire object thoroughly using anhydrous ethanol or alcohol prep pads. For smooth plastic items, lightly scuff the surface with fine sandpaper (around 800 to 1000 grit) to create a subtle tooth. This micro-roughness provides mechanical anchoring, allowing the adhesive to lock into the surface for exceptional peel resistance.
While many crafters instinctively start from the broad center, my recommended approach for curved items is to secure the outer perimeter first.
Lay down your smallest crystals (SS3 or SS5) along a line roughly 0.3 mm inside the edge of the base. Locking in this perimeter guideline first ensures that no subsequent stones will accidentally wander beyond the boundary of the foundation.
Next to your outer micro-row, place a row of SS6 or SS8 stones, stepping up to SS10 and SS12 as you move toward the center. Use a staggered (brick-lay or honeycomb) arrangement rather than square grids to minimize gaps and maximize optical density.
As you set stones closely together, use a rhinestone pick tool or a toothpick to gently seat them, being careful not to push outward against your micro-edge stones.
A classic mishap on curved items is watching unset stones slide downhill under gravity while drying. While working and during initial drying, secure your item on a stand or with masking tape so the working section remains completely level facing upward.
Even if the glue feels dry to the touch within an hour, full chemical cure typically takes 24 to 48 hours. Never carry the item in a pouch or expose it to friction before this period has passed. Leave it untouched in a well-ventilated, shaded spot for at least a full day.
Here are three insider practices I use in my own studio to elevate both visual polish and long-term durability:
Rhinestones popping off curved accessories is an issue you can completely eliminate with the right structural approach.
By tailoring your stone sizes to match the curvature and tapering down to micro-sizes at the edges, you eliminate gaps, minimize catch points, and build incredible durability for everyday use. Setting individual SS3 and SS5 crystals requires a bit of patience, but the long-lasting, smooth result is well worth every second.
Remember the three core rules: sand and degrease your base, choose flexible-cure adhesive, and stay slightly inside the outer boundary. Use these principles to craft your own stunning, durable rhinestone creations!
If you found this guide helpful, please share it on your social media channels or with your fellow craft enthusiasts! See you in the next tutorial—this is Yassy from Crafters!





For example, if you are looking for articles about mizuhiki, try searching for "mizuhiki"; if you are interested in tools, try keywords like "nippers" or "pliers."
