Beginner’s Guide to Parts Deco: Essential Tools and How to Start Fast with Kits
yassy
Crafters!
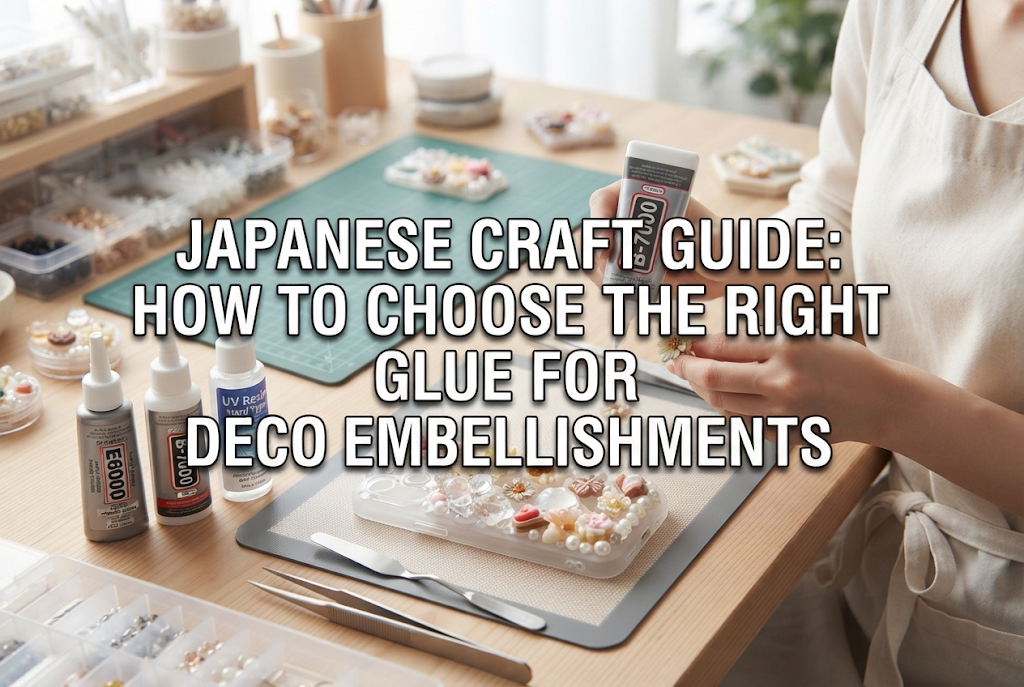

Hello, craft lovers! It’s Yassy from Crafters! (・∀・)
"Parts deco"—decorating everyday items like smartphone cases, compact mirrors, and hair accessories with sparkly rhinestones and adorable resin embellishments—is such a fun and creative craft. Placing each shiny piece is always an exciting process!
However, many crafters have experienced the disappointment of spending hours on a piece only to have the embellishments pop off during use, or noticing ugly white hazing around the glue.
The ultimate secret to success in deco crafting comes down to one thing: choosing the right adhesive. When you select a glue that matches both your embellishment material and your base surface, your finished work will be amazingly durable and beautiful.
In this guide, I will break down the main types of adhesives used in deco crafting, their unique characteristics, how to match glues to specific materials, and practical techniques to ensure your projects never fail!
You might think, "Isn't all craft glue basically the same?" But in deco crafting, adhesive selection is the single most important factor determining the lifespan of your artwork.
Every adhesive available has materials it bonds with effortlessly and others it struggles with. If you use an incompatible glue, your embellishments will easily peel off, no matter how carefully you placed them.
Understanding why glue selection matters comes down to two key factors:
In deco crafting, you often join very different materials together—such as attaching metal charms onto a plastic phone case, or glass stones onto leather.
Plastics (acrylic, polycarbonate, PVC), metal, glass, fabric, and leather all have completely different surface properties. Unless you use an adhesive formulated to adhere to both surfaces, it cannot achieve proper bonding strength.
Adhesives generally cure into two categories: rigid types that turn rock-hard, and elastic types that retain slight flexibility.
For items handled daily—like smartphone cases that experience bending, vibration, and frequent touch—elastic glues that absorb shocks are ideal. On the other hand, rigid glues can cause embellishments to snap off completely when subjected to sudden impacts.
Initial viscosity (how runny or thick the glue is when applied) is equally important. Glues that are too thin flow easily, causing small parts to slide around, while thicker, viscous glues fill gaps and hold parts firmly in place.
There are five main types of adhesives commonly used in deco crafts. Here is what you need to know about each one:
This is a ready-to-use, single-tube adhesive and the most popular standard option in deco crafting. Many craft glues sold specifically as "deco glue" belong to this category.
Yassy's Note: I use one-component multi-purpose adhesives the most for everyday small-item decorations and full rhinestone coverage. It offers an outstanding balance of ease of use and strength.
This adhesive cures through a chemical reaction when equal parts of Agent A and Agent B are mixed together.
If you are working with valuable charms or bulky 3D parts that you cannot afford to drop, two-component epoxy is your best choice. Options range from quick 5-minute setting types to 30-minute slow-curing types.
While super glue sets in seconds and seems convenient, it is actually one of the riskiest choices for deco crafts.
Because the risk of clouding rhinestones and acrylic parts is very high, super glue should definitely be avoided in deco crafting.
These adhesives cure within seconds or minutes when exposed to UV or LED light.
As long as light can penetrate through to the adhesive layer, UV resin or UV glue serves as a powerful tool.
This tool melts solid resin sticks with heat, which solidify as they cool down.
The most crucial aspect of deco crafting is matching the adhesive to your specific combination of materials. Here is a quick reference guide:
One of the most common pitfalls for beginners is trying to decorate silicone smartphone cases. Materials like silicone, polyethylene (PE), and polypropylene (PP) naturally repel standard adhesives.
No matter how strong an epoxy glue you use, it will peel off like a thin film once cured. If you want to decorate a silicone case, you must use a specialized adhesive marked "silicone compatible" or apply a dedicated primer (adhesion promoter) as a base coat.
Every common crafting mistake has a clear cause. Knowing these patterns in advance helps you prevent them before they happen.
If parts peel off cleanly, leaving the exact shape of the base intact, the cause is usually skin oils/dirt on the base or a surface that is too smooth.
Solution: Always wipe the base surface thoroughly with rubbing alcohol or anhydrous ethanol before working. Oils and dust from hands prevent glue from adhering properly. For smooth plastic or metal bases, perform "sanding" by lightly rubbing the surface with fine sandpaper (grit 400–600). Creating micro-scratches increases the bonding surface area and dramatically improves strength.
Applying too much glue out of fear that parts won't stick causes adhesive to overflow when parts are pressed down.
Solution: Rather than applying glue directly from the tube onto your project, squeeze a small amount onto parchment paper or the back of a paper cup. Use the tip of a toothpick to apply a thin, even layer to the back of the part. If glue accidentally squeezes out, gently wipe it away with a cotton swab dipped in ethanol before it cures.
A project that looked crystal clear when freshly made may turn brownish-yellow months later. This yellowing speeds up with exposure to sunlight (UV light).
Solution: Look for adhesives labeled "High Transparency" or "Yellow-Resistant" on the packaging. Epoxy glues and budget adhesives are particularly prone to yellowing, so check product descriptions carefully before buying.
Here are the step-by-step techniques I use in my own crafting routine to achieve professional, durable results:
Before starting, gather these essential helper tools alongside your adhesive:
Set these within reach before opening your glue. Scrambling to find tweezers after applying glue allows the adhesive to skin over, leading to failure.
Wipe the base with ethanol to remove oils. Unless working on a base that needs crystal transparency, lightly sand the application area to create texture. This small step makes a dramatic difference in durability.
If you spread glue over the entire surface at once, it will dry and form a skin before you reach the other side. Apply small dots of glue and spread them over tiny sections (about 1cm x 2cm / 0.4in x 0.8in at a time), then place your embellishments. Taking it slow and steady is the secret to a neat finish.
Once all parts are placed, it’s tempting to touch or move the finished piece, but this is where patience is crucial. Even if the surface appears set, adhesives take at least 12 to 24 hours to cure completely inside. Touching it early can shift parts by millimeters or weaken the bond. Cover your project with a plastic container or box to protect it from dust, and let it rest in a well-ventilated area for a full day.
When working with adhesives, resins, or solvents, always open windows or turn on a ventilation fan. Breathing fumes from organic solvents over extended periods can cause discomfort. Always read manufacturer instructions carefully to enjoy crafting safely.
In this guide, we explored how to choose adhesives for deco crafts and practical techniques for a flawless finish.
Let's recap the key points:
Matching your adhesive to both the base material and embellishments will dramatically elevate the quality and longevity of your deco projects. Secure your favorite craft parts firmly and enjoy creating one-of-a-kind pieces!
If you found this helpful, please share this article with your craft-loving friends on social media!
See you in the next article! This was Yassy from Crafters!


For example, if you are looking for articles about mizuhiki, try searching for "mizuhiki"; if you are interested in tools, try keywords like "nippers" or "pliers."
