The Complete Guide to Craft Stamp Types: How to Choose the Best Stamp to Elevate Your Handmade Creations
yassy
Crafters!

Hello, it's Yassy from Crafters! (・∀・)
Once you get comfortable creating parts deco (rhinestone and embellishment craft), a natural urge always kicks in: you want to lay down stones without awkward gaps, and you want to build strong, durable pieces that won't lose a single stone during daily use.
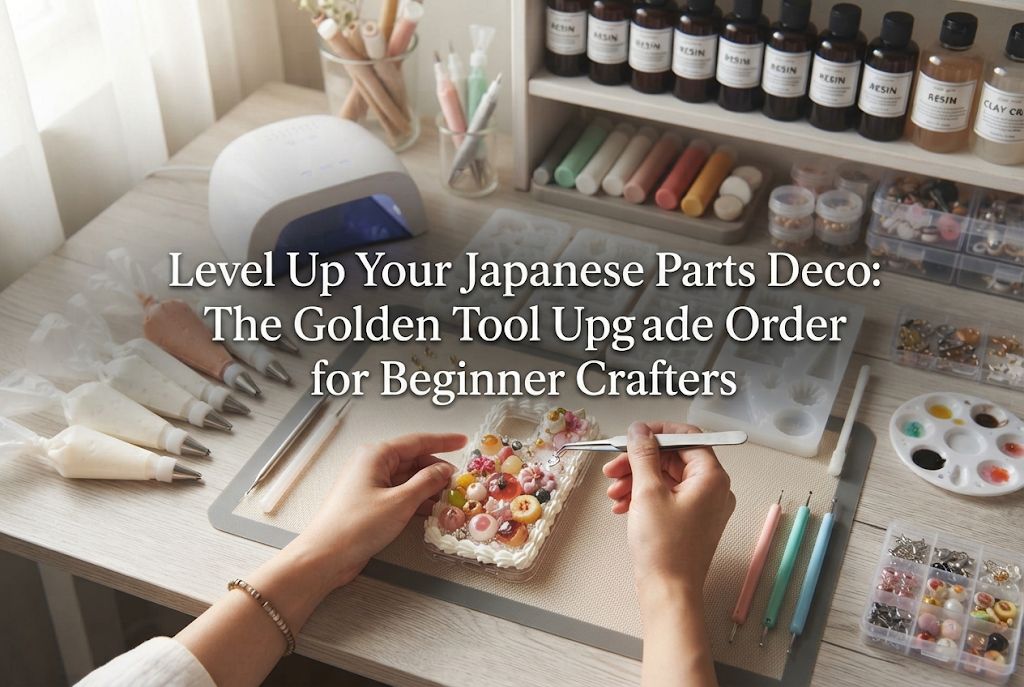
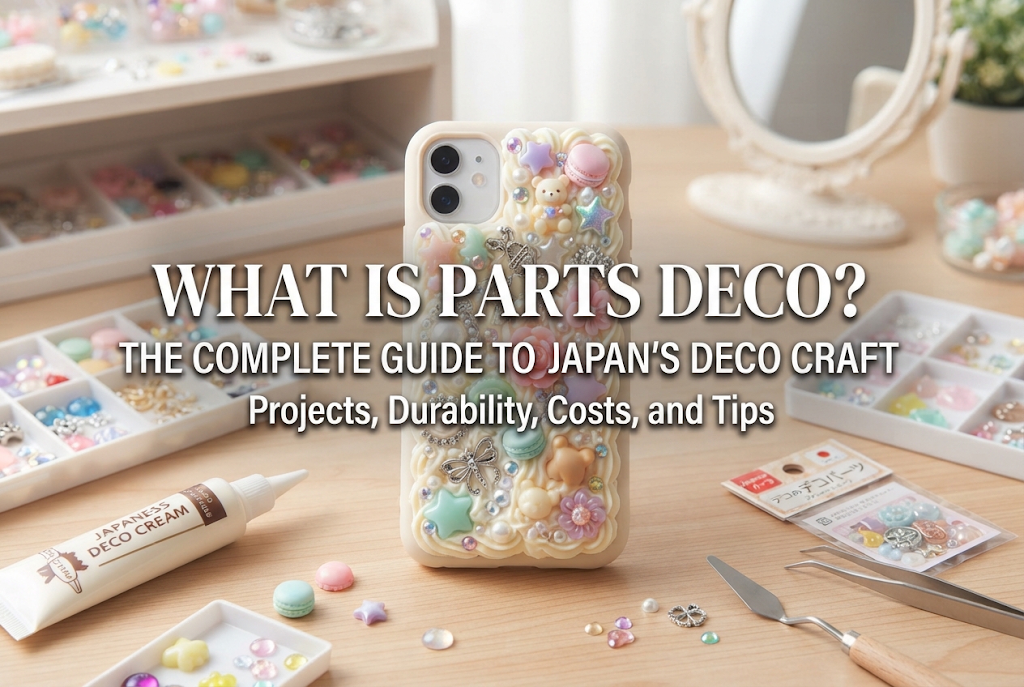
Parts deco is an immensely popular craft genre in Japan that lets you transform everyday items—like smartphone cases, pillboxes, and compact mirrors—into dazzling works of art.
I personally love making parts deco, looking at sparkling creations, and shopping for cute decorative charms. Over the years, I've created countless pieces.
When most crafters start out in parts deco, they begin by purchasing a starter kit containing a basic set of tools.
Starter kits are wonderful introductory items that let you jump into the crafting experience the very day they arrive.
However, once you've finished a few pieces and reach the stage where you want to move beyond beginner level, staying with your original starter kit tools will inevitably bring you up against a quality wall.
The root cause of these frustrations isn't a lack of technique—it's simply the limitations of beginner tools.
By upgrading your tools to high-quality, professional-grade alternatives in the correct sequence, both the finish and durability of your work will improve dramatically.
In this guide, based on my own hands-on experience, I will break down the absolute golden order for upgrading your parts deco tools after graduating from your starter kit—helping you avoid wasted spending and take the shortest path to professional-level results.
Parts deco is a technique where tiny rhinestones and variously shaped resin charms are arranged seamlessly and bonded securely onto a base object.
Because the core structure of the craft is simple, the precision of your tools directly dictates the beauty and longevity of your final piece.
The tools bundled in starter kits are made to provide the bare minimum quality needed for beginners to test the craft. Included tweezers often have misaligned tips, and bundled glues tend to have viscosity and cure times formulated too broadly for advanced designs.
Continuing with beginner tools forces you to apply unnecessary wrist pressure, leading to fatigue, misplaced stones, and glue overflow.
Switching to high-quality specialized tools brings three major advantages:
Upgrading your tools isn't a luxury; it's an essential investment to elevate your work from amateur handmade creations to sales-ready pieces.
When replacing your tools, never buy items at random just because they catch your eye.
If you mess up the priority order of your budget, you won't feel a distinct jump in quality and will end up wasting funds.
The absolute rule for deciding priority is to start with tools that directly dictate manual precision.
Here is the golden upgrade sequence for parts deco tools:
By acquiring items in this order, you can keep your initial outlay controlled while feeling a tangible leap in quality at every step.
Let's dive deep into why each item holds its specific rank and what criteria you should use to select them.
The absolute number one tool set to replace first is whatever you use to pick up and position your parts.
Over 80% of your actual working time in parts deco is spent grabbing and placing tiny pieces. The quality of the tool used here determines 100% of your placement accuracy and speed.
Tweezers included in kits are typically cheap plastic or low-cost metal units with imprecise tip alignment.
When you try to grip tiny rhinestones or rounded pearls, the tips fail under spring pressure, causing parts to flick and fly across the room. Not only does this lose stones, but it is also the primary reason parts fall onto wet glue and smudge your piece.
Additionally, cheap metal tweezers easily acquire static charge or magnetism, causing stones to cling to the tips instead of dropping onto your target spot.
Your very first upgrade should be a pair of ultra-precision stainless steel tweezers, such as those crafted by artisans in Tsubame-Sanjo, Niigata Prefecture.
Look for remarkably fine tips where the left and right prongs meet flush against each other.
Key selection criteria include:
Straight tips excel at rapid continuous placement over broad areas, while curved tips are ideal for tucking tiny stones into narrow crevices between larger charms.
Having these two pairs eliminates part-flicking almost completely.
To boost speed and precision even further, introduce a suction pick pen featuring a tacky wax or resin tip.
While tweezers are best for medium to large charms or irregular shapes, they are inefficient for setting hundreds of tiny 1.5 mm to 3 mm rhinestones. With a wax pick pen, lightly touching the top of a stone picks it up instantly, releasing it cleanly as soon as it contacts the wet glue.
Options include sharpenable wax pencils or washable silicone-tip pens. Knowing when to switch between tweezers and suction pens is the defining boundary between beginners and pros.
Ranked second after tweezers are your adhesives and applicator tools.
No matter how flawlessly you arrange your stones, if they detach during daily use, the piece loses its value as a functional product. Stop using general multi-purpose glues from starter kits or cheap dollar-store options immediately.
Adhesives used in parts deco require specialized performance that everyday household craft glue cannot provide:
Preventing "whitening" is especially vital. Instant glues (cyanoacrylates) emit vapors that deposit a cloudy white residue on rhinestone facets and glass surfaces. To protect stone brilliance, 2-part epoxy adhesives or solvent-free specialized deco glues are the clear answer.
Professional crafters match their adhesive choice to the specific base material of the project:
How you apply glue to the base is just as crucial as the glue itself. Stop applying glue straight from squeeze tubes or spreading it with toothpicks. Toothpicks pool glue unevenly at the tip, causing ugly squeeze-out.
Instead, purchase medical-style syringes or specialized dispensers equipped with ultra-fine metal tips. They allow you to draw clean, microscopic lines of glue, preventing overflow around stone borders while ensuring full coverage under every piece.
With tweezers and adhesives upgraded, turn your attention to sorting and alignment tools.
Parts deco requires working with hundreds of stones oriented face-up (sparkly side up). Stones poured straight out of a bag sit upside down half the time, and flipping them individually with fingers or tweezers is a massive waste of crafting time.
Starter kit plastic dishes build up static charges rapidly, causing stones to stick upside down to sidewalls. Upgrade to specialized anti-static deco trays featuring ridged, wave-like grooves on the bottom.
By pouring stones into the tray and gently shaking it side to side, over 80% of the stones flip face-up almost instantly along the grooves. This simple addition removes tedious setup time and keeps your workflow moving smoothly.
Pair your grooved tray with a sticky silicone mat placed over your work surface. If a stone drops from your tweezers, the soft mat catches it gently without letting it bounce off onto the floor. Eliminating small distractions like searching for dropped stones keeps your focus sharp.
The fourth priority focuses on surface preparation before placing a single stone.
Fully half of a project's final durability and polish is decided during surface preparation. Even expensive stones look mediocre if the base color bleeds through awkwardly or oil residue causes glue to lift off.
Smartphone cases and metal blanks carry invisible oils and mold-release agents from manufacturing. Applying glue over oil causes entire sections of stones to peel off like skin days later. Water alone cannot dissolve these oils.
Incorporate a dedicated degreasing prep fluid or high-purity isopropyl alcohol paired with lint-free wipes. Degreasing right before gluing ensures adhesives bond at 100% strength.
Pro crafters rarely glue stones directly onto raw surfaces without preparation. Instead, they print or draw designs onto a high-grade transparent laminate base sheet, apply the sheet to the object, and then place stones on top. Base sheets hide bare gaps between stones and allow you to peel off and restart if a design fails.
Essential tools for this stage include:
If base sheet edges wobble by even 1 mm, stone alignment distorts. Upgrading your ruler and knife ensures straight lines and clean curves every single time.
The fifth tier covers your workspace visual environment.
Parts deco involves precision work aligning stones measured in millimeters or fractions of a millimeter. Working under standard ceiling lights creates hand shadows that hide gaps, glue squeeze-outs, and subtle color shade differences.
Upgrade to a desktop LED lamp with a Color Rendering Index (CRI/Ra) of 90 or higher. High-CRI lighting simulates natural sunlight, letting you accurately see stone facets, true color shades, and subtle gradients.
Choose an adjustable arm lamp that lets you position light from side angles. Side lighting casts distinct shadows across squeezed-out glue or uneven stone heights, making mistakes easy to catch and correct immediately.
Hunching over tiny details for hours strain your eyes, neck, and shoulders. Introduce clip-on headband loupes or illuminated stand magnifiers with 1.5x to 2.5x magnification.
Magnification turns guesswork into absolute confidence, letting you spot microscopic gaps instantly.
When graduating from starter kits, crafters often fall into common purchasing traps. Protect your budget by postponing these non-essential items:
Huge multi-drawer organizers look impressive, but storage units do not improve work quality by a single millimeter. Wait until your inventory outgrows your current setup before buying extra storage. Direct your early budget into tools that directly touch your work, like tweezers and adhesives.
Avoid buying expensive, odd-shaped specialty charms or huge random stone assortments without a planned project. Establish a high-precision tool setup first before expanding your raw materials.
Even top-tier tools degrade quickly if neglected. Maintain your investment with these essential habits:
Microscopic adhesive residue inevitably clings to tweezer tips during work. If left uncleaned, stones will stick to the tweezers instead of the glue bed. Keep ethanol-soaked lint-free wipes on your desk and wipe tweezer tips clean every few minutes while crafting.
For glue dispenser nozzles, push out excess glue immediately after use and seal caps tightly to prevent air exposure. Clogged tips lead to uneven glue flow and unexpected squeeze-outs during your next session.
We've explored the golden upgrade order designed to take your parts deco craft from beginner status to professional quality.
Japanese-style parts deco is a rewarding craft where your attention to detail shines directly through the sparkle of your finished work.
The moment you feel the desire to make cleaner, more durable pieces is the perfect time to upgrade. Start with Priority #1 (Precision Tweezers & Pick Pens) and Priority #2 (Specialized Adhesives & Applicators).
The moment you test professional tools, the difference will amaze you. Watching stones drop effortlessly into place with crystal-clear precision makes crafting even more joyful.
Equip yourself with reliable tools and take your deco art to the next level!
If you enjoyed this article, please share it with your craft friends on social media! See you in the next post—Yassy from Crafters signing off!

For example, if you are looking for articles about mizuhiki, try searching for "mizuhiki"; if you are interested in tools, try keywords like "nippers" or "pliers."
