A Japanese Crafter’s Guide to Choosing the Best Handmade Supplies: Smart Shopping for Beginners
yassy
Crafters!

Hello, everyone! This is Yassy from Crafters! (・∀・)
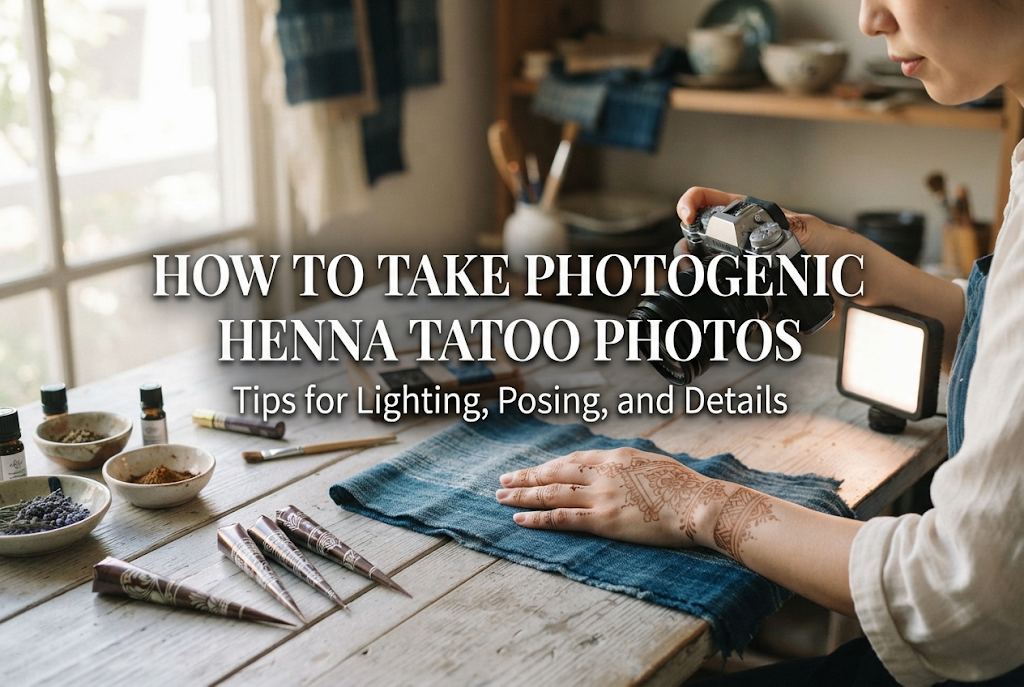
Henna tattoos (Mehndi) are a gorgeous form of body art drawn directly on the skin. Once you have a beautiful design applied, you naturally want to capture it in the best possible photos to share on social media or keep as memories!
However, I often hear people voice these common struggles: "The design looks amazing in person, but in photos, my skin looks dark and dull," "The intricate lines get blurry," or "My hands look stiff and rough in the picture."
Photographing henna tattoos requires specific techniques that differ from shooting ordinary handmade crafts or small items. You need to consider the unique texture of skin and the three-dimensional curves of the body.
In this guide, I will walk you through clear, step-by-step photography tips to bring out the true beauty of henna patterns, elegant hand posing, and lighting to make your henna tattoos truly photogenic!
The main reason photographing henna art feels challenging is that your canvas is human skin and a curved body surface. It is entirely different from taking a top-down photo of an illustration drawn on flat paper.
Furthermore, the unique brown stain of henna dyes can easily blend into the skin tone or look muddy depending on the lighting conditions.
Here are the three primary mistakes beginners make during a photo shoot:
These issues can be resolved easily once you learn proper lighting choices, natural posing, and simple camera adjustments. Let's look at each point step by step!
Lighting is the single most crucial element to dramatically improve your photos. Here is how to create light that captures delicate henna lines while keeping the skin looking clear and fresh.
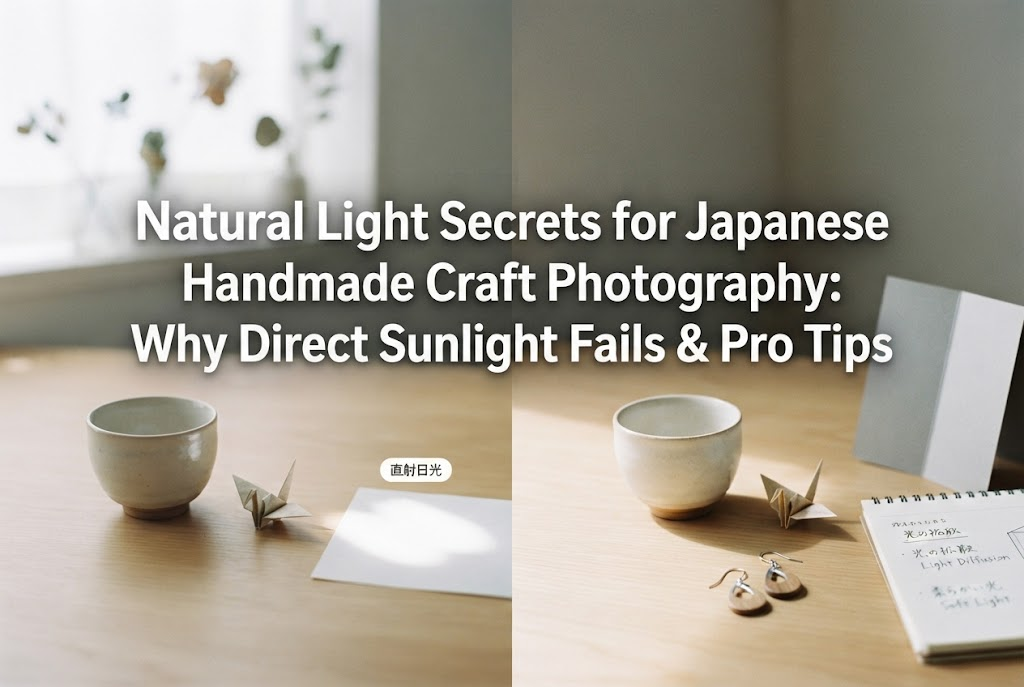
When photographing henna tattoos, natural sunlight provides the most beautiful results. However, you should avoid direct sunlight.
Direct sunlight is too harsh; it casts strong shadows on the skin and causes parts of the henna design to become blown out or lost in dark shadows.
The ideal lighting is soft, diffused light created by drawing a lace curtain over a window on a sunny day, preferably between 10:00 AM and 2:00 PM.
Light passing through a lace curtain gently wraps around the skin's curves and subtle shadows, making the intricate lines of the henna tattoo pop clearly against the skin.
If you must shoot indoors at night or on a rainy day, avoid using only ceiling room lights—especially warm, yellowish bulbs.
Standard indoor lighting can alter skin tones toward yellow or red, ruining the natural color payout of the henna stain.
When shooting indoors, use a daylight white (natural white light) LED ring light or stand light. Placing a piece of thin non-woven fabric or white paper in front of the light will soften it, giving your photos a professional, smooth skin texture.
The angle of light is also vital. Direct light coming straight from above (front lighting) flattens the image.
Instead, position your hands or feet at a 45-degree angle to the window or light source. This technique is called side lighting.
When light enters from an angle, it creates soft, gentle shadow gradients along the curves of the hands or body, giving the henna tattoo three-dimensional depth and a sophisticated look.
No matter how gorgeous a henna design is, if the pose looks stiff, the photo loses half its charm. Remember these basic rules to make hands look slender and highlight the art.
The most common mistake during a shoot is stretching the palm out completely flat and straight.
Stretching hands under tension accentuates knuckles, joints, and veins on the back of the hand, resulting in a harsh, strained look.
When taking photos, completely release the tension in your fingers as if you are gently cradling a bubble of air. Curving your fingers slightly and staggering their lengths creates an elegant, graceful posture.
Switch your camera angle based on the design you want to highlight.
For symmetrical designs like geometric motifs or mandala patterns, a direct overhead flat-lay shot (straight from above) works best to display full balance.
On the other hand, for flowing botanical patterns or vine designs running from the wrist to the fingertips, shooting from a side angle adds depth and creates a dramatic, narrative feel.
It can be awkward to pose a hand when it is completely empty. A great trick is to naturally hold or touch props that match the vibe of the artwork.
Holding an object naturally bends the fingers and completely removes tension, making it easy to create a relaxed, polished posture.
Henna tattoos are a magical medium because their color evolves over time. Depending on when you take the photo, you can highlight entirely different visual qualities.
This is the stage where the wet henna paste sits on the skin as it dries. The raised, tactile lines of the paste give the photo a rich, handmade, and artistic feel.
Aim to photograph right after application while the paste still has a slight shine before it dries and cracks.
Immediately after scraping off the paste gently with a damp cloth, the stained skin appears a bright, fresh orange.
At this stage, the contrast against the skin feels youthful, vibrant, and cute. It is the perfect moment if you want a cheerful, bright pop aesthetic.
As the henna dye reacts with oxygen in the air, it oxidizes into a deep chocolate brown. One to two days after application is the peak period when the color is darkest and most vivid.
If you want to showcase the henna artwork at its absolute finest—with depth, richness, and mystical elegance—plan your main photo shoot during this 24 to 48-hour window!
To make henna tattoos stand out, the background and surrounding props are essential. Here are simple background techniques you can try at home.
Shooting on a plain dining table or hardwood floor with everyday clutter in the background can spoil the artistic ambiance.
By placing a textured fabric or material underneath, you can instantly elevate your photo to a professional standard.
When photographing henna on hands, nail polish and accessories like rings or bracelets greatly influence the final picture quality.
For nail colors, choose shades that harmonize well with henna brown, such as beige tones, terracotta, gold, or muted sage green. Avoid overly bright neon colors that distract from the henna design.
Additionally, wearing delicate brass, silver, or natural gemstone rings acts as a subtle accent, creating a beautiful synergy with the henna patterns.
You might think you need a professional DSLR camera, but that is not true at all! Modern smartphone cameras are more than capable of capturing stunning images.
Here are the essential camera settings and operations to use when shooting with a phone.
If you simply point your smartphone and press the shutter, auto-mode will constantly change the brightness, often leading to inconsistent results.
Follow these steps instead:
By shooting slightly underexposed, you prevent bright skin spots from blowing out and preserve the crisp resolution of thin henna lines.
Smartphone Portrait Mode is handy for blurring backgrounds, but use it carefully with henna tattoos.
If the background blur effect is too strong, the smartphone camera may misinterpret fine henna lines on fingertips or wrists as part of the background and blur them away.
When using Portrait Mode, dial down the blur intensity (f-stop setting) slightly, or zoom in after taking the shot to double-check that the fine details remain sharp.
Editing your photos slightly using built-in phone tools or free apps like Lightroom or Snapseed makes a huge difference.
The goal of retouching is to keep the photo looking natural while subtly enhancing the skin and pattern. Try adjusting these parameters:
The secret is to make incremental adjustments so the skin does not end up looking like plastic or the henna color turning an unnatural reddish-purple.
Taking a minute to prepare before you start shooting eliminates most mistakes. Here is my personal pre-shoot checklist:
Let me share my exact step-by-step process when I take henna tattoo photos!
First, I choose a sunny day around 11:00 AM. I set up a small low table near a window where soft light fills the room, and I loosely lay down an off-white, coarsely woven linen cloth.
On my hand, I put on two dainty gold rings that match the henna tone, and trim my nails with a soft milk-tea beige polish.
Next, I hold a small ceramic antique-style mug in my right hand, gently resting my left hand near the base with relaxed, soft fingers.
I position myself so soft window light enters from a 45-degree angle from the front-side, then frame the shot on my smartphone.
I tap the main mandala pattern on the back of my hand to lock focus (AF Lock), then slide the sun icon slightly down to reduce exposure.
I tuck my elbows against my torso to steady my hands, hold my breath, and snap the photo!
Finally, in an editing app, I drop the highlights slightly and add a touch of sharpness. Following these simple steps easily produces a polished photo that looks like it belongs on a curated Instagram feed!
Let's recap the key points for taking photogenic henna tattoo photos:
Because henna tattoos naturally fade after a few weeks, capturing their temporary beauty in stunning photos is truly rewarding.
With just a little attention to lighting angles and hand placement, your henna artwork and memories will transform into enchanting, memorable photographs.
Give these photography tips a try and share your favorite henna tattoo photos on social media or keep them in your personal album!
If you found this helpful, sharing this article with your creative friends is always greatly appreciated!
See you in the next article! This was Yassy from Crafters!






For example, if you are looking for articles about mizuhiki, try searching for "mizuhiki"; if you are interested in tools, try keywords like "nippers" or "pliers."
