The Essential Guide to Japanese Eraser Stamp Carving: Must-Have Tools and Flawless Techniques for Beginners
yassy
Crafters!

Hello, crafters! It's Yassy from Crafters! (・∀・)
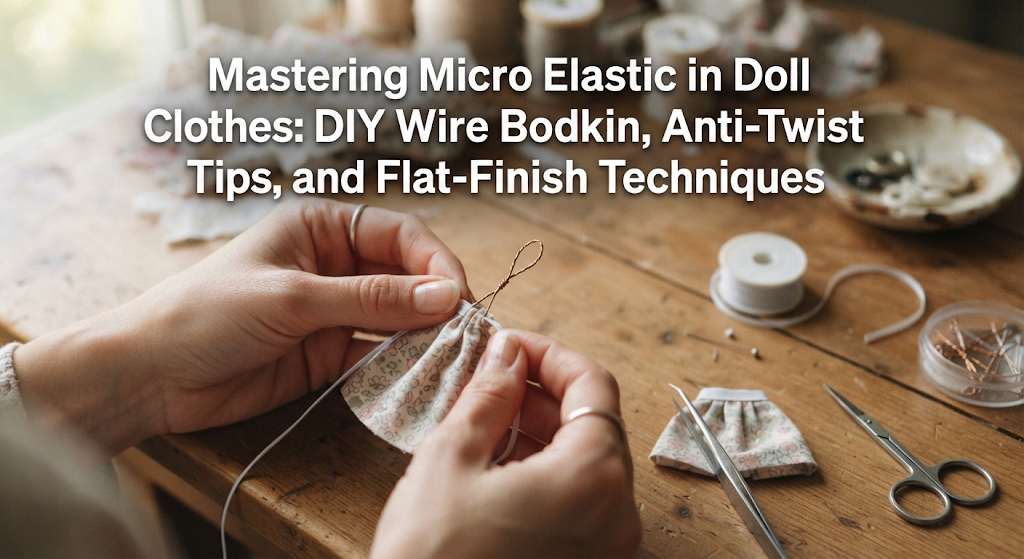
When sewing tiny skirts or trousers for small dolls—like 1/12 or 1/6 scale figures—the biggest hurdle is often threading the elastic through the waistband casing. Standard human-sized bodkins, narrow commercial threaders, and even tiny safety pins are simply too bulky to slide through micro-sized fabric channels.
Have you ever struggled to pull elastic through, only to find it twisted and lumpy inside? Or worse, just millimeters before reaching the exit, the trailing end gets sucked clean inside the casing, forcing you to start all over? If you have ever tried sewing doll clothes, you know this frustration all too well.
Today, I'll share how to make a dedicated micro-wire bodkin using readily available craft supplies, along with proven techniques to prevent twisting and lost ends, plus flat-finishing methods for a clean silhouette!
The main reason threading doll waistbands is so tricky lies in the physical clearance inside the casing compared to the thickness of typical tools.
For small dolls around 10 cm to 20 cm (4 to 8 inches) tall, the waistband casing width is often just 3 mm to 5 mm. Once you factor in seam allowance layers and folded fabric edges, the actual inner opening can shrink to 2 mm or less.
Standard sewing notions are simply oversized for doll scale. Forcing them through risks tearing fine fabrics or bursting delicate seams.
Furthermore, doll clothes typically use 2 mm to 3 mm flat elastic, thin round cord elastic, or stretchy beading cord (operon elastic). These materials are lightweight and prone to twisting with slight friction. If secured while twisted, the doll's waist will bulge unnaturally and ruin the fit of the outfit.
If commercial tools don't fit, creating your own custom-sized tool is the simplest solution. With a short piece of craft wire, you can bend a dedicated bodkin that glides effortlessly through tiny channels.
Wire gauge is crucial. Anything thinner than 0.2 mm is too flimsy and bends inside the tunnel without pushing forward. Anything thicker than 0.5 mm is too stiff to maneuver, making the folded tip excessively bulky. A thickness around 0.35 mm offers the ideal balance of firmness and flexibility.
In about three minutes, you have a custom bodkin with a tip under 2 mm wide and a length of around 7 cm. It costs almost nothing and performs miracles on small-scale garments.
Once your tool is ready, how you attach the elastic makes all the difference in preventing snags and twists.
A frequent beginner mistake is tying the elastic to the threader. A knot quadruples the thickness, making passage through a micro-tunnel impossible.
Instead, follow this low-profile method:
By simply hooking the elastic in a flat U-shape without knots, the thickness stays minimal, allowing it to slip cleanly into casings as narrow as 3 mm.
Never push the wire through by brute force, which bends the wire inside the tunnel. Instead, pinch the bodkin tip through the fabric with your right hand. With your left hand, scrunch the forward fabric back toward the tip, then slide the gathered fabric backward down the shaft. By advancing like an inchworm, you protect the fabric from tension and keep the elastic laying completely flat.
There is nothing more frustrating than having the bodkin emerge from the exit hole just as the trailing end gets sucked into the entrance, forcing you to start over.
Because doll waists are so short, the tail reaches the opening in seconds. Set up a secure anchor before you begin threading.
Here is my reliable method for securing the trailing end:
Also, avoid cutting elastic to the exact finished length beforehand. Always cut your elastic 5 cm to 6 cm longer than the finished waist measurement. Having that extra tail significantly lowers the difficulty of the whole process.
Once both ends are through, how you join them determines the final quality of the garment.
In human clothing, tying elastic ends in a square knot and tucking it into the casing is common. In doll clothes, however, a knot forms a prominent bump under thin fabrics, creating an unsightly bulge at the waistline. Furthermore, because doll bodies are rigid plastic or resin, that hard knot pushes the garment away from the body, distorting the silhouette. A flat-stitched overlap is the gold standard for doll tailoring.
Verify with your fingers that the elastic is not twisted inside the casing, then overlap the two ends by 5 mm:
If your pattern allows, try threading the elastic while the garment piece is still flat, before sewing the side or center-back seam:
This method completely eliminates the hassle of navigating a narrow circular tunnel. If working in the round feels daunting, this flat-insertion method is a great alternative.
Sometimes threading difficulties stem not from your tools, but from mismatched dimensions between the elastic and the fabric casing.
If you use 3 mm elastic, sewing a 3.5 mm casing creates too much internal friction for even a thin wire to pass smoothly.
As a guideline, make the inner casing width at least equal to the elastic width plus 2 mm. For 3 mm elastic, aim for a 5 mm finished casing. That 2 mm buffer gives the bodkin room to travel freely and allows the elastic to rebound smoothly, producing crisp, even gathers.
Never pull or push with excessive force, as that bends the wire or tears the seam. In most cases, the tip has caught on a folded seam allowance inside the casing. Back the wire out by a few millimeters. Smooth the seam allowance flat from the outside of the fabric with your fingertip. Then, tilt the wire slightly toward the smooth outer fabric face rather than the seam-side, and gently ease it forward again.
Right after securing the elastic ends, gathers tend to concentrate near the exit point. Hold the waistband on both sides with your hands and gently stretch the elastic out to its limit three or four times. As the elastic snaps back, the fabric gathers will naturally redistribute along the waistband. Use the back of an awl or your fingers to tease the small pleats into place for a balanced finish.
Whenever I sew doll waistbands, I always follow two simple habits: pre-pressing with an iron, and inspecting the bodkin tip.
Before stitching, I press the casing fold sharply with an iron. This keeps the interior channel straight and free of slack fabric, giving the wire a clear path.
I also inspect my wire bodkin before each session. Over time, the teardrop loop can spread open or develop a rough edge from metal fatigue. Running a fingertip over the tip ensures it remains completely smooth and round. Because craft wire is inexpensive, it's easy to make a fresh one whenever needed to keep your tools in peak shape.
Sewing doll clothes requires dedicated micro-scale techniques that differ from human-scale tailoring:
With these small adjustments, working with tiny waistbands becomes smooth and enjoyable. Try these techniques on your next miniature sewing project!






For example, if you are looking for articles about mizuhiki, try searching for "mizuhiki"; if you are interested in tools, try keywords like "nippers" or "pliers."
