Paper Ink vs. Fabric Ink: Fixation Mechanisms and Rules for Zero Craft Failures
yassy
Crafters!

Hello, everyone! This is Yassy from Crafters! (・∀・)
Have you ever enjoyed working on a cross stitch project, only to realize halfway through that your stitches do not match the chart, or that the finished motif looks completely warped? More than 90% of the time, the culprit lies right at the beginning: how you count the fabric weave.
Cross stitch is a technique where you count the woven squares of the fabric with precision and form tiny crosses (X). Miscounting by just a single stitch can ruin an entire piece.
From stitching countless designs myself to examining and collecting finished pieces, I am convinced that every truly beautiful cross stitch project shares one essential foundation: accurate fabric counting.
In this guide, I will share the exact techniques to count your fabric without errors, along with essential rules to prevent missed stitches. From common traps that beginners fall into, to the foolproof workflow I rely on in my own studio, I will cover it all. Read on, and you will never feel lost when counting fabric again.
Cross stitch belongs to a category of embroidery known as "counted-thread embroidery." Unlike surface embroidery (freestyle embroidery), you do not trace your pattern directly onto the fabric beforehand. Instead, you read the grid on your chart and transfer those squares stitch by stitch onto the weave of the fabric.
Because of this, counting fabric is everything. If you cannot count the weave accurately, the quality of your finished craft will drop significantly.
First, let us explore why even a single-stitch error cannot be ignored.
In cross stitch, all elements connect like puzzle pieces. For example, the precise position of a character's eyes or mouth, or the exact placement of flower petals, depends entirely on their spatial relationship with neighboring stitches.
If you miscount by just one stitch along the way, every subsequent stitch in that section shifts out of place by one block.
By the time you notice the misalignment, you might have to frog (rip out) hours of hard work. Worse, the design may no longer fit the intended boundaries, distorting the overall shape. Counting your fabric precisely is the single best way to protect your piece from failure.
Whenever you choose cross stitch fabric, you will see specifications such as "14-count (ct)" or "18-count (ct)." Understanding what this term means is your very first step in learning to count fabric.
"Count" refers to the number of fabric squares or threads per inch (approx. 2.54 cm).
A smaller number means larger squares, while a larger number means a finer weave.
Regardless of which fabric count you choose, the definition of "one stitch" and the rules for counting remain identical. Familiarize yourself with your fabric's count and train your eyes to gauge that scale down to the millimeter.
Cross stitch fabrics generally fall into two broad categories: dedicated cross stitch fabrics (block weave) and plain weave fabrics (such as linen).
The structural layout and counting method differ completely between these two types. Confusing them is one of the most common pitfalls for beginners. Let us break down their structures clearly.
For beginners, dedicated cross stitch fabrics like Aida cloth and Java cloth (a block-weave fabric widely loved in Japan) are highly recommended. These fabrics are woven with bundles of warp and weft threads, creating clear, regular "square blocks" and visible "holes."
On block-weave fabrics, one stitch corresponds to one square woven block.
Your needle enters and exits through the holes at the four corners of that block. Here, many beginners make a critical mistake: they count the holes instead of the blocks.
Always count the square blocks, not the holes.
If you count the holes as 1, 2, 3, your tally will always be one higher than the actual number of blocks. For instance, to stitch across 5 blocks, your needle spans across 6 holes. Always remember: you are counting the woven squares (grid boxes), not the openings around them.
Evenweave cotton and linen fabrics, favored by intermediate and advanced stitchers, do not feature the clear, pre-defined blocks found in Aida or Java cloth. Instead, individual warp and weft threads cross over and under one another in a classic plain weave.
When cross stitching on plain weave fabric, you count two vertical threads and two horizontal threads together as one stitch. This technique is standardly referred to as "stitching two over two" (2 over 2).
In practice, your needle steps across two warp threads horizontally and two weft threads vertically.
If you catch only one thread, your stitch will be tiny, completely distorting the proportions of your pattern. When counting on plain weave, use the tip of your needle to deliberately count two individual threads at a time.
When working on fine linen, always ensure you have bright task lighting so you can clearly distinguish each thread bundle.
Here is the exact step-by-step process I follow whenever I begin a project. Do not rely on guesswork or rough visual estimates. Follow these steps methodically, and miscounts will practically disappear.
Starting your stitching right at the edge of the fabric is a recipe for trouble. If you make an early counting error from an edge, you might completely run out of fabric on the opposite side.
The fundamental rule of cross stitch is to start stitching from the center.
First, fold your fabric in half vertically and then horizontally to locate the exact center point. Mark this center by placing a pin or stitching a small temporary thread marker.
Next, find the center mark on your pattern (typically indicated by small arrows along the grid edges). By aligning the center block of your chart with the center point of your fabric, you guarantee balanced margins on all four sides and prevent layout mistakes.
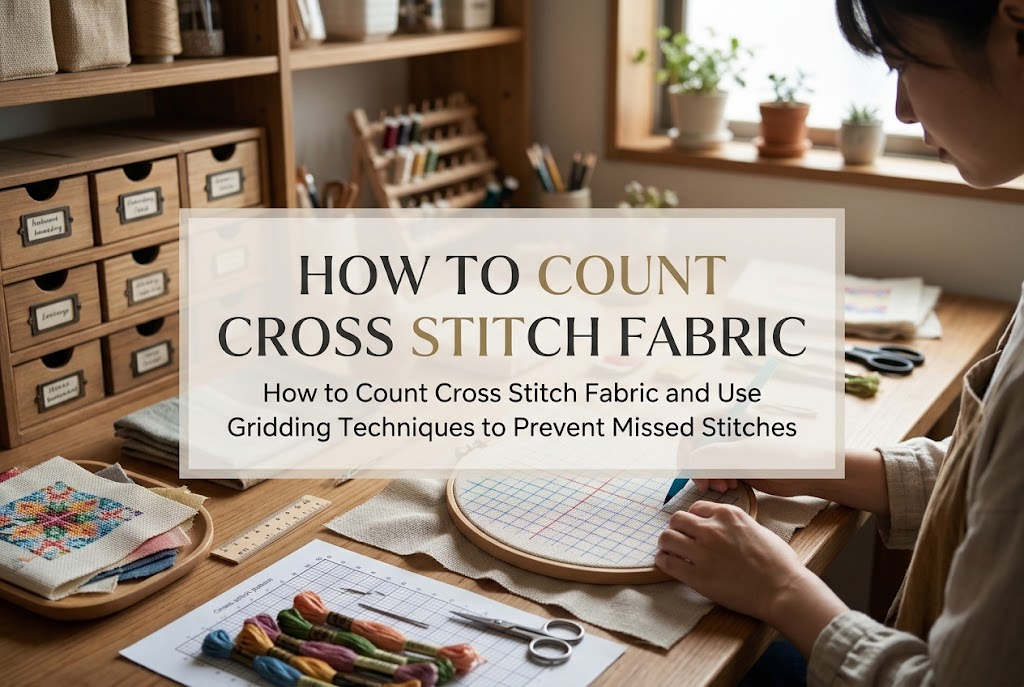
The most powerful technique for eliminating counting errors is adding a grid. Cross stitch charts are almost universally divided into bold 10×10 square sections. Replicating this exact 10-stitch grid directly onto your fabric before stitching is a game-changer.
With grid lines in place, you never have to count across long distances. You only ever need to count within a 10-stitch box. This drastically reduces mental fatigue and keeps errors at bay.
When applying a grid, only use safe, tested tools:
Never use standard graphite pencils, ballpoint pens, or permanent ink pens—they will ruin your work. While heat-erasable pens (like friction pens) are popular, their ink can reappear when exposed to cold temperatures. Stick with water-soluble fabric pens or gridding thread for reliable results.
Even with a grid, shifting your gaze back and forth between chart and fabric can cause you to lose your spot.
The human eye can intuitively recognize quantities only up to about four or five items at a single glance without counting.
For that reason, avoid trying to count distances longer than 5 stitches all at once. Even when stitching a large block of color, break your counting down into sets of five: "five, ten, fifteen."
Use the tip of your tapestry needle or an awl to gently tap and verify each block as you count. Skimming with your fingertip alone often causes you to skip fine stitches.
In cross stitch, adjacent crosses share the exact same corner holes.
For example, if you stitch three horizontal cross stitches in a row, you only need four holes along that row. The top-right hole of the first stitch is the exact same hole as the top-left of the second stitch.
A single fabric hole can accommodate the corners of up to four neighboring stitches.
If you overlook this shared structure, you might get confused about where the next stitch begins, accidentally dropping your needle into the wrong fabric opening. Always treat holes as shared spaces, bringing your needle down cleanly into the hole already occupied by the adjacent stitch.
Consistent, frequent checks while stitching are essential. Personally, I follow a strict rhythm: stitch five, check the chart.
If you stitch 50 or 100 squares before checking, discovering an early error means devastating, time-consuming frogging.
Catching a mistake within 5 stitches means you can undo and correct it in seconds. Build this steady "stitch and verify" cadence into your muscle memory.
No matter how careful you try to be, counting mistakes happen—especially when you are starting out. Recognizing the scenarios where errors occur most often helps you prevent them before they happen.
In my experience, counting mistakes almost always trace back to three specific causes.
Working under poor lighting is the leading trigger for counting errors. Relying solely on general room lighting casts shadows across your hands, obscuring tiny holes and threads.
Always set up a dedicated LED task light aimed directly at your work area.
Angling strong light from slightly in front and above highlights the texture, ridges, and holes of the weave clearly.
If you work on high-count fabrics, do not hesitate to use a magnifier. It relieves eye strain tremendously and makes counting your weave remarkably effortless.
If you focus exclusively on the front, you might miss tangles, knots, or overly tight tension on the reverse side, causing the fabric to pucker.
When fabric warps, square blocks collapse, making it difficult to discern your stitch counts.
Maintain smooth, consistent tension on your thread without pulling too hard. Using an embroidery hoop or a Q-Snap frame keeps your canvas taut, which is crucial for maintaining clear, countable squares.
Cross stitch demands intense concentration. As your eyes tire, optical fatigue can cause one square to look like two, or make you target the wrong adjacent hole.
Take a 5- to 10-minute break for every hour of stitching.
Thinking "let me just finish this one last section" is often the exact moment a critical miscount sneaks in. Whenever you feel tired, set your needle down and give your eyes a break.
Here is the personal workflow I use when setting up my cross stitch projects to ensure flawless results. These practices were developed over years of stitching and inspecting handmade textile work.
I choose my gridding method based on the scale of the project.
For small designs (around 4×4 inches / 10×10 cm), I draw 10-stitch grid lines quickly using an ultra-fine water-soluble marker. The setup takes just a few minutes.
For large-scale projects that take months, or full-coverage designs packed with background stitching, I sew grid lines every 10 stitches using monofilament nylon gridding thread.
Water-soluble ink can fade over extended periods under room light and humidity, or conversely, set stubbornly into the fibers if left unwashed for months. Adapting your preparation method to your project's timeframe is a vital habit for serious crafters.
Gridding your fabric is only half the battle; managing your chart (whether paper or digital) is just as important.
I highlight completed squares on my printed chart with a highlighter pen as I finish them.
Marking exactly what you have completed lets you instantly identify where to resume without wasting time searching for your starting point. Synchronizing your progress across both fabric and chart is the golden rule of flawless counting.
Alongside my stitching needle, I always keep a fine-pointed craft awl on my work table.
Tapestry needles have blunt tips, making them less suited for pinpointing specific fabric strands. A sharp, slender awl or a fine-gauge sharp needle allows you to tap lightly across the weave, counting block by block with absolute precision.
Having the right tool close by ensures you never have to guess.
Here are clear answers to questions beginner stitchers frequently ask about fabric counting.
Yes, absolutely.
Even if an area has no stitches, you must accurately count those blank blocks as distance to reach the next motif. If your count across an empty space is off by even one square, the entire next motif will be displaced.
If the gap is large, avoid carrying your floss loosely across the back. Cut and secure your thread, then carefully recount from your reference grid to start fresh at the new motif's starting point.
Even when working a half cross stitch (a single diagonal tent stitch: /), it still occupies one full woven block, exactly like a standard cross stitch (X).
Because it covers the exact same single-block footprint, your counting method does not change at all. Count the diagonal corners of the square block accurately.
However, for fractional stitches such as quarter stitches (1/4) or three-quarter stitches (3/4), your needle must pierce the exact center of that square block. Even in that case, first identify the outer boundary of the square block before splitting its center.
From fundamental concepts to practical tips, we have covered everything you need to know about counting your fabric weave accurately.
In cross stitch, counting the fabric correctly is the foundational skill that determines the overall quality of your finished piece.
To recap, here are the essential rules to remember:
By following these guidelines faithfully, you can say goodbye to miscounted stitches and frustrating unpicking. Taking the time to grid and verify may feel slow at first, but careful preparation is truly the fastest, most satisfying route to a gorgeous finished piece.
There is nothing quite like the feeling of watching a design emerge cleanly, stitch by stitch, exactly as planned. Try out these counting techniques on your next project and enjoy a smooth, relaxing stitching journey!
If you found this guide helpful, please share it with your fellow stitching friends on social media! See you in the next post—this is Yassy from Crafters signing off!







For example, if you are looking for articles about mizuhiki, try searching for "mizuhiki"; if you are interested in tools, try keywords like "nippers" or "pliers."
