Why Does Shrink Plastic Stick? A Crafter’s Complete Guide to Preventing Curling and Ruined Bakes
yassy
Crafters!

Hello! This is Yassy from Crafters! (・∀・)
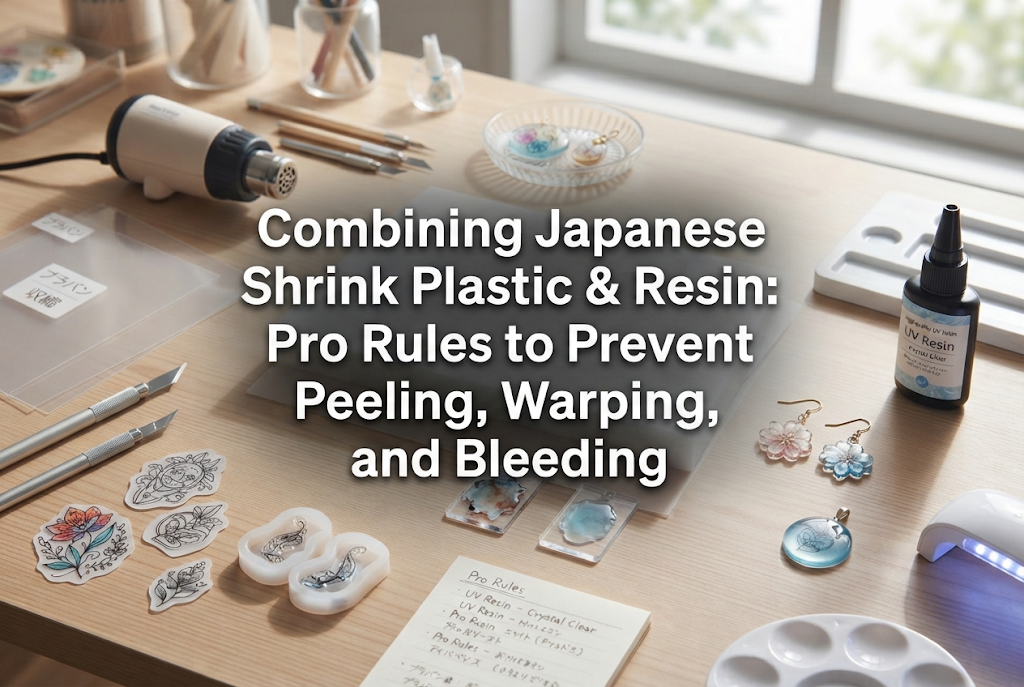
When you layer resin over a motif created with shrink plastic, it gives the piece a glassy, gorgeous shine and a delightful, rounded 3D effect. I personally love pieces that combine the accessibility of shrink plastic with the luxurious feel of resin, and I have made countless accessories and keychains using this technique over the years.
However, shrink plastic and resin inherently possess completely different material properties. Combining them without proper care can lead to frustrating failures: the resin layer peeling right off, the plastic warping out of shape upon curing, or your carefully drawn illustrations dissolving into a blurry mess.
There are clear physical and chemical causes behind these common beginner mishaps. In this article, I will explain the crucial precautions you need to know when combining shrink plastic and resin, along with a step-by-step process to ensure flawless results. I am sharing my proven techniques based on extensive practical experience, so read through to the end and create perfect pieces!
While shrink plastic and resin seem like a match made in heaven, combining them can easily cause major trouble during processing. To prevent issues, it is essential to first understand the structural reasons behind these failures.
The main causes fall into three categories: lack of adhesion, heat deformation, and chemical incompatibility. Keeping these three points in mind is your first step toward a beautiful finish.
Shrink plastic is primarily made of polystyrene. Once baked, its surface is exceptionally smooth, lacking any micro-texture or roughness for liquid resin to grip.
Furthermore, UV and LED resins undergo a process called "curing shrinkage" when exposed to light. As the resin contracts on the slick plastic surface, the lack of mechanical grip means the resin layer can easily detach. Even if it seems attached right after curing, impact or the simple scrape of a fingernail over time can cause it to peel off in one clean piece.
When resin liquid reacts under a curing light, it generates a significant amount of heat. This is known as the "heat of polymerization" or curing heat. Although shrink plastic hardens after being shrunk in a toaster oven, it remains a thermoplastic material that softens again when exposed to heat.
If you cure a thick layer of resin all at once, intense curing heat transfers directly into the shrink plastic. As a result, the flat plastic base softens and warps or buckles under the thermal stress. Once shrink plastic warps and hardens together with the resin layer, it is impossible to restore it to a flat state.
Another common issue is color dissolving into the liquid resin from markers or paints used on the plastic. Oil-based markers and certain specialty inks react easily with the monomer components in liquid resin, causing colors to bleed.
Detailed illustrations or delicate color gradients can smear and run the moment resin is applied and placed under the light. This happens when chemical compatibility between materials is ignored. Without proper surface protection (pre-coating) matched to your coloring medium, bleeding cannot be avoided.
Never pour resin onto shrink plastic immediately after baking. Pre-treatment before applying resin is the most vital phase determining your project's durability and final finish.
Here are the detailed prep rules I strictly follow to completely prevent peeling and bleeding.
To physically enhance the bond between shrink plastic and resin, we create microscopic scratches on the surface—a process known as "keying" or scuffing. You can sand either before or after baking the plastic.
For pieces where you want to maintain maximum transparency, lightly scuff the uncolored back or outer edges using fine-grit sandpaper (around 800 to 1000 grit). You do not need to turn the entire piece cloudy white. Simply create subtle micro-grooves for the resin to anchor into. This simple step creates a strong physical bond and reduces the risk of peeling to nearly zero.
Human hands naturally carry sebum and oils. Touching shrink plastic with bare fingers leaves an invisible oily film that causes liquid resin to bead up and repel.
Right before applying resin, thoroughly wipe the plastic surface using a lint-free cloth or cotton swab dampened with ethanol (rubbing alcohol). After wiping, hold the piece with tweezers or secure it onto a dedicated work board to avoid touching it again. Removing oil and dust completely ensures the liquid resin spreads smoothly across the surface without repelling.
Creating a protective barrier layer over your artwork before applying resin is mandatory. Different coloring mediums require different sealers, so adhere strictly to these rules:
Even with perfect surface preparation, improper resin application can ruin your piece. Here is how to avoid common mistakes and achieve a professional coating.
Pouring a large amount of resin at once to achieve a thick, domed look is the single biggest mistake you can make. Thick application causes three major problems simultaneously:
Even if you want a high dome, always apply resin in 2 to 3 thin layers, curing between each layer. Layering minimizes heat warping while building up a deep, glossy, and durable finish.
Creating a high dome on shrink plastic relies on liquid surface tension. However, pushing resin too close to the outer edge all at once causes it to break tension and spill over the sides.
To prevent spills, use high-viscosity resin. Low-viscosity resin works well for thin seal coats, but it is unsuitable for building a domed profile. Use a toothpick or silicone stick to guide the resin to about 1 mm inside the edge. Confirm that the resin forms a stable, rounded dome via surface tension before putting it under your light.
If you only coat the top surface, the boundary line where resin meets plastic remains exposed along the outer edges. In daily use, fingernails or objects hitting this exposed seam can introduce air, causing the resin layer to lift and peel away entirely.
To stop peeling, wrap the resin layer around the side edges (the cross-section) of the shrink plastic. Using a fine brush or coating brush, lightly sweep resin along the sides. Encapsulating both the top and sides anchors the resin securely, making your piece resistant to impacts.
Once resin is applied, it must be cured under a light. However, curing carries its own hidden pitfalls. The way you apply light dramatically affects warping and surface tackiness.
High-powered UV-LED lights (such as 48W units) used at close range cause rapid chemical reactions, generating intense heat. Thin shrink plastic cannot withstand this sudden thermal strain and will twist immediately.
The rule to prevent warping is staged exposure and maintaining distance. For the initial curing pass, position your lamp 15 to 20 cm away, or use your lamp's low-heat mode if available. Lightly flash cure or tack cure the piece for the first 5 to 10 seconds under weak or distant light. This gentle start controls rapid heat generation and shrinkage. Once the resin loses its fluidity, proceed with full-power curing at the standard distance.
If you coat and cure only the front side of a flat plastic piece, resin shrinkage pulls the front face inward, causing the entire piece to cup or bow forward.
To counteract this pulling force and keep the piece flat, apply a matching coat of resin to the backside. Curing resin on the reverse side creates equal tension on both sides, canceling out warp. Protecting both faces uniformly is the most effective way to keep your work flat.
If the resin feels slightly sticky or tacky after curing, uncured resin remains on the surface. Leaving resin uncured invites dust and fingerprints, and poses a risk of skin irritation.
Expose both front and back sides under the light slightly longer than the resin manufacturer's minimum recommended time. Freshly cured resin remains warm from curing heat, which can make it feel temporarily soft. Allow the piece to cool completely before touching it. If tackiness persists after cooling, your light's wavelength may not match the resin, or exposure time was insufficient. Apply a microscopic topcoat of specialized tack-free coating resin and re-cure, or wipe the surface clean with a dedicated resin finishing cleanser.
When turning shrink plastic motifs into brooches, earrings, or keychains, weak hardware attachment is a primary point of failure. Here is how to attach findings so securely they will never come off.
A common beginner mistake is placing an earring post or brooch pin on the back of the plastic and pouring liquid resin over it to cure. Resin alone has poor structural adhesion to metal and smooth plastic. Under mechanical stress, the resin cap can pop off the metal finding entirely.
Always use a strong 2-part epoxy adhesive or a high-strength craft glue designed for metal and plastic first. Fully bond the hardware to the shrink plastic with glue and let it dry completely. Once cured, apply liquid resin over the base of the finding as a secondary reinforcement. This two-step process ("glue + resin overlay") creates a bond that will not break under tension.
If you painted the back of your shrink plastic with acrylics or pastels, applying resin directly over the paint risks the entire layer peeling off. If the paint's bond to the plastic is weak, the resin will lift away right along with the paint layer.
When working with painted backs, follow this precise layering sequence:
Stacking materials in this correct order permanently locks in your art and prevents delamination.
Over time, shrink plastic and resin creations face potential issues like resin yellowing or plastic degradation. It can be disheartening if a favorite piece turns cloudy yellow after a few months.
The best defense against yellowing is selecting high-quality resin formulated specifically for non-yellowing performance. Inexpensive resin formulas degrade quickly under UV light, turning yellow within weeks. Choose premium resins labeled "UV resistant" or "non-yellowing." Furthermore, applying a light coat of UV-cut sealant spray over finished pieces delays sun-induced fading and discoloration for years.
Here is the standard workflow I follow every day to eliminate mistakes. Follow these steps sequentially to achieve professional results:
As soon as you remove hot shrink plastic from the oven, place it between sheets of parchment paper and press down firmly using a flat, heavy book or acrylic block. Achieving a 100% flat base at this stage is critical. If your base is warped, liquid resin will run toward the lowest point. Keep weight applied until the piece cools completely and locks its shape.
Thoroughly wipe the flat plastic surface with ethanol to eliminate oils and fingerprints. If you used Posca pens, acrylic paints, or clear varnishes, allow them to dry for several hours—even if they look dry on the surface—to ensure they are dry all the way through. Trapped moisture or solvents cause bubbles or cloudiness when resin cures over them.
Apply your first resin coat very thinly across the surface. If bubbles appear, pop them with a toothpick or gently pass the warm air of an emboss heat tool over them from a distance.
Place under your curing lamp at a distance for a 5 to 10 second flash cure. Once you confirm there is no warping, move the piece closer for a full cure. Repeat this thin-coat, bubble-pop, and staged-cure sequence 2 to 3 times until you achieve your desired dome thickness.
Once the front face is complete, flip the piece over. Wipe the back lightly with ethanol, then attach brooch pins or earring findings using high-strength adhesive. Allow the glue to cure fully according to manufacturer instructions (around 24 hours is recommended).
After the glue sets, dome high-viscosity resin over the hardware base, spreading it lightly to the outer edges and sides before curing. This seals both front and back, resulting in a durable, beautiful piece.
If dust gets trapped in your resin or the surface cures unevenly, do not throw the piece away! Fully cured resin can be sanded down and refinished.
Sand away dust specks or uneven spots using coarse-to-medium sandpaper (240 to 400 grit). Once level, wipe away all sanding dust thoroughly using ethanol. The sanded surface will look cloudy and scratched, but do not worry. Applying a fresh, thin coat of clear resin over the scuffed surface instantly restores full clarity and glass-like gloss.
Run through this quick checklist before starting work to avoid errors:
If you clear all these items, your chances of failure are virtually zero. Proceed with confidence!
Combining shrink plastic with resin is straightforward once you possess the right knowledge. Issues like peeling, warping, and bleeding all have clear physical causes and straightforward solutions:
By following these pro rules, your shrink plastic creations will achieve commercial-grade durability and a high-end finish. Have fun crafting shiny, beautiful, domed creations!
If you found this guide helpful, please share it with your craft friends on social media! See you in the next article—this was Yassy from Crafters!




For example, if you are looking for articles about mizuhiki, try searching for "mizuhiki"; if you are interested in tools, try keywords like "nippers" or "pliers."
