A Guide to Glass Fusing Firing: Essential Temperature Control & Techniques
yassy
Crafters!

Hello, everyone! This is Yassy from Crafters! (・∀・)
Glass fusing is a technique where pieces of glass are melted together using heat to create items filled with radiant, translucent beauty. Captivated by the sparkling quality of fused glass, more and more people are eager to dive into this wonderful craft.
However, when facing tools and sheets of glass for the very first time, it is completely normal to hesitate and wonder, "What should I make first?" or "What if I try something difficult and fail?"
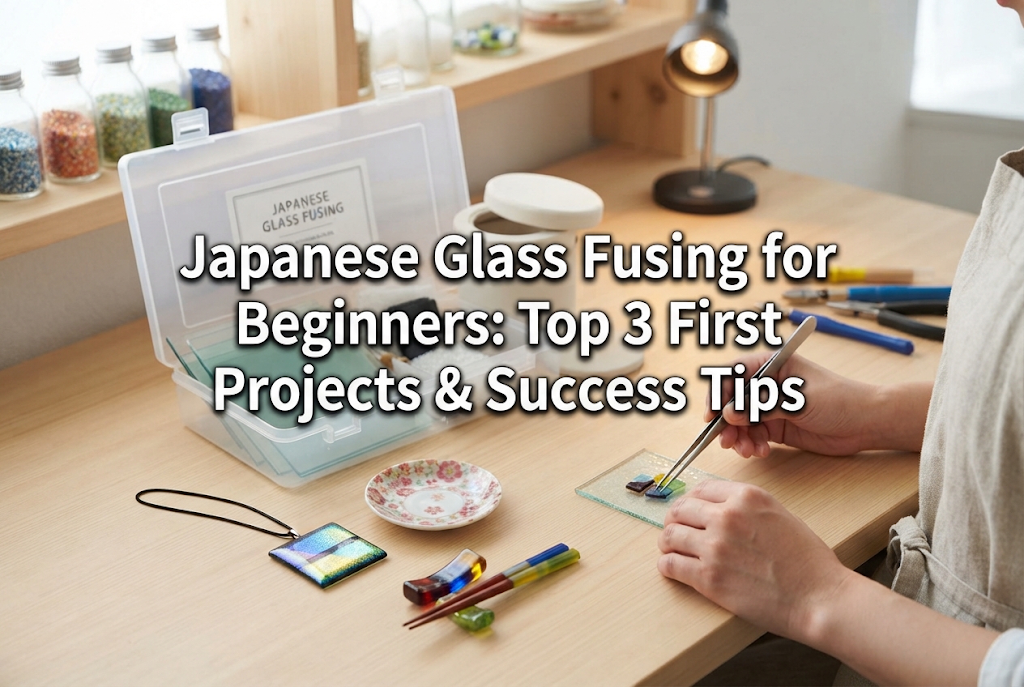
To give you the short answer: the top three items glass fusing beginners should start with are chopstick rests (hashi-oki), coasters (mini dishes), and accessory components. While simple in structure, these projects teach you all the fundamental elements of glass fusing: cutting glass, layering, and understanding how glass transforms under heat.
In this article, I will explain the features of these ideal beginner projects in a specialized yet easy-to-understand way, along with essential knowledge to prevent mistakes and critical safety precautions.
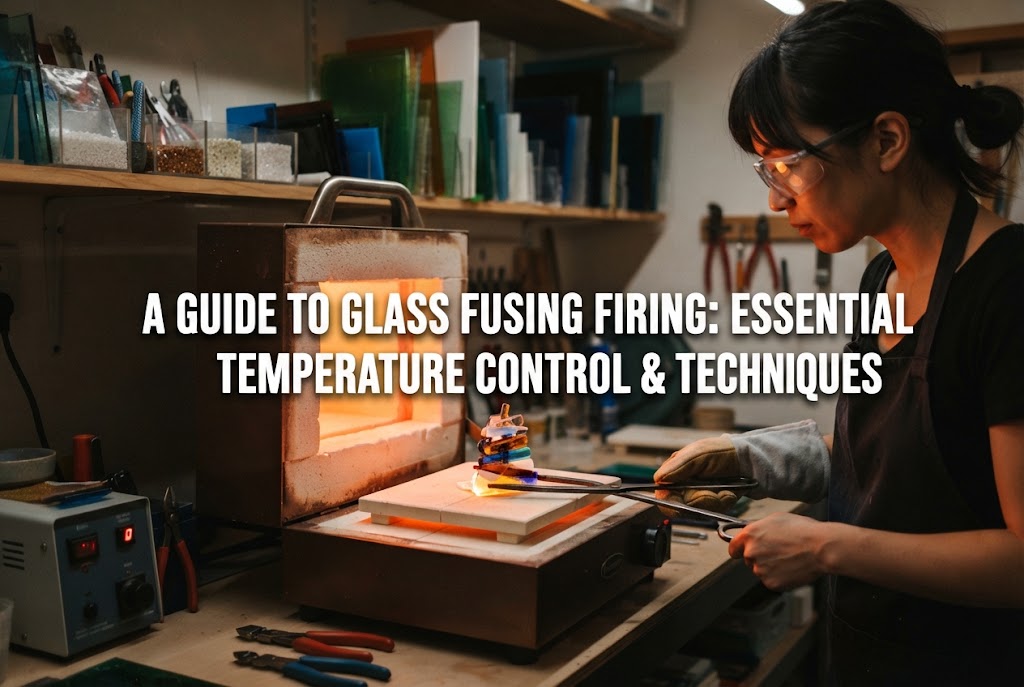
Glass fusing uses an electric kiln or specialized heating container to melt glass at high temperatures of approximately 700°C to 800°C (1300°F to 1470°F). As heat is applied, the sharp edges of the glass round out, and overlapping pieces fuse together into a single, unified plate.
When choosing your first project, make sure it meets these three criteria:
Trying to make three-dimensional bowls or large plates right away can lead to cracked glass or thermal control failures. Learning how glass behaves with smaller projects is the fastest route to improving your skills.
The single most recommended first step in glass fusing is making chopstick rests (hashi-oki). Because of their small size, material costs are low, making them ideal test pieces for firing your kiln for the first time.
Creating chopstick rests concentrates key fusing steps into one small project:
To make one, take a clear base glass measuring about 2 cm x 5 cm (0.8 in x 2 in) and place colorful diced glass (frit), thin glass rods (stringers or nuggets), or pattern-filled glass slices (millefiori) on top before firing.
A frequent failure for beginners is stacking the glass too high, causing the shape to collapse.
When performing a "full fuse" (melting the glass completely flat at high heat), glass naturally rounds at the edges and attempts to form a uniform thickness of about 6 mm (1/4 inch). Therefore, if you stack decorative elements three or more layers high, the melted glass will either flow outwards or shrink into a round sphere, making chopsticks roll right off.
The secret to success is keeping the decorative elements placed on top of the base glass to a single layer. This simple rule maintains an appropriate level surface for a beautiful, functional piece.
If I were to design one, I would start with a base of clear glass and use tweezers to arrange three small millefiori pieces at equal intervals along the top.
By using specialized glass glue to temporarily secure the millefiori to the base and firing it, you can create a charming chopstick rest that looks like it belongs in a high-end Japanese craft shop. The temporary glue burns off without a trace during firing, allowing even beginners to achieve a flawless finish.
After chopstick rests, try making coasters or mini square dishes around 7 cm to 10 cm (2.7 to 4 inches) wide. Working with a slightly larger surface area allows you to fully enjoy designing with color combinations and arrangements.
When making coasters, there is a fundamental concept in glass fusing known as the 6 mm Rule that you must remember.
When sheet glass is fully melted at high temperatures, its surface tension causes it to naturally seek a uniform thickness of approximately 6 mm.
In short, if you want to make a neat, square coaster, the golden rule is to stack two 3 mm sheets together (totaling 6 mm) or cover a 3 mm base sheet entirely with 3 mm glass pieces. Knowing this rule dramatically reduces unexpected deformations after firing.
Pay attention to how firing temperatures change the finished look of your coaster.
If you want a completely smooth, flat single plate, fire to approximately 780°C–800°C (1435°F–1472°F) for a full fuse. On the other hand, if you want to retain texture or raised relief on the surface, stop around 730°C–750°C (1346°F–1382°F) for a tack fuse.
For your first coaster, aiming for a full fuse where the pieces merge smoothly together creates a practical item that is easy to wash and use.
For craft lovers, wearing glass pieces you made yourself as jewelry is an absolute joy. Glass components for pendant tops, studs, and earrings are wonderful subjects for beginners.
When you cut small squares of glass measuring about 1.5 cm to 2 cm (0.6 to 0.8 inches) and stack two layers together before firing at high heat, surface tension rounds the corners into a plump, drop-candy dome shape.
Combining clear glass with colored glass creates pieces with mystical depth. Placing patterns or gold leaf on the bottom layer and topping it with a clear glass layer creates a stunning effect where the design appears trapped inside.
There are two primary ways to turn fired glass pieces into accessories:
For beginners, gluing findings to the back of finished glass is the easiest and most recommended method. Lightly sanding the back of the glass piece to create a bit of texture greatly improves glue adhesion.
Glass fusing involves physical rules unique to this craft. If you ignore them, your work will crack regardless of how carefully you assembled it.
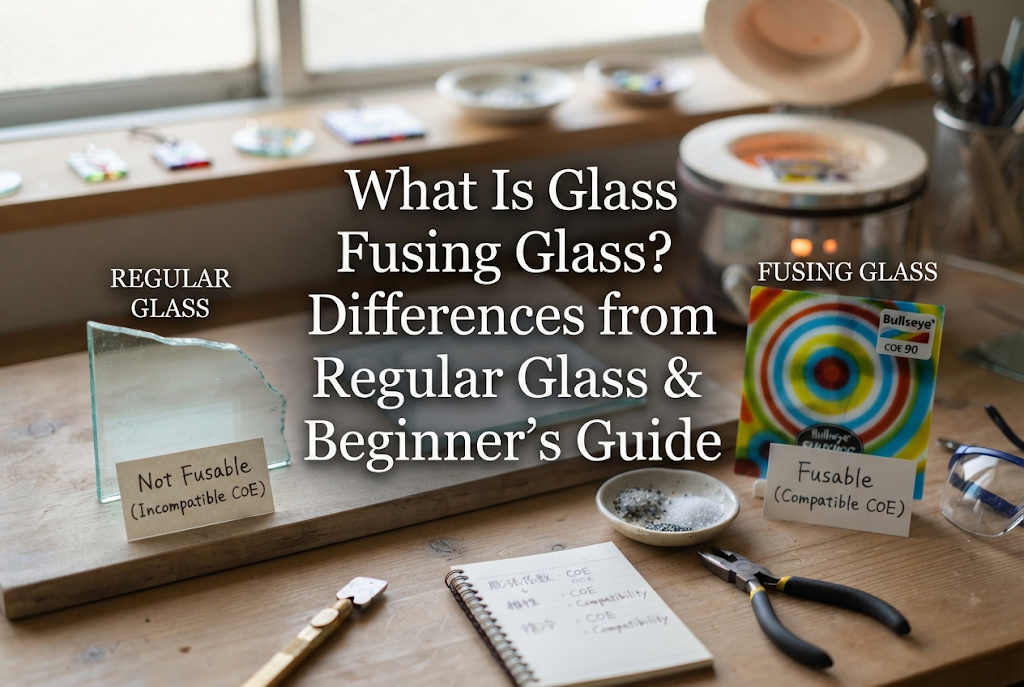
The single most important factor in glass fusing is COE (Coefficient of Expansion). This value indicates how much the glass expands and contracts when heated and cooled.
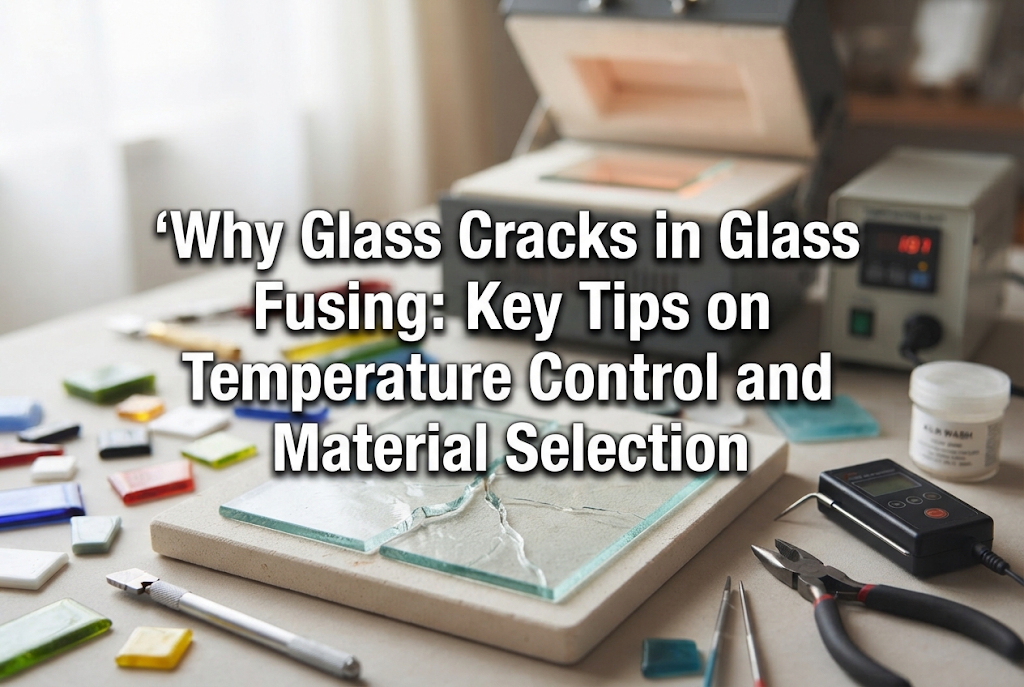
If you melt glasses with different COE values together, they will pull against each other as they cool, causing cracks or fractures 100% of the time.
For example, COE 90 glass must only be combined with COE 90 glass components. Never mix fusing glass with beach glass (sea glass), ordinary window glass, or bottle glass.
When buying materials, always check the COE listed on the package (such as "COE 90" or "COE 96") and purchase items within the same system.
If glass cools too quickly, intense internal stress (strain) remains inside, which can cause the piece to crack suddenly later on (spontaneous breakage).
After reaching peak temperature and melting the glass, you must carry out annealing—cooling the kiln down very slowly without opening the door.
No matter how eager you are to see your finished piece, never open a hot kiln early or try to cool it down with fans. Allow it to cool down completely to room temperature.
Glass fusing is a delightful craft, but because it involves sharp cutting tools and high-temperature heating equipment, safety is essential. Always read the manufacturer's manual carefully and follow correct procedures.
Before starting, make sure to put on the following protective equipment:
Clothing is equally important. Avoid sandals, shorts, or exposed skin; wear long sleeves, long pants, and closed-toe shoes. Laying a mat or sheet under your workbench makes cleaning up stray glass chips much easier.
When using small electric kilns or microwave kilns, set them up away from flammable materials. Ensure there is plenty of ventilation and clearance space around the unit.
Additionally, always apply proper kiln separator (kiln wash or ceramic fiber paper) to the kiln shelf. If you fire glass directly on an untreated shelf, the melted glass will stick permanently to the shelf, destroying both the glass and the shelf.
If you aren't sure what to buy first, purchasing a beginner's glass fusing starter kit with matched COE materials is much safer than collecting individual items separately.
Buying a "fusing glass sheet assortment pack (COE 90 or COE 96)" from craft suppliers or online retailers gives you various glass colors pre-cut into manageable sizes so you can start creating immediately.
Let's recap what beginners should know for a successful start in glass fusing:
The best part of glass fusing is that thrilling moment of opening the kiln lid: "How did it melt this time?" Seeing glass you cut and arranged with your own hands come out with smooth, rounded edges and a brilliant shine is an unforgettable experience.
Start with a cute chopstick rest or pendant top, and enjoy stepping into the wonderful world of glass craft!
If you enjoyed this guide, sharing it with friends on social media or messaging apps would mean the world to me!
See you in the next article! This was Yassy from Crafters!


For example, if you are looking for articles about mizuhiki, try searching for "mizuhiki"; if you are interested in tools, try keywords like "nippers" or "pliers."
