Complete Beginner’s Guide to Crochet: Zero-Failure Roadmap with Starter Kits
yassy
Crafters!

Hello everyone, it's Yassy from Crafters! (・∀・)
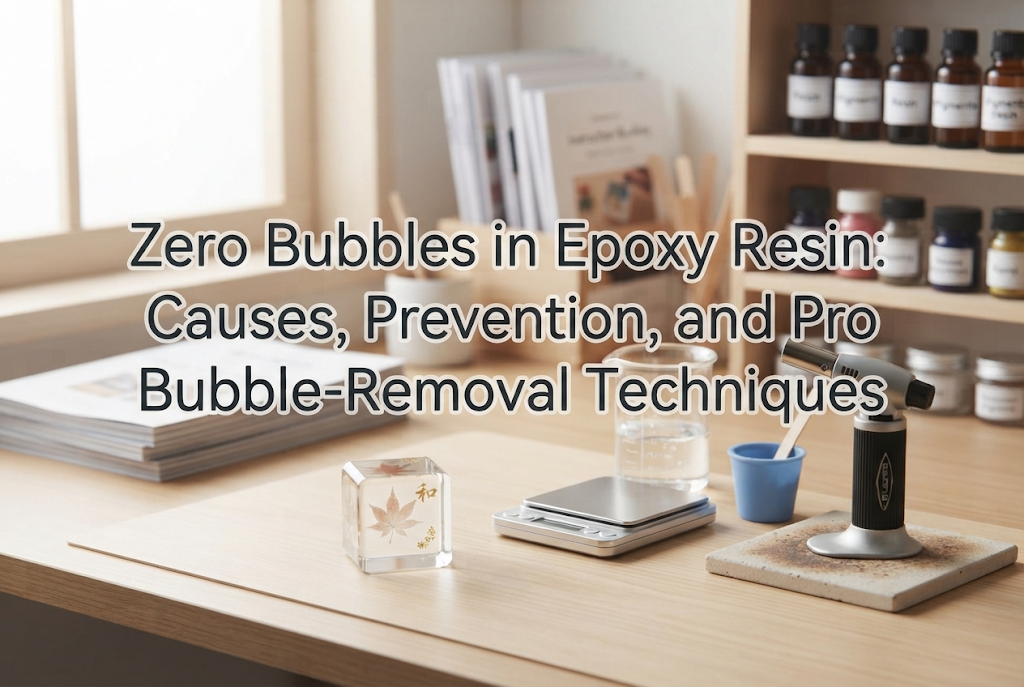
In the handmade craft world, two-part epoxy resin captivates people with its crystal-clear, glass-like beauty. I personally love working with epoxy resin—whether crafting large home decor pieces, fashioning delicate jewelry, or simply admiring the stunning works of fellow crafters!
However, nearly every beginner hits the exact same wall when working with epoxy resin: the dreaded bubble problem.
Have you ever spent hours carefully measuring and pouring your piece, only to find it riddled with tiny air bubbles once cured—leaving it cloudy, milky, or with an uneven, pitted surface?
Compared to UV resin, two-part epoxy resin cures much more slowly, which naturally gives air bubbles more time to escape. Despite this advantage, when bubbles stay trapped, there is always a clear, scientific reason. Once you understand why they form and apply the right prevention and removal methods, anyone can achieve flawless, crystal-clear resin.
In this guide, I will share the specialized knowledge and techniques I've developed over years of making countless resin pieces. We will explore everything from the science of bubble formation to stirring secrets, heat applications, and essential prep tricks for embedded materials.
Before jumping into solutions, we need to understand the root causes. Air gets introduced into epoxy resin at four distinct stages. Identifying which step is causing your bubbles is the first step toward flawless results.
Epoxy resin hardens through a chemical reaction when the main resin (Part A) and hardener (Part B) are measured precisely and thoroughly blended. This mixing stage is by far the biggest culprit behind bubbles.
If you stir vigorously or whip the mixture like you are beating egg whites, you pull massive amounts of microscopic air bubbles deep into the liquid. With thick, viscous resin, these micro-bubbles cannot rise to the surface on their own and become permanently trapped.
Even if your mixed resin is completely bubble-free in the cup, air can easily be introduced by the mold or the items embedded inside your piece.
Porous materials like dried flowers, wood, and paper contain countless microscopic air pockets inside their fibers. When submerged directly into resin, the liquid slowly pushes this trapped air out, releasing bubbles over time.
Furthermore, silicone molds with intricate shapes, sharp corners, or deep crevices naturally trap air pockets. When resin is poured over them, that air has nowhere to escape and forms stubborn bubbles along the mold walls.
Resin follows a fundamental physical rule: lower temperatures increase viscosity (making it thick and syrupy), while higher temperatures decrease viscosity (making it loose and fluid).
Working in a chilly room or during cold winter months makes resin stiff and sluggish. High-viscosity resin not only incorporates more air during stirring, but it also slows down the natural rising speed of air bubbles to a crawl. Working in a cold environment is often the hidden reason bubbles stay stuck inside your cast.
As Part A and Part B react, the chemical process generates heat (an exothermic reaction). When you mix a very large volume at once or pour a deep layer into a mold that isn't rated for deep casting, internal temperatures can spike drastically.
If the mixture overheats, it can literally boil from within, producing a burst of internal bubbles. In severe cases, the resin may emit vapor or scorch into a yellowish, ruined mass. Managing reaction heat is essential when working on medium-to-large projects.
While popping bubbles after they form is helpful, the smartest strategy is preventing them from entering in the first place. A few small adjustments to your prep and mixing technique will dramatically slash bubble formation.
The single most effective preparatory step is giving your resin bottles a gentle warm-water bath (known as yusen in Japanese craft circles).
Fill a container with warm water around 40°C (104°F)—roughly the warmth of a comfortable bath. Place your sealed bottles of Part A and Part B into the water for several minutes before measuring. This lowers the resin's viscosity, making it remarkably fluid and runny.
Fluid resin resists trapping air during stirring, and any bubbles that do get drawn in can easily float to the top and dissipate. This step is practically mandatory during cold autumn and winter crafting sessions.
Safety Note: Never use boiling water, as extreme heat can degrade the formula or trigger premature curing. Keep the water around 40°C, and place your bottles inside a sealed plastic bag beforehand to ensure zero water droplets contaminate the resin.
Once you have measured your parts, resist the urge to stir quickly.
The correct technique: keep your stirring stick pressed against the bottom and sides of the cup, moving slowly in a single, consistent direction. Avoid lifting the stick out of the liquid or whipping back and forth, as every directional switch folds in fresh air.
Unmixed resin tends to cling to the walls and bottom of your mixing cup. Periodically scrape the sides and base with a smooth, gentle motion to ensure a uniform mix.
A good rule of thumb is a super-slow pace of about 2 to 3 seconds per full rotation. If it feels almost ridiculously slow, you are doing it right!
Unlike UV resin, which cures almost instantly under a lamp, epoxy resin gives you the gift of time. Take full advantage of it.
After thoroughly mixing Parts A and B, do not pour the resin into your mold immediately. Let the mixing cup sit undisturbed for 5 to 10 minutes (the resting period).
Because the resin was warmed and made fluid, fine air bubbles will naturally rise to the surface during this rest time. Once gathered at the top, you can wipe them out in seconds using heat tools before pouring. This simple waiting step elevates your finish to a professional standard.
Pouring technique is equally critical. Dumping resin into your mold all at once traps air underneath the liquid.
Instead, raise your cup slightly and pour in a very thin, thread-like stream, aiming at the lowest point or a single corner of the mold. Allowing the resin to naturally creep forward under its own weight pushes air out ahead of it, leaving zero pockets behind.
Even with careful preparation, a few persistent bubbles can still slip in. Here are the professional tools and techniques to remove them effortlessly.
The ultimate tools for popping surface bubbles in an instant are an embossing heat gun and a small torch (or jet-flame lighter).
Unlike a regular hair dryer, which blows aggressive air that scatters dust and ripples resin, an embossing heat gun delivers focused, high heat with gentle airflow. Hold the nozzle about 10 cm (4 inches) away from the surface and sweep the warm air across the bubbles for a few seconds. The heat instantly thins the surface layer while expanding the air bubble membrane, causing them to burst and vanish.
A quick pass with a small butane torch or utility lighter is even faster. The brief wave of heat combined with carbon dioxide from the flame pops bubbles in a fraction of a second.
Caution: Never hold a flame directly against a silicone mold. Silicone degrades quickly under direct heat, causing the resin to permanently fuse to the mold. Keep flame passes lightning-fast, sweeping just across the top of the resin.
For stubborn bubbles clinging to the bottom or sides of a mold, physical manipulation works best.
Use a fine-tipped wooden toothpick, a metal modeling spatula, or precision tweezers to gently hook the bubble and guide it away from the mold wall. Guide it along the perimeter up to the surface, where it can be popped.
Be gentle so you don't scratch the inside of your silicone mold. Any micro-scratches on silicone will transfer onto the glossy surface of all future resin casts.
When embedding dried flowers, wood, or porous charms, submerging them dry into liquid resin will release a continuous stream of escaping air bubbles.
The secret weapon here is pre-coating (dip coating). Before placing items into the mold, dip them thoroughly into a small cup of mixed resin or low-viscosity coating resin. Work the liquid into every petal, fold, and fiber, using a toothpick to tease out any trapped air bubbles.
Once the inclusion is fully saturated and bubble-free, gently transfer it into your prepared mold and pour your resin over it. This completely shuts down inclusion-related bubble leaks.
Molds with sharp facets, gemstone cuts, or 3D animal shapes are notorious for catching air in hard-to-reach corners.
After pouring resin to about the halfway mark, stop. Gently squeeze and massage the exterior of the silicone mold with your fingertips, or tap the mold lightly against your work table to vibrate the liquid.
You can also use a fine silicone tip or soft brush to probe corners and dislodge trapped air pockets. Performing this mid-pour check ensures your final piece will have crisp, bubble-free edges.
Everything might look spotless when you finish pouring, only for fresh bubbles to appear an hour later. Understanding the curing timeline helps you handle these time-delayed issues.
Epoxy resin transitions through distinct physical phases: from a thin liquid, to a thick syrup, to a rubbery jelly (gelation), and finally to a rock-hard solid.
Your absolute last window of opportunity to eliminate bubbles is right before gelation begins.
About 1 to 2 hours after pouring (depending on your specific resin brand and ambient room temperature), take a careful look at your piece. You will often spot a few late-blooming bubbles that floated up from embedded materials and are sitting just below the surface.
At this stage, you can still pop them with a gentle sweep of an embossing heater or flick them away with a toothpick. Making this post-pour inspection part of your routine will eliminate heartbreaking surprises.
If your resin has already thickened into a heavy syrup or rubbery gel, put the heat gun away immediately.
Applying intense heat to gelling resin forces the surface to cure rapidly while the bottom remains unset, causing severe wrinkling, rippling, and surface distortion. Because the resin is too thick, heated bubbles cannot pop; instead, they will expand and freeze in place as cloudy blisters.
If you touch the resin with a toothpick and it leaves a permanent dent, it is too late to manipulate. Leave it alone. It is far easier to let the piece cure fully, sand down any surface imperfections, and apply a thin, crystal-clear topcoat than to salvage a heat-damaged project.
Here is my personal, step-by-step routine that I rely on whenever I create large, crystal-clear resin artworks:
A frequent mistake among crafters transitioning from UV resin is applying UV techniques directly to epoxy.
For instance, spritzing isopropyl alcohol (or bubble-remover spray) is a common trick in UV crafting. However, spraying alcohol onto uncured epoxy can upset the chemical balance, resulting in a cloudy surface or sticky curing inhibition.
Similarly, UV resin works best in ultra-thin layered coats. If you attempt multiple thin pours with epoxy resin without proper timing or sanding, you can end up with visible demarcation lines between layers that ruin optical clarity. Epoxy resin has its own distinct chemical nature—treat it accordingly!
While industrial artists use vacuum degassing chambers to pull out every trace of air, you do not need expensive machinery for home crafting. Diligently following the core steps—warming the resin, stirring slowly, allowing resting time, and using a heat gun—will eliminate virtually all visible bubbles by hand.
Adding liquid or powder pigments introduces extra air trapped within the pigment itself, and the additional stirring folds in more bubbles. To minimize this, mix your colorant into Part A first, allow the air to rise out, and then add Part B for the final blend.
If small bubble craters remain on the cured surface, lightly sand the area with fine-grit sandpaper (around 600–1000 grit) to smooth the edges. Wipe away dust with a damp cloth, then brush a thin coat of freshly mixed epoxy resin (or clear coating resin) over the top. The fresh resin will fill the depressions and cure into a flawless, glossy finish.
Air bubbles can be frustrating, but they aren't random bad luck. Every bubble is governed by temperature, viscosity, and technique. By taking control of the process—warming your bottles, stirring slowly, pouring thin, and using gentle heat—you can reliably produce resin pieces that look like flawless liquid glass.
There is nothing quite like the feeling of demolding a piece that is so transparent it resembles clear crystal or still water. I hope these tips give you the confidence to tackle your next resin masterpiece!
If you found this guide helpful, please share it with your fellow crafters. Happy crafting, and see you in the next article! — Yassy






For example, if you are looking for articles about mizuhiki, try searching for "mizuhiki"; if you are interested in tools, try keywords like "nippers" or "pliers."
