How to Create Beautiful Ombré Gradations in Fabric Dyeing: Dip-Dye Techniques for Flawless Color Transitions
yassy
Crafters!

Hello everyone! This is Yassy from Crafters! (・∀・)
No matter how many times I experience it, the moment a piece of plain white fabric transforms into my favorite color is always thrilling. When people hear "fabric dyeing," some might hold back, thinking, "Doesn't that require specialized tools?" or "Cleaning up afterwards seems like a hassle." However, you can actually start surprisingly easily using everyday items like buckets and bowls from around your home.
In this article, I will explain everything you need to know about fabric dyeing—from basic steps and required tools to perfect beginner-friendly projects. I will also share common mistakes to avoid and how to fix them, so please read through to the end and enjoy creating your very own custom-dyed pieces!
The single most important factor for successful fabric dyeing is the combination of the fabric's material (fiber) and the dye you choose. If you get this wrong, the fabric won't dye at all, no matter how carefully you follow the steps.
Fabric fibers are broadly categorized into "natural fibers" and "synthetic fibers." As a general rule for home dyeing, always choose natural fibers.
On the other hand, synthetic fibers such as polyester, nylon, and acrylic will hardly take any color with standard home dyes. If you try to dye a synthetic blend fabric (such as a 50% cotton / 50% polyester mix), the final color will turn out extremely pale or barely noticeable. When attempting your first project, always select fabric items clearly labeled as "100% Cotton" or "100% Linen."
There are several types of craft dyes available on the market, with "direct dyes" and "reactive dyes" being the most common.
Depending on the required water temperature, dyes are divided into "high-temperature dyes" (requiring hot water above 80°C / 176°F) and "low-temperature dyes" (using lukewarm water around 40°C / 104°F or cool water). For beginners, low-temperature dyes are by far the best choice because they carry a lower risk of burns and eliminate the need to boil fabric in a massive pot on the stove.
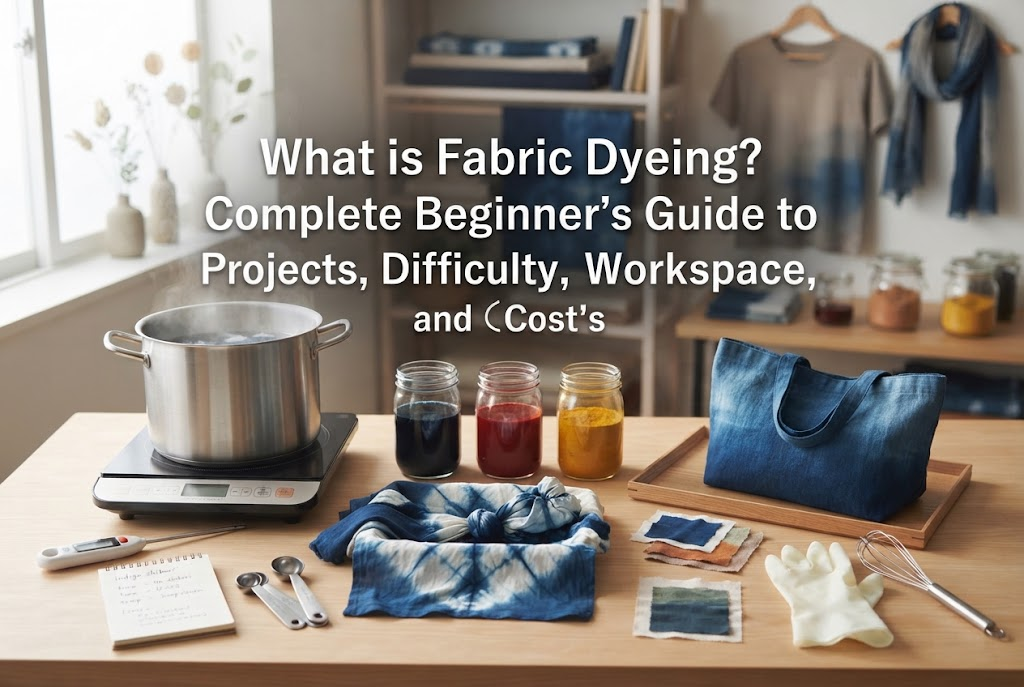
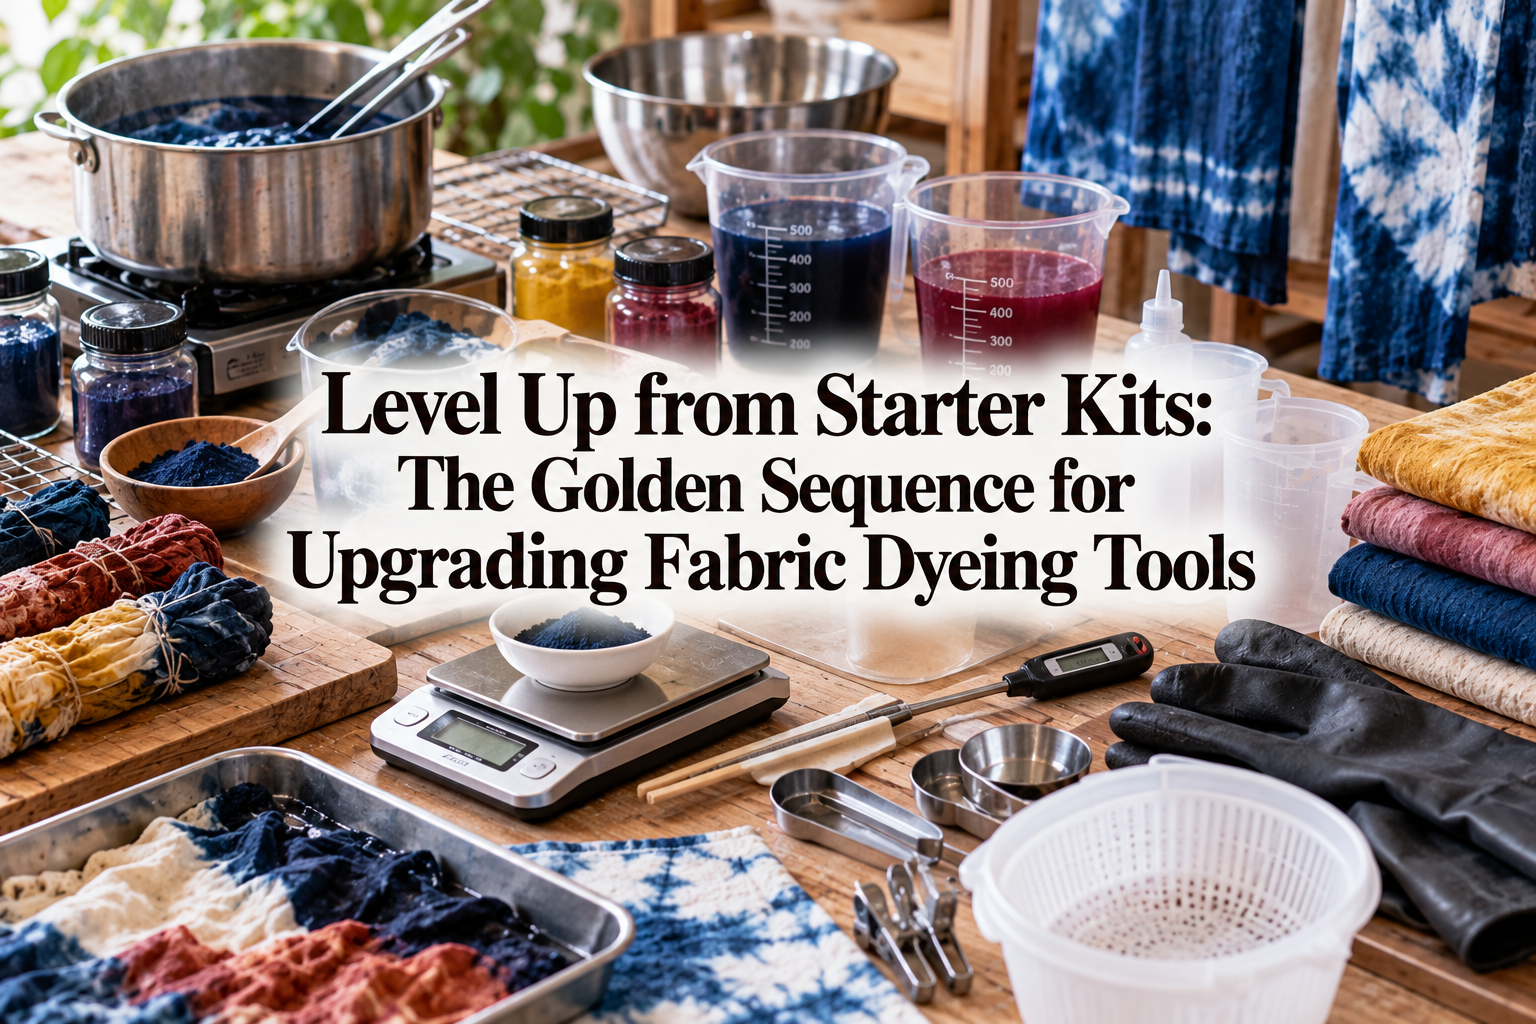
You do not need special machinery or expensive equipment to start fabric dyeing. Most of these tools are household items or can be easily found at local craft stores or dollar shops.
The fundamental dyeing process consists of five steps: Prep, Dye Bath Preparation, Dyeing, Fixing & Rinsing, and Drying. Once you master this basic sequence, you can apply it to almost any project.
New fabrics and garments often contain manufacturing sizing (starch), oils, and dust. If you attempt to dye fabric with these residues present, they will repel the dye and cause severe unevenness.
Before starting, wash the fabric in lukewarm water with a small amount of neutral detergent. Rinse thoroughly and lightly squeeze out excess water so that the fabric remains wet. Inserting dry fabric into the dye bath leads to blotchy results, so keeping it damp is key.
Place the specified amount of dye powder into a small container and pour in a small amount of hot water (around 80°C / 176°F). Use a whisk to stir thoroughly until all granules and lumps are completely dissolved. Any undissolved specks left here will attach directly to the fabric, resulting in dark spots (dyeing errors).
Pour the fully dissolved dye liquid into your main bucket filled with water at the recommended temperature, and stir well to create an even dye bath.
Unfold your damp fabric and submerge it all at once into the dye bath. The initial 5 to 10 minutes after immersion are crucial, as the fiber absorbs color very rapidly during this window.
Using tongs or rubber-gloved hands, continuously stir and lift the fabric so it swims freely in the bath. If the fabric remains folded or left sitting still, the overlapping areas will end up lighter, causing an uneven finish.
Add salt or the manufacturer's recommended color fixative according to the dye instructions. Salt acts as an exhausting agent, helping push dye molecules into the fibers.
After adding the fixative, gently move the fabric around occasionally while letting it soak for the specified duration (usually about 20 to 40 minutes).
Once soaking is complete, remove the fabric and rinse it in cold water. The water will run dark at first, so change the water repeatedly until it flows almost completely clear.
Finally, wash the fabric gently in lukewarm water with a small amount of neutral detergent to strip away excess surface dye, then rinse once more with water. Squeeze out excess water gently and hang the item to dry in a well-ventilated area away from direct sunlight. Direct sunlight can cause premature fading, so shade drying is important.
Unexpected results during fabric dyeing usually happen for specific reasons. Knowing the causes and solutions beforehand ensures great results from your very first try!
Cause: The dye powder was not completely dissolved, or the fabric was left resting without being stirred immediately after immersion.
Solution: After dissolving the dye powder in hot water, pour it into the main bucket through a fine mesh strainer or tea strainer. Additionally, never stop moving the fabric during the first 5 minutes of immersion.
Cause: Fabric looks significantly darker when wet. Once dry, the color brightens and lightens by roughly 20% to 30%. Alternatively, you may not have used enough dye for the weight of the fabric.
Solution: Always weigh your dry fabric in grams using a kitchen scale before starting, and measure out the precise amount of dye required for that exact weight. Aiming for a shade that feels slightly "too dark" while wet usually yields the perfect final shade once dried.
Cause: Insufficient rinsing left excess dye on the fiber surface, or the color-fixing step was skipped.
Solution: Do not cut corners during rinsing; continue until the water runs completely clear. If you are concerned about color bleeding, applying a commercially available color stop/fixative product during the final rinse dramatically improves wash durability.
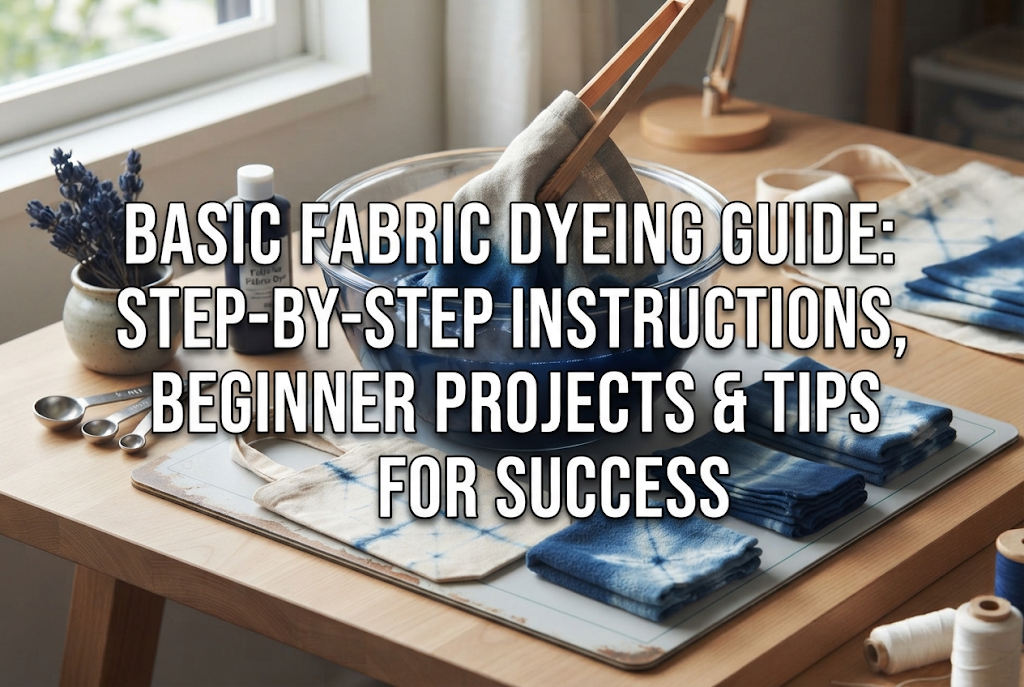
If you feel that dyeing clothes or large pieces of fabric right away is intimidating, here are three initial projects I confidently recommend! All of them have a high success rate and result in highly practical items.
A plain cotton handkerchief is the absolute best item for a beginner's first trial. Because of its small size, it requires a smaller volume of dye bath and is easy to move around in the bucket, minimizing the risk of uneven spots.
It serves as great practice for basic immersion dyeing to achieve a solid, even coat from edge to edge. Using a handkerchief dyed in your own custom color brings a wonderful sense of personal attachment during daily use.
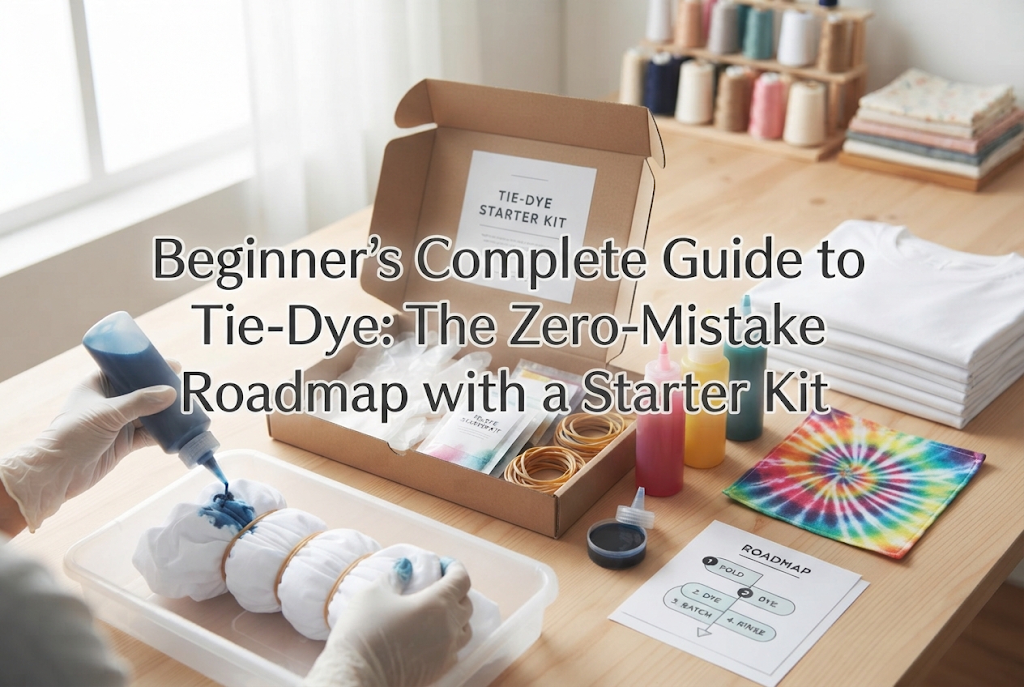
Next, try your hand at a lightweight cotton tote or canvas eco-bag using the *shibori* (tie-dye) technique.
Pinch or fold sections of the bag fabric, then bind them tightly with rubber bands before placing the bag into the dye bath. Dye cannot penetrate the areas clamped tightly by the rubber bands, revealing beautiful circular or radial white patterns when removed. The beauty of tie-dye is that any slight irregularities actually look like deliberate artistic textures, making it a stress-free technique for beginners.
Once you get used to the process, try dyeing plain linen coasters or placemats. The crisp, natural texture of linen pairs wonderfully with fabric dyes, instantly creating a sophisticated handmade accessory.
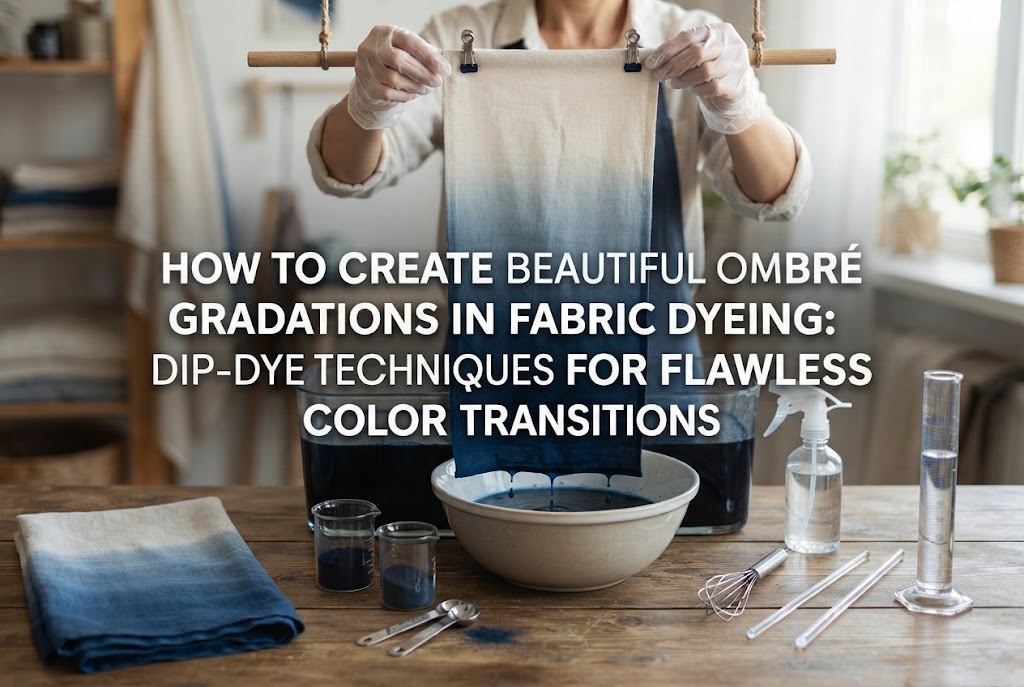
This size is also perfect for trying "dip-dyeing" (gradation dyeing), where you submerge only half of the fabric. By lowering the bottom half into the bath and gently lifting and lowering it at the waterline, you can create a smooth, beautiful color gradient.
Through my own experiences enjoying fabric dyeing, here are a few practical habits that make setup and cleanup infinitely easier!
First, protect your workspace. A single stray drop of dye is surprisingly potent and difficult to remove from flooring or kitchen countertops. Before starting, line your floor or table completely with layers of newspaper or opened plastic trash bags, securing them in place with masking tape.
Second, never skip measuring. If you rely on guesswork, you won't be able to reproduce the exact same shade when you want to make it again later. Keeping detailed notes of the fabric weight, water volume, and exact dye weight is the fastest path to improving your technique.
Fabric dyeing involves working with hot water and household chemicals (dyes and fixatives). Please follow these safety rules for a safe and enjoyable crafting session:
In this guide, we covered the basics of fabric dyeing, step-by-step procedures, and great starter projects for beginners.
While fabric dyeing might seem complex at first glance, as long as you follow the golden rules—selecting 100% cotton fabric, pre-wetting the item, and stirring continuously at the start—anyone can create beautiful, vibrant pieces exactly as imagined.
Why not start with a small, favorite handkerchief or eco-bag and try creating your own original dyed colors? Hand-dyed fabric items bring a truly special feeling every time you use them.
If you enjoyed this article, sharing it with your friends on social media or messaging apps would mean the world to me and keep me motivated!
Until next time, happy crafting! This was Yassy from Crafters!

For example, if you are looking for articles about mizuhiki, try searching for "mizuhiki"; if you are interested in tools, try keywords like "nippers" or "pliers."
